Neck Dovetail Joint
The neck is attached to the body with a tapered sliding dovetail joint.
This is the traditional joint for neck attachment. There have been a
number of different approaches introduced in recent years, including
bolted and pinned straight tenons, and even flat butt joints attached
with epoxy. While these are easier to cut than the tapered sliding
dovetail, and the bolted necks are easier to repair when a neck reset
is needed (the epoxy-glued necks are virtually impossible to remove),
the dovetail is a strong, self-locking joint that's not that difficult
to cut or adjust.
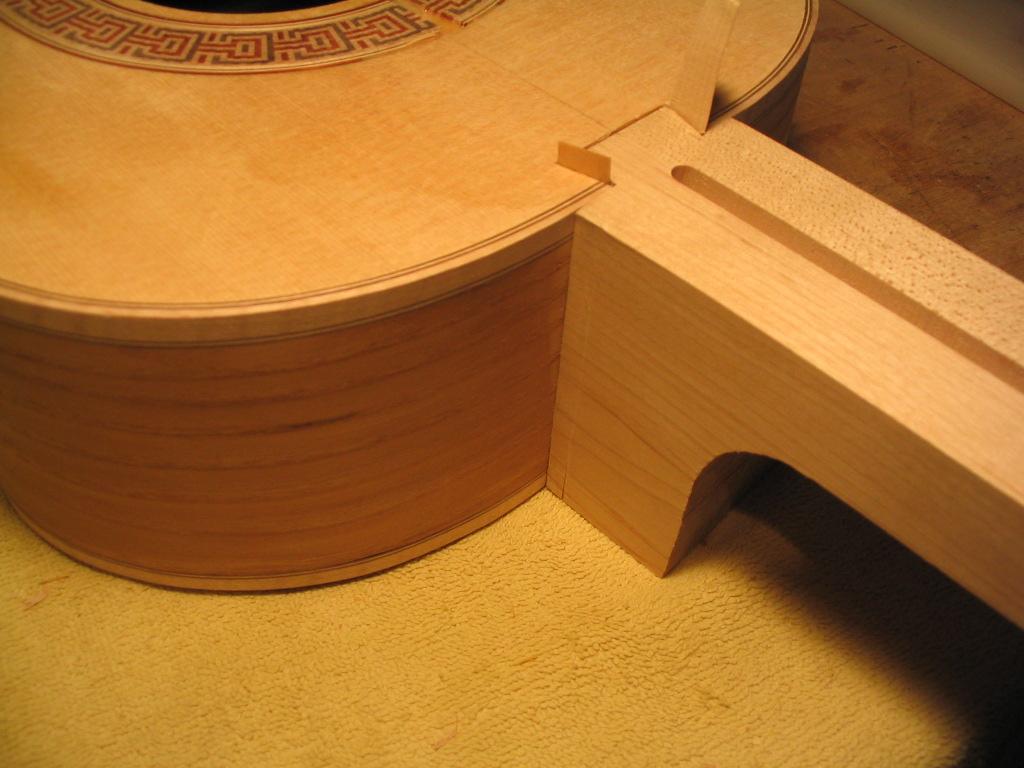
The tenon part of the joint is cut on the end of the neck stock, which
was made an extra 1/2" longer for this purpose. The mortise of the
joint is cut into the end of the guitar body, which has a substantial
neck block to accept the mortise. What makes the cutting of the joint
particularly challenging is the fact that the surfaces invloved don't
meet at right angles. Because the top of the guitar is arched, the top
of the guitar and the sides form an angle that's greater than 90
degrees. In fact, the top isn't even planar, being a portion of a
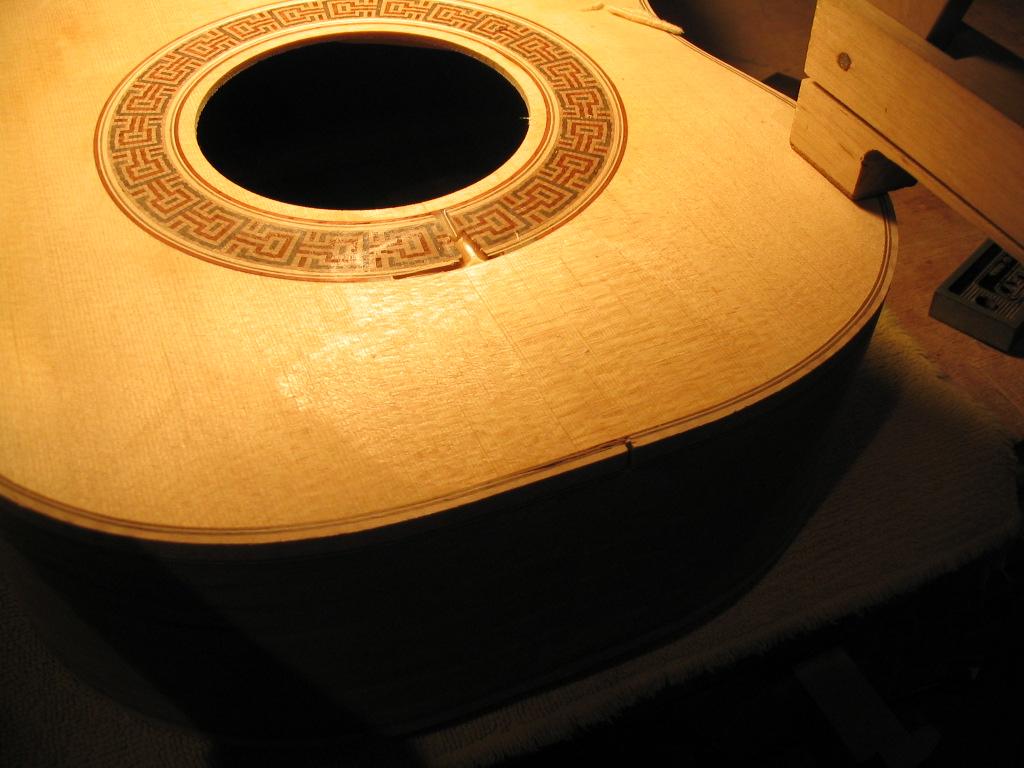
sphere, and the sides are themselves curved. To allow the fretboard to
lie flat on the top, a small flat is planed on the top where the
fretboard will lie. (Recall that a similar small flat was planed on the
sides at the top of the body, before the binding was applied, to
facilitate the cutting and fitting of the neck joint.)
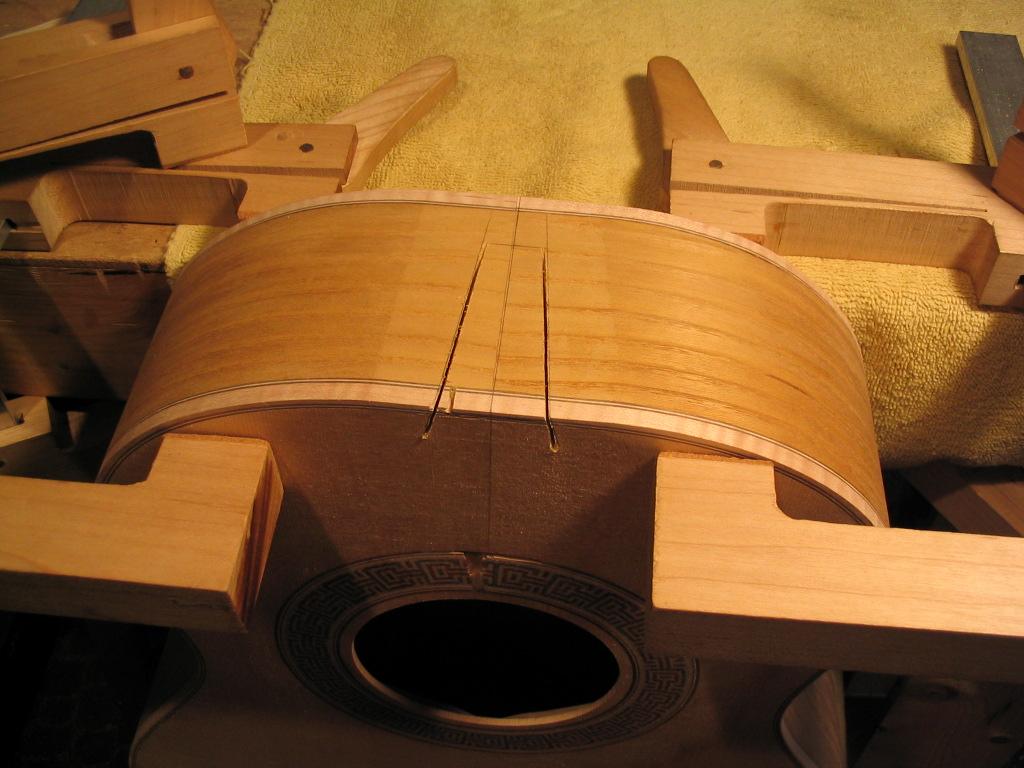
For the top of the neck to be flush with and aligned with this flat, it
is necessary for the end of the neck to be cut to the complementary
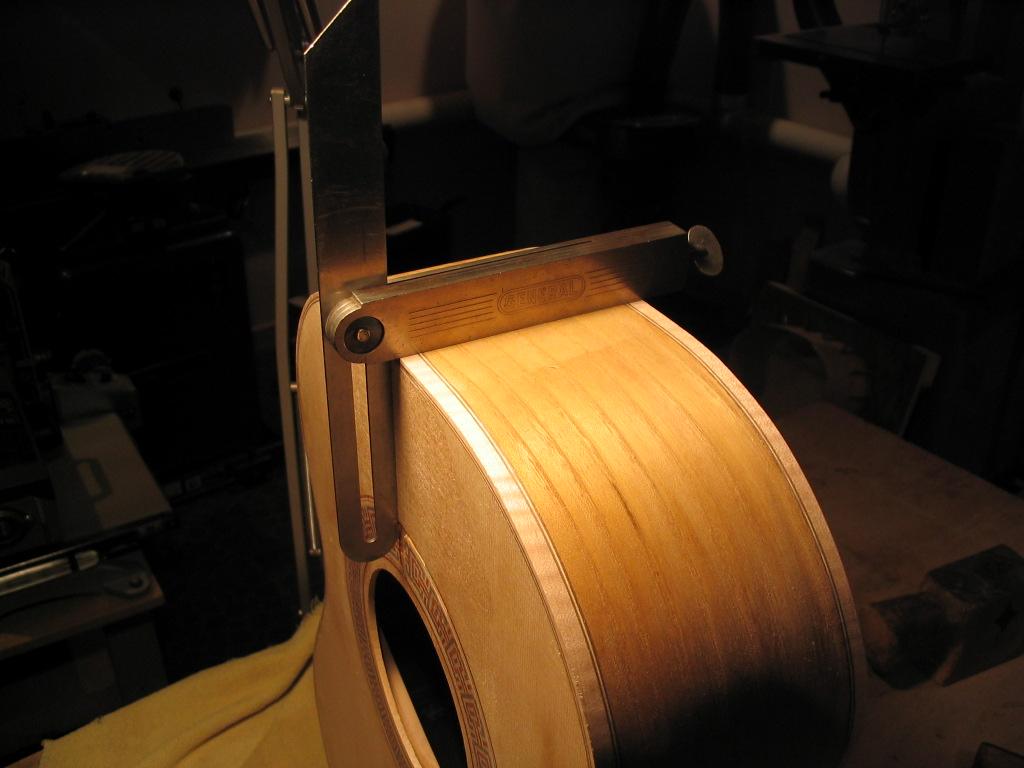
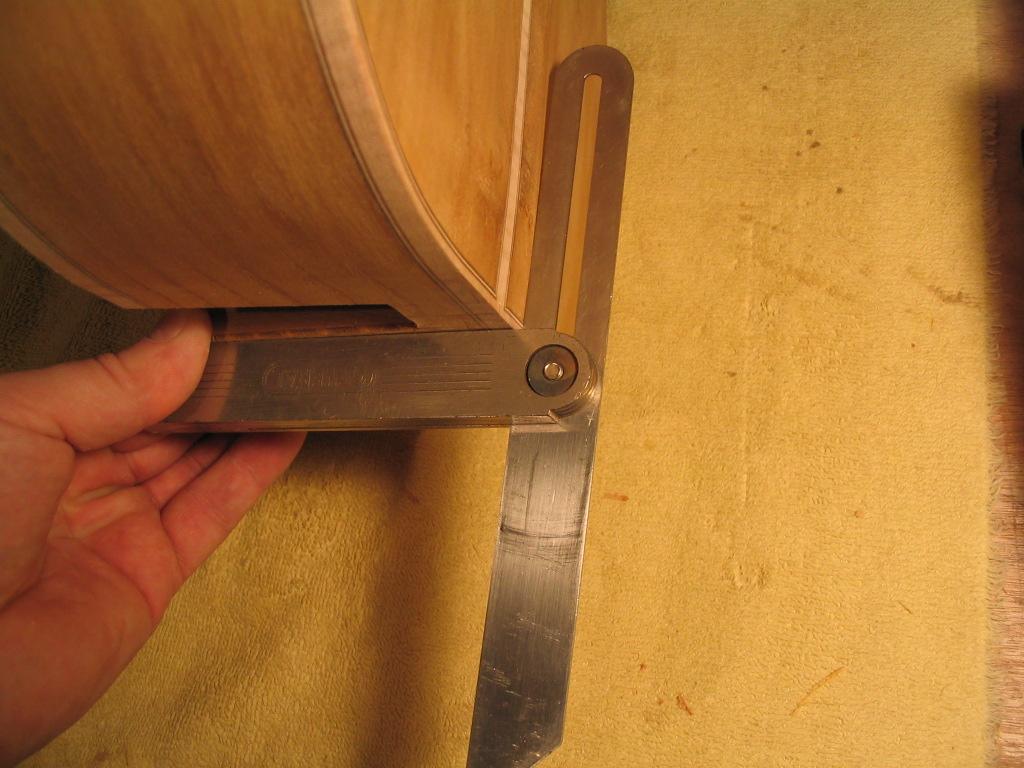
angle to that made by the guitar top and the sides. The angle isn't
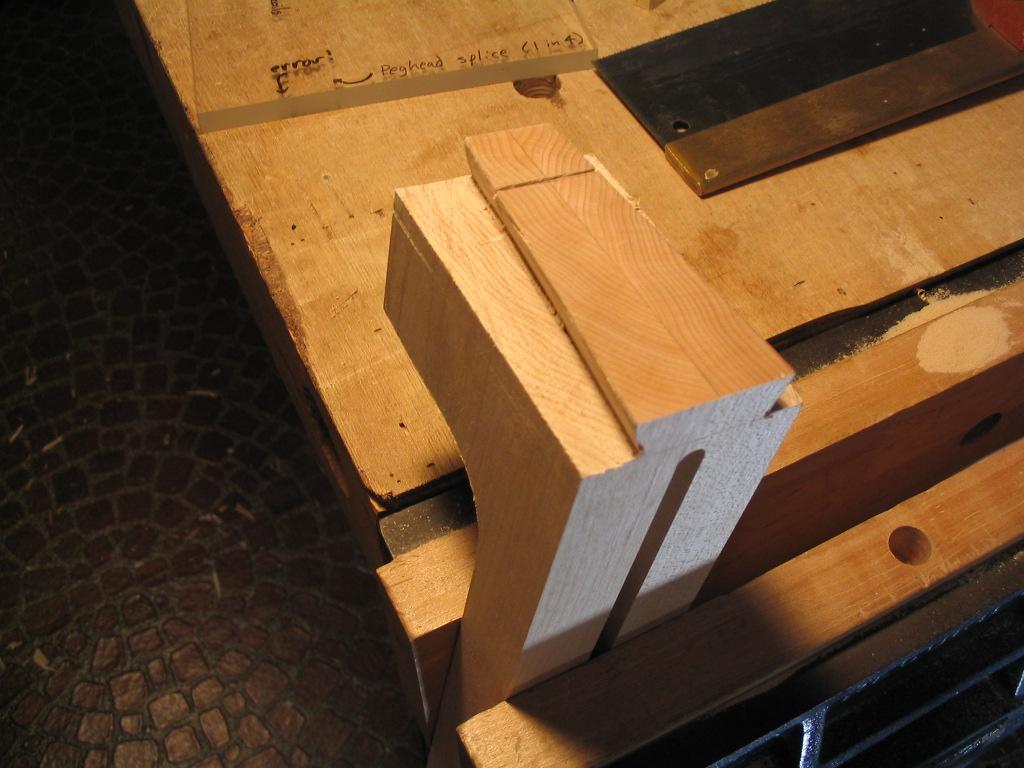
measured in degrees, but rather transferred with a marking gauge. The
gauge is held against the guitar body, and tightened at the correct
angle; though the angle in the photograph looks like a right angle,
it's not. Notice that the blade of the gauge is roughly in the middle,
forming a "tee". The leg that'soff of the body has the complementary
angle, and will be used to mark the angle on the neck.
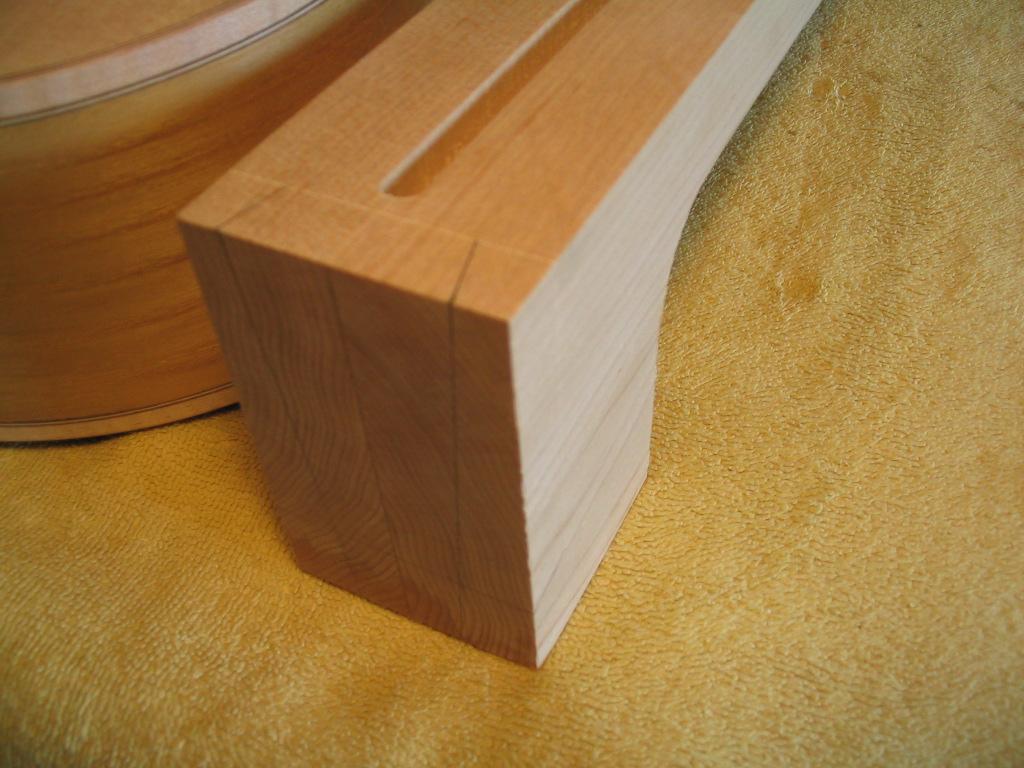
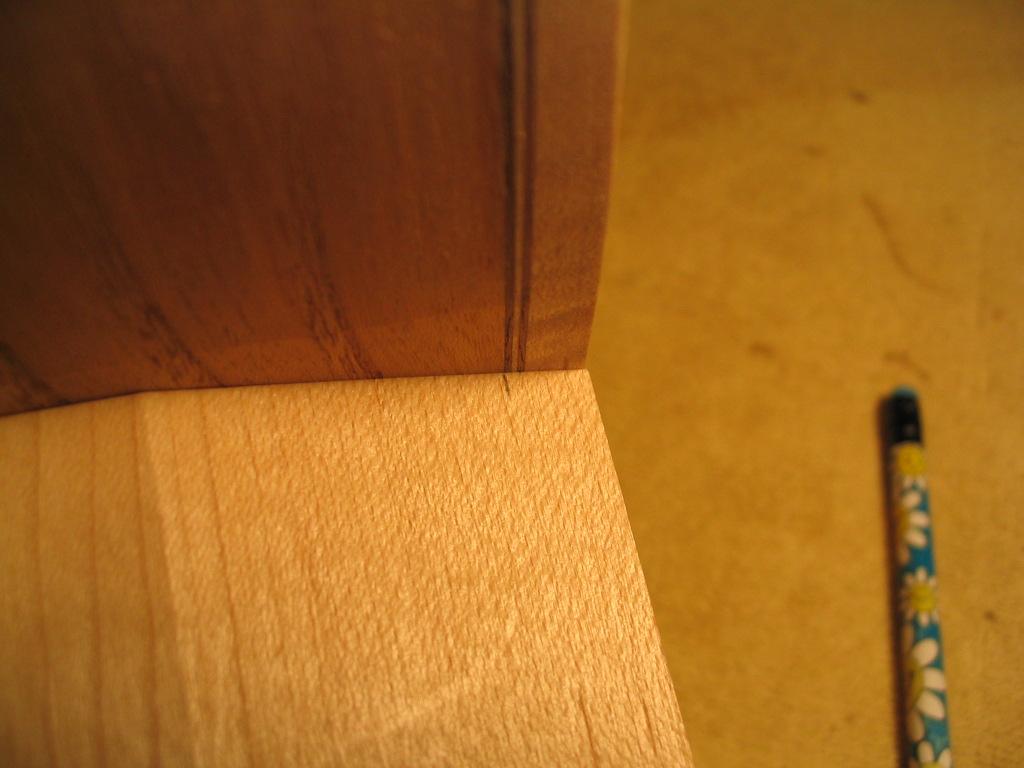
The marking gauge is then used to mark the end of the neck blank with
the complementary angle. The angle is transfered to both sides of the
neck, with a square used to mark the top and bottm faces.
Even though the scribe mark looks as if it's just a right-angle cutoff of the neck stock end, it's not.
The neck can now be cut off at the mark. I use a bandsaw, and then
plane the cutoff end flush with the marks. A very sharp plane is
helpful for planing the end grain.
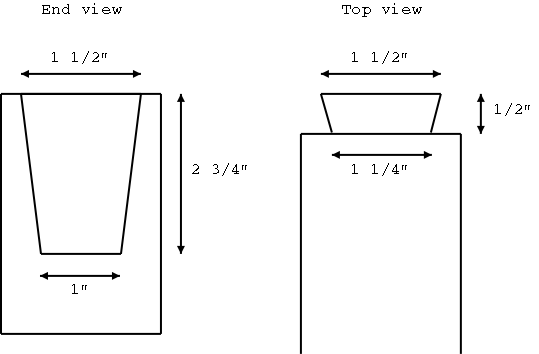
The dimensions used for the dovetail are shown in the following diagram.
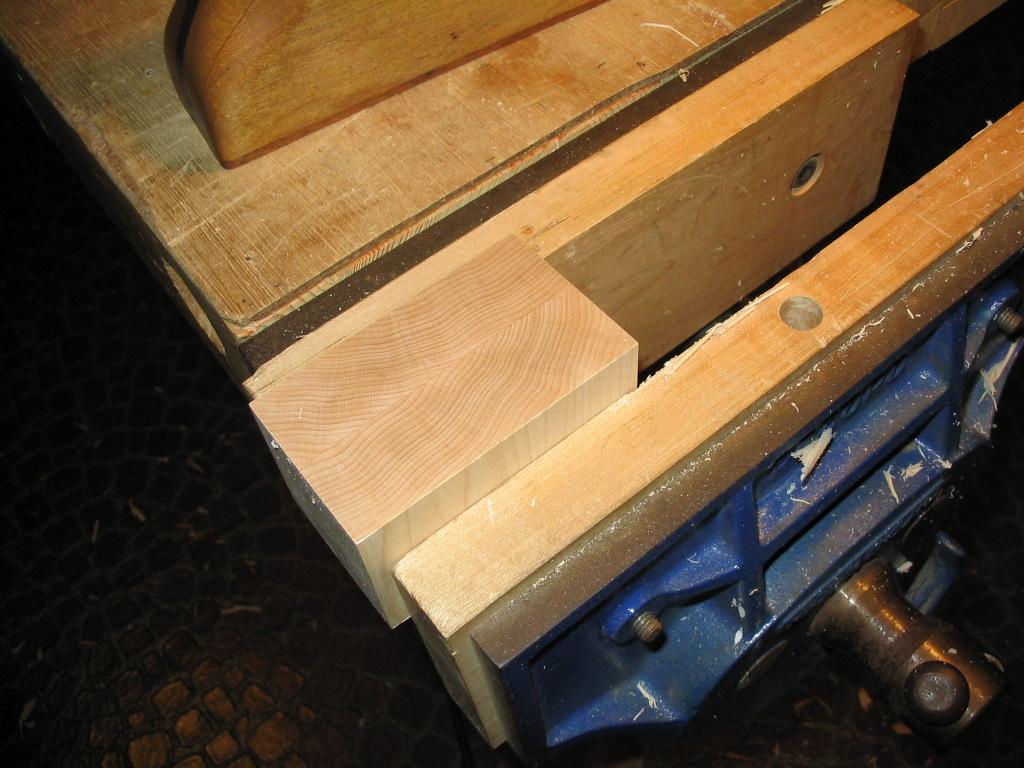
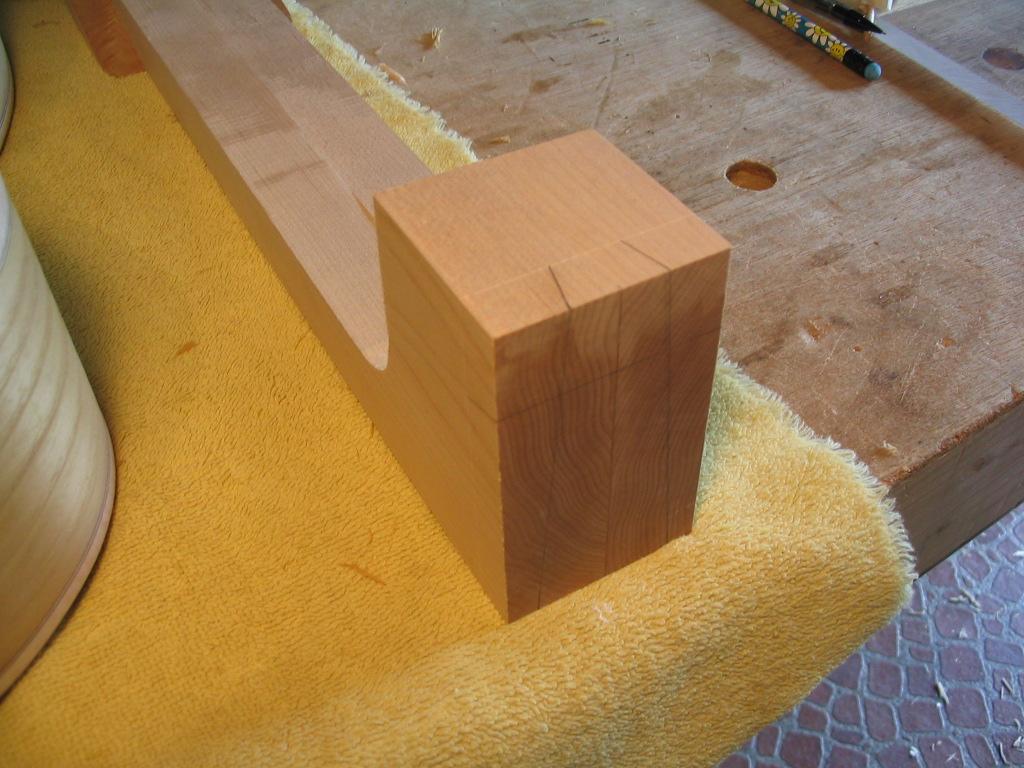
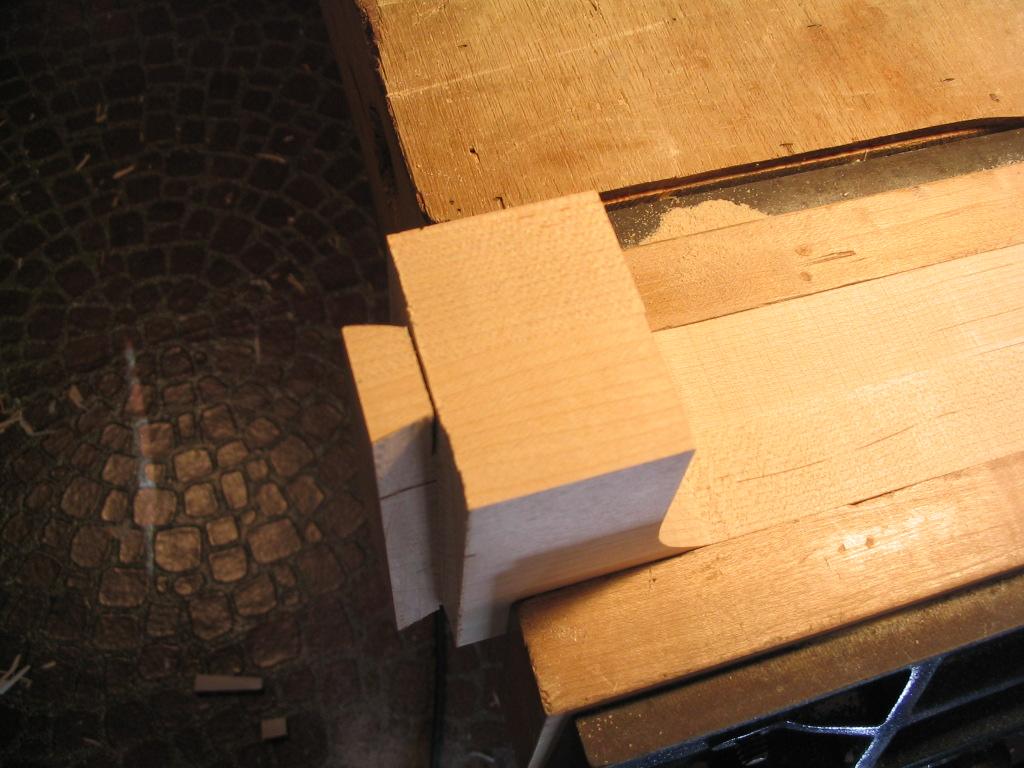
The dovetail can now be marked on the end of the neck blank. Note that
the length of the tenon is scribed 1/2" in from the end using a marking
gauge.
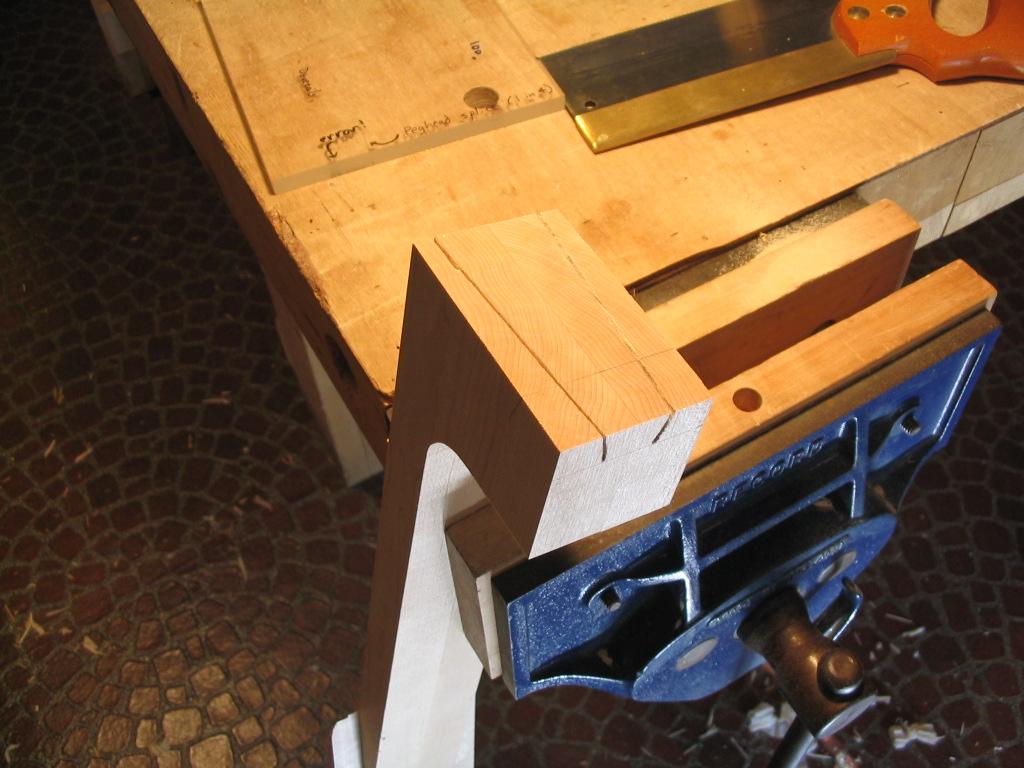
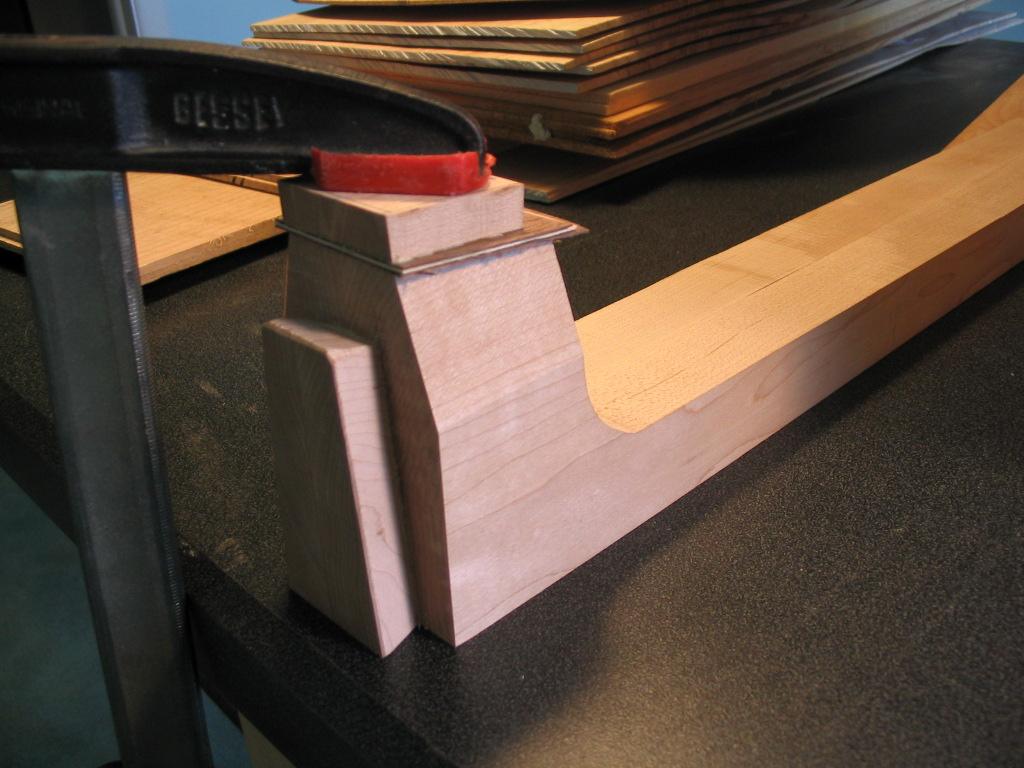
The dovetail joint is then cut, using either a dovetail saw or a fine
backsaw. I don't try to cut right to the line, expecting to finish the
joint by paring with a sharp chisel after sawing. The two long angled
cuts, which form the "cheeks" of the dovetail, are cut first. Notice
how the neck is angled in the clamp so the sawcut will be on the
vertical; I find this helps in keeping the cut straight, being easier
than trying to angle the sawblade.
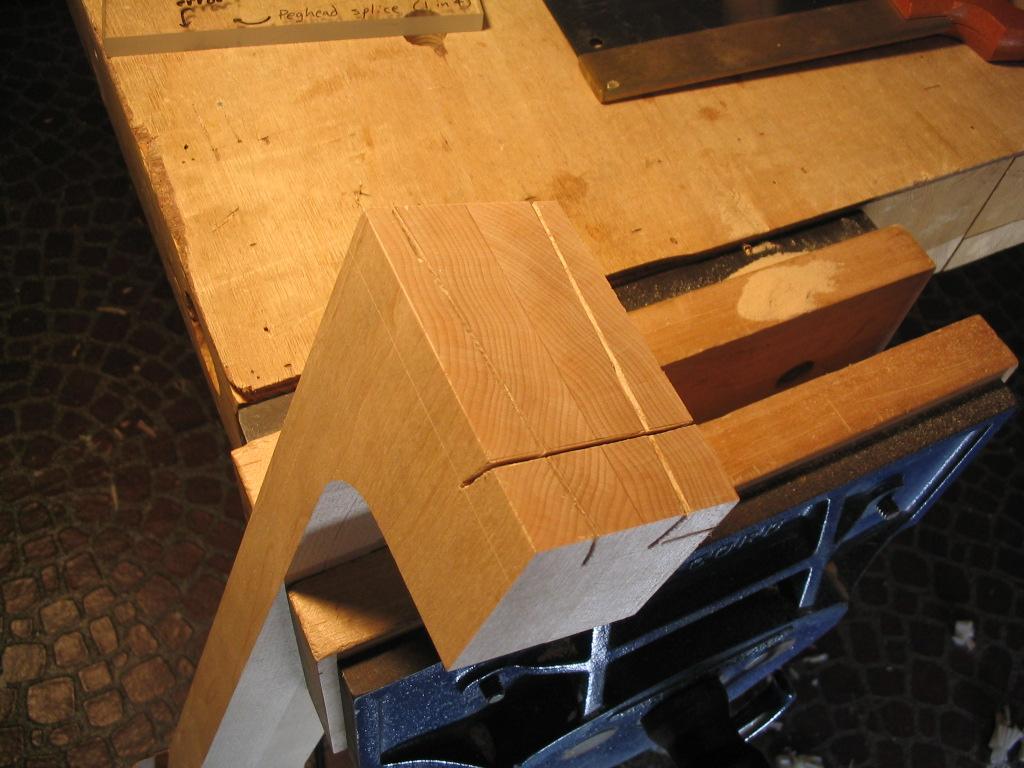
The bottom of the dovetail is cut next. Note that these three cuts have
been rip cuts - the saw is cutting with the grain, rather than across
it.
The "shoulders" of the dovetail are cut next - these are crosscuts, going across the grain.
Finally, the small remaining chunk at the bottom is cut off.
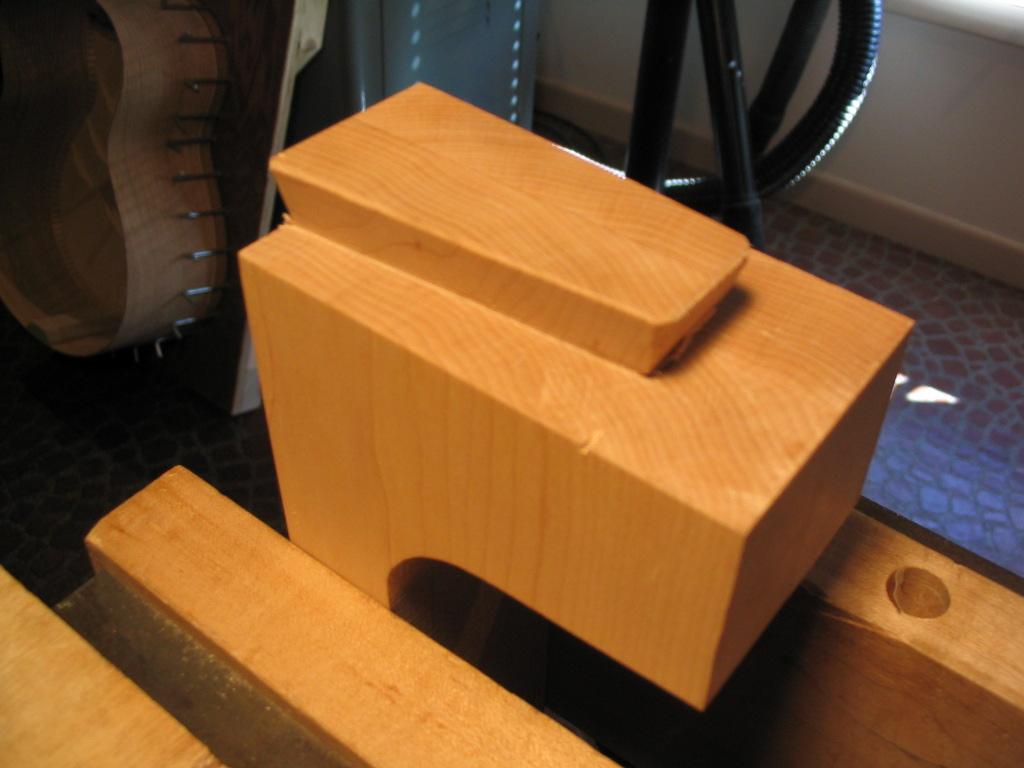
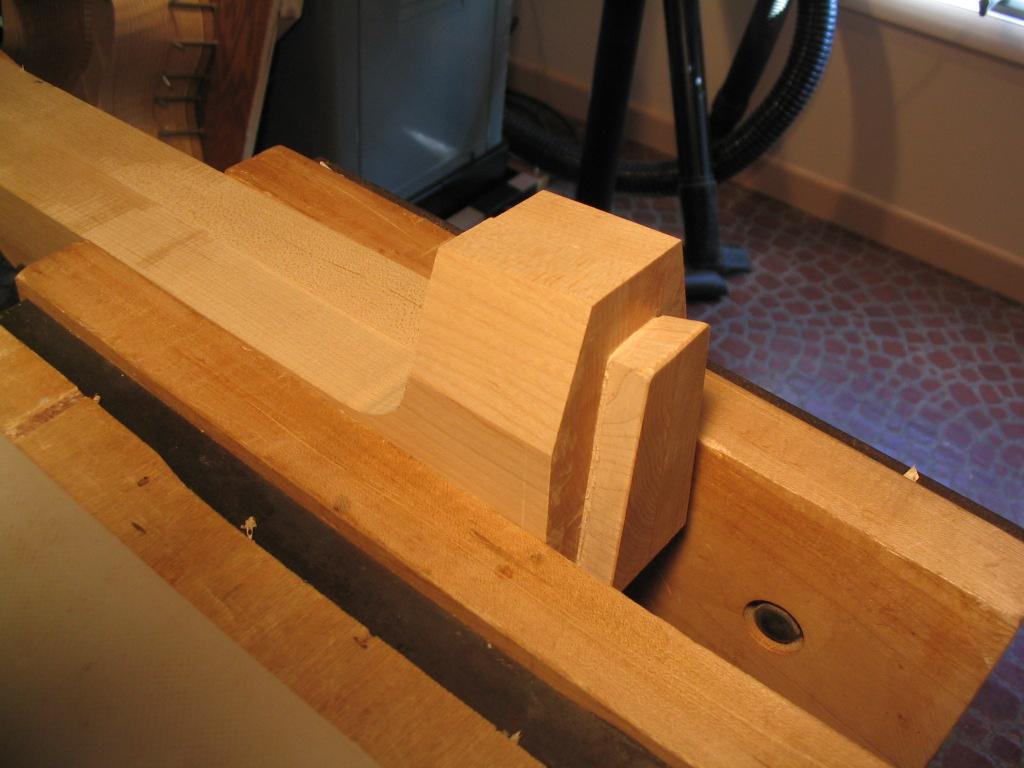
The dovetail is then cleaned up with a sharp chisel. The surfaces are
all smoothed, with particular attention paid to getting the shoulders
to be planar - that is, the flat area that the tenon rises out of
should truly be flat. This can be achieved using a straightedge to find
any high spots. The angles on the dovetail can also be checked with a
small gauge. When completely cleaned up (which takes a little while -
and watch your fingers with the sharp chisel!!), the dovetail should
look like that below.
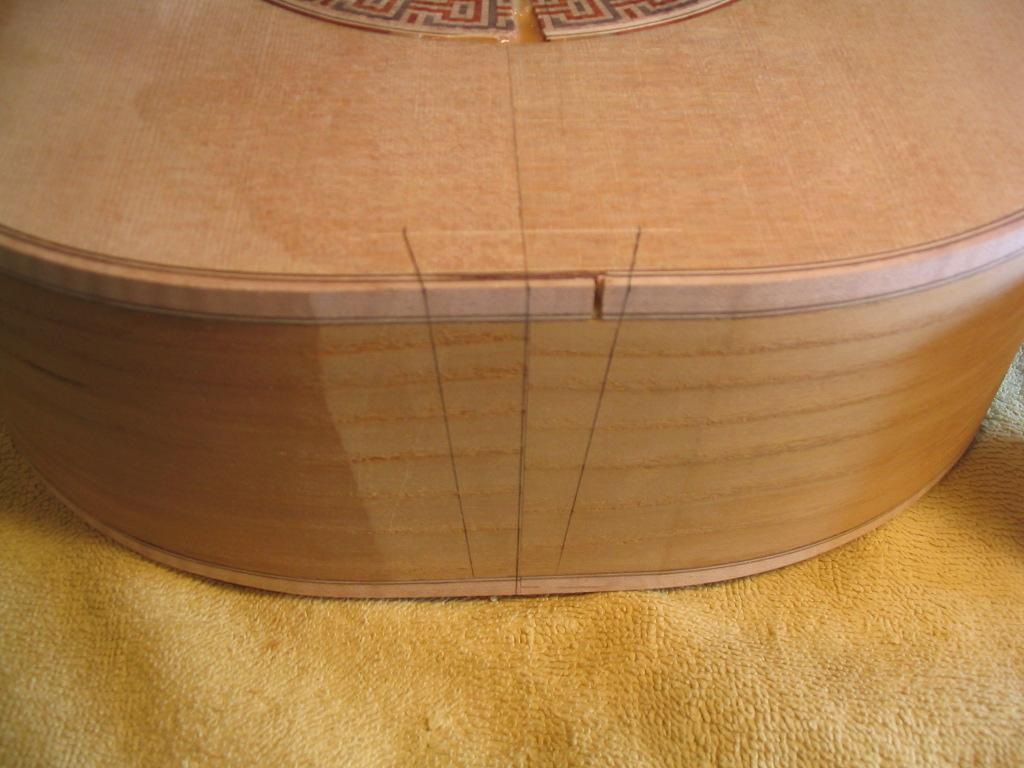
The mortise to receive the tenon can now be cut in the body. The joint
is first marked on the body (the line delineating the bottom of the
joint is missing in the photo).
The "cheeks" of the joint are now cut with a backsaw or dovetail saw.
Note that only half the surface of the cheek can be cut, since the
joint is actually "half blind".
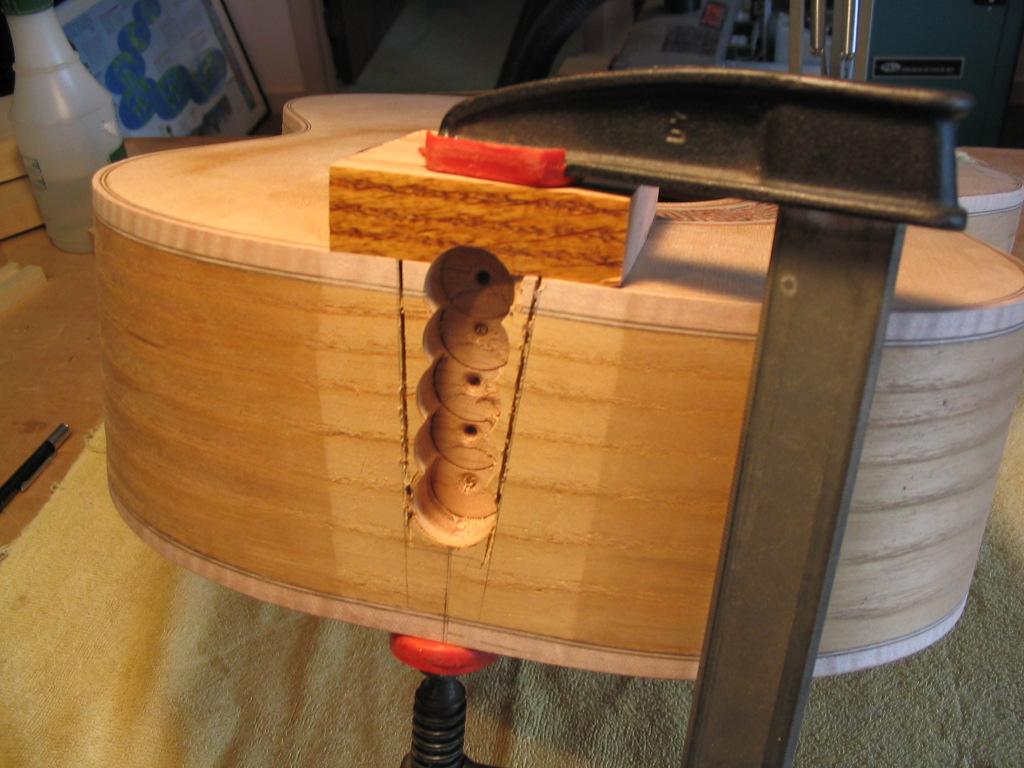
The bulk of the mortise can now be wasted away using a large-diameter
drill bit in a drill press. The piece of stock is clamped on the top of
the body to keep the bit from breaking out. The depth of the holes
should be about 1/2" plus 1/16". The mortise will be deeper than the
tenon is long, so there will be some space at the bottom of the
mortise. The bottom mortise surface isn't important in the strength of
the joint - in fact, if it's not deep enough, this surface will
actually interfere with the fitting of the joint. Plus, leaving some
space makes the joint a little easier to take apart if this is needed
in the future to remove the neck for a neck reset or other repair; the
gap lets steam used to soften the glue penetrate deep into the joint.
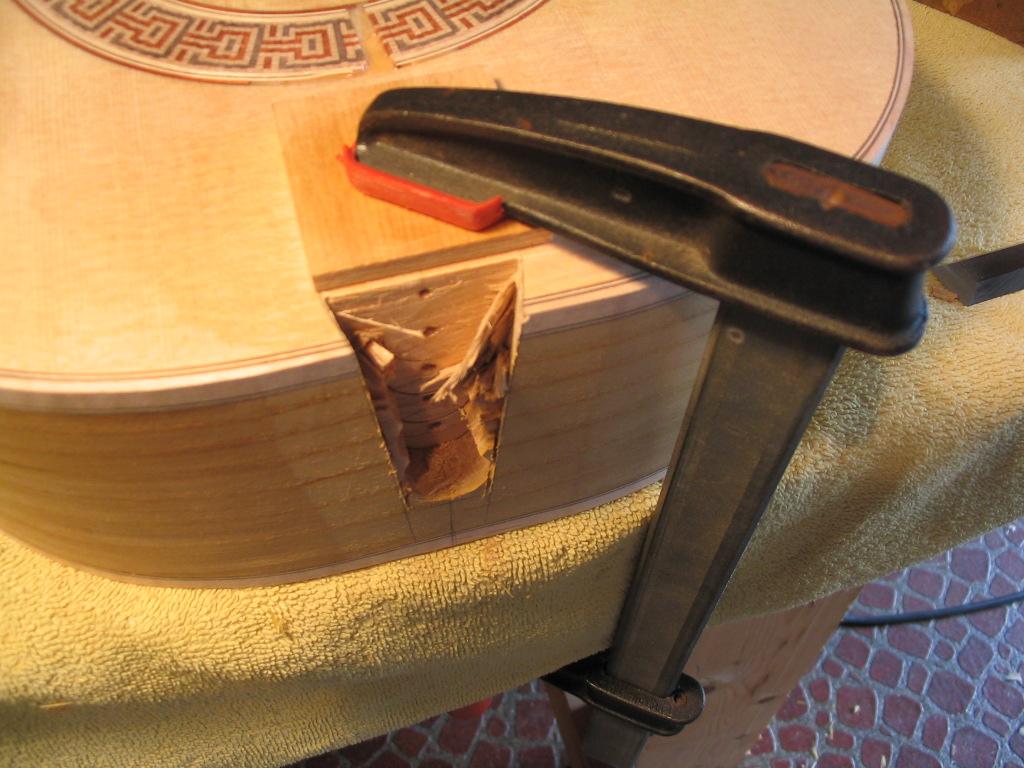
The remainder of the mortise is now chiseled out.With the body clamped
as shown, the neck block absorbs the impact of the mallet when chopping
the mortise (but don't be too
heavy-handed about it...) Again, the depth of the back face of the
mortise (with the little divots left by the drill bit) isn't critical,
as long as it's deep enough for the face of the tenon to clear it. The
angled sides of the mortise are important, though, and should be
trimmed carefully. The bottom face is also not critical, but again
needs to be deep enough so the tenon can seat in the mortise.
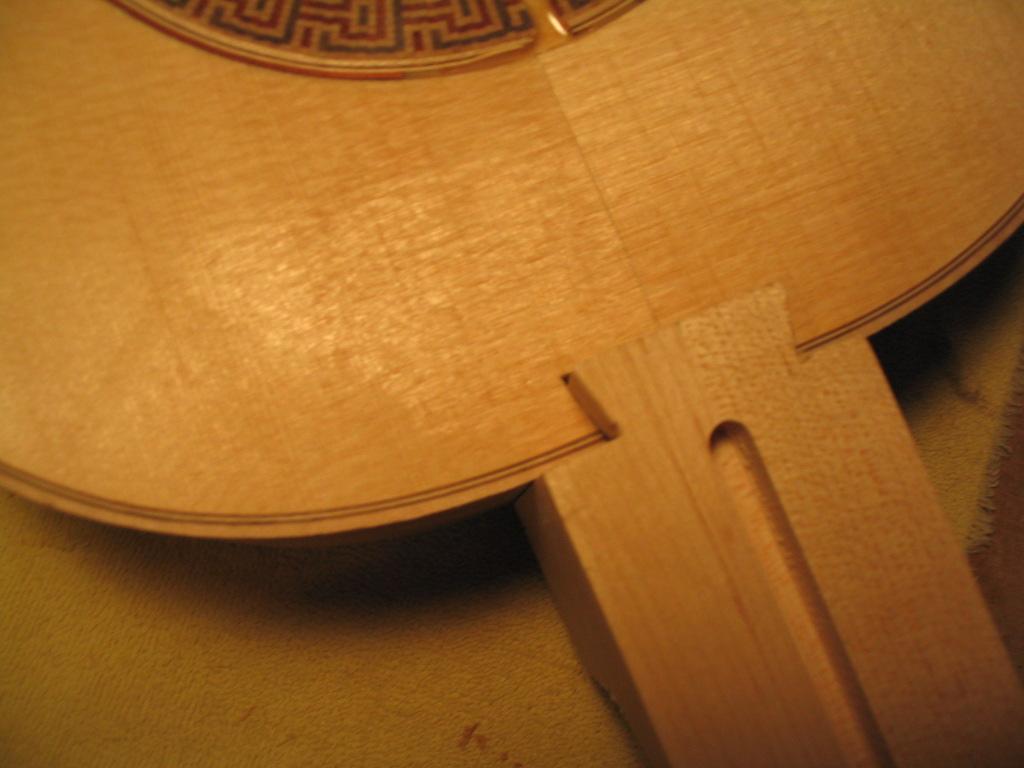
When finished chopping, the mortise should match the tenon.
The tenon can now be fit into the mortise. If the tenon is left a
little large (or the mortise small), the tenon (or mortise) will need to
be shaved a bit to get the top of the neck to be flush with the flat on
the top of the body. This also permits alignment of the neck: a
straightedge laid along the neck's centerline should run along the
centerline of the body. The neck alignment can be adjusted by taking a
little more off of one side of the tenon. In addition, the fit of the
joint should be tested as the mortise and tenon are shaved. If the
joint is tight at the top but loose at the bottom, the tenon is a
little too wide at the top, and a little should be shaved from the
upper portion of the tenon cheeks to rectify this.
Sometimes the tenon needs to be shaved so much to get the proper fit
and alignment that the top surface of the neck falls below the surface
of the body. This is easily remedied using shims, that can be cut from
a sheet of veneer. For very fine adjustment, I've even used thick plane
shavings.
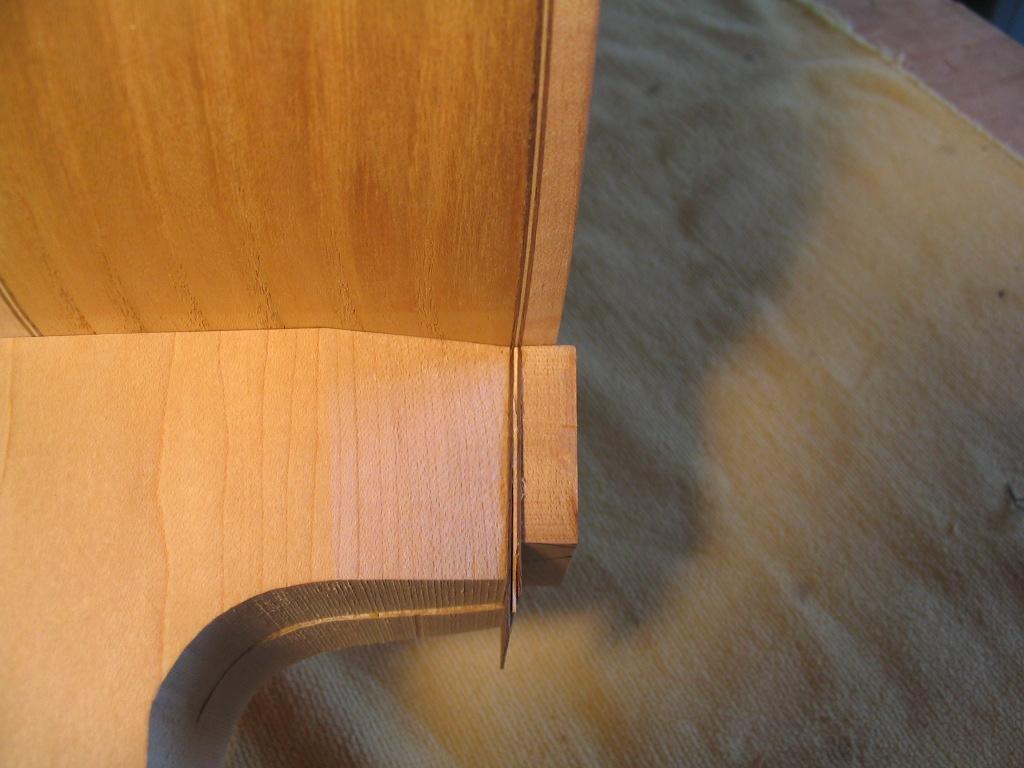
When finished, the joint should fit tightly all along the line where
the neck dovetail's shoulders contact the sides of the body.
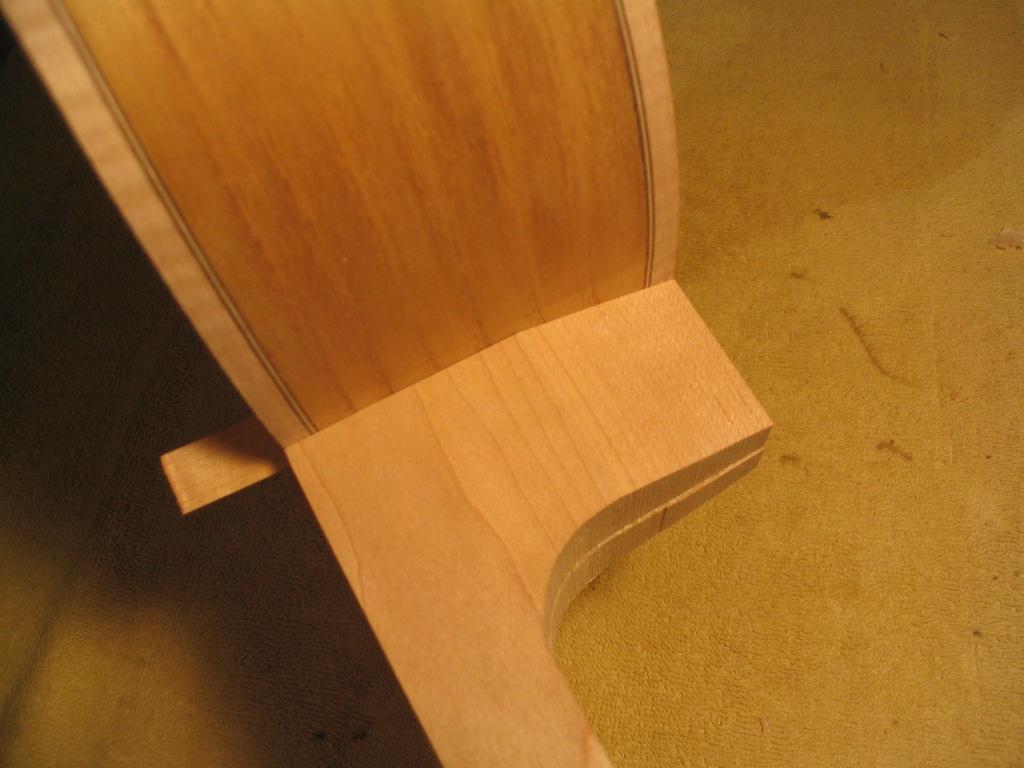
The neck can now be marked to be cut for the heel cap.
The heel cap can be glued so it's at a right angle to the sides, but I
prefer to angle it back so it matches the angle of the back. The
appropriate angle can be obtained with the marking gauge in the same
way that the angle was transfered from the top to the neck.
The complementary angle is transferred to the neck stock, and the stock is cut and planed flat.
The heel cap is then glued onto the planed flat. I like to include several
layers of veneer to match the purfling on the binding on the body.
When
the glue is dry, the heel cap is pared to be flush with the shoulders of the
dovetail.
Finally, the fit of the neck is checked.
Previous Index Next
Comments/questions: jsevy@cs.drexel.edu