Previous  Index Next

Binding the Body

When the body is complete, with top and back glued to the sides, binding can be applied to the body edges. The binding is wooden stripPing that wraps around the edges of the body, providing both decoration and protection. The purfling consists of thin bands of wood adjacent to the binding, used primarily just for decoration (though some have suggested that it "loosens" the joint between the top and sides).

The binding strips are made with purfling glued to the edges by creating a "sandwich" of the binding material and purfling veneers and then slicing it into the binding strips. These strips are then taped together and pre-bent in the side bending jig so they'll easily conform to the profile of the guitar body. Shown below are the binding strips for two guitars. BTW, I glue the purfling material to both edges of the binding so I don't have to worry about left- and right-handedness. The unneeded purfling strips will be scraped away after gluing.


The binding process starts by cutting grooves around the edge of the body to receive the binding and purfling. Because all of the surfaces are curved - the sides, and arched top and back - it's hard to find a way to cut the square-edges groove. I use the jig pictured below, which mounts a router and uses the guitar sides as the guide surface.


The guitar rides on the brass rod shown, as the yellow router bit cuts the groove. The Brass rod has spacers on each end to make the width of the cut (which is equal to the radius of the router bit minus the radius of the rod spacers) the appropriate depth.

Before cutting the binding and purfling grooves, however, a flat is planed at the top of the guitar body where the neck will attach. The body is clamped to the workbench as shown (I also support it from below on a chair). (Note that in the photo below I began routing the binding groove before remembering to plane the flat...)


The flat is planed such that the centerline of the neck will align with the centerline of the guitar body. This is measured using a square and a strightedge, with the square resting on the planed flat and the straightedge placed along the guitar body centerline.


The flat is then adjusted with the plane until the edges of the straightedge and square line up perfectly.


The routing jig is now set to cut the binding groove. A piece of scrap wood is used to test the groove depth and width to ensure they are a little less than the binding height and thickness (the binding is left slightly proud, and then scraped flush).


The guitar body is then slid along the brass rod on the jig, with the router bit cutting the groove. Below, the binding groove is shown routed around the perimeter of both the top and back.


The depth of the cut is now increased to the depth of the binding plusd the glued-on purfling. The scrap wood from before is used to adjust the depth, as shown below.


The top and back perimeters are then re-routed, but stopping shy of the end binding strip that was previously glued in.


The rop and back purfling grooves can now be routed, setting the depth of cut appropriately by removing the spacers from the brass guid rod. As before, the groove is stopped shy of the back inlay strip.


The purfling grooves can now be chiselled up to the back and end binding strips.


The purfling is now mitered at the ends of the grooves. This is easily done with a sharp chisel, using the back of the chisel as a mirror - when the angle is exactly 45 degrees, the reflection of the purfling on the back of the chisel will form a right angle with the purfling.


The first pre-bent binding strip (with side purfling attached) is marked at the butt of the guitar and cut to length. The attached side purfling is then marked and mitered to meet perfectly with the purfling on the end strip.


The back purfling strips are also mitered, and we're ready for gluing. Glue is applied to the back purfling strips and the binding, and these are then placed into the groove and secured with fiberglass reinforced packing tape. Glue is only applied to about 6" at a time. It's a bit tricky at the start, getting the binding secured and the back purfling strips in the groove and both mated tight with the mitered purfling on the end and back strips. But once the first few inches are glued and taped, the rest goes pretty easily. Make sure to press tightly when taping so as not to leave any gaps.


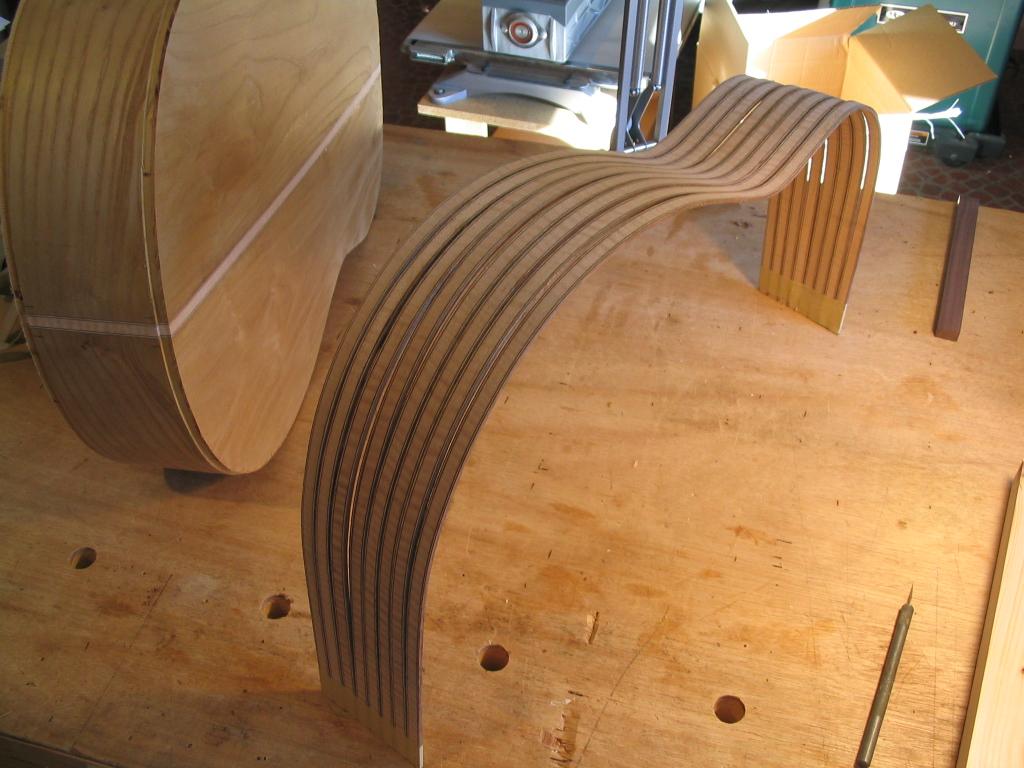
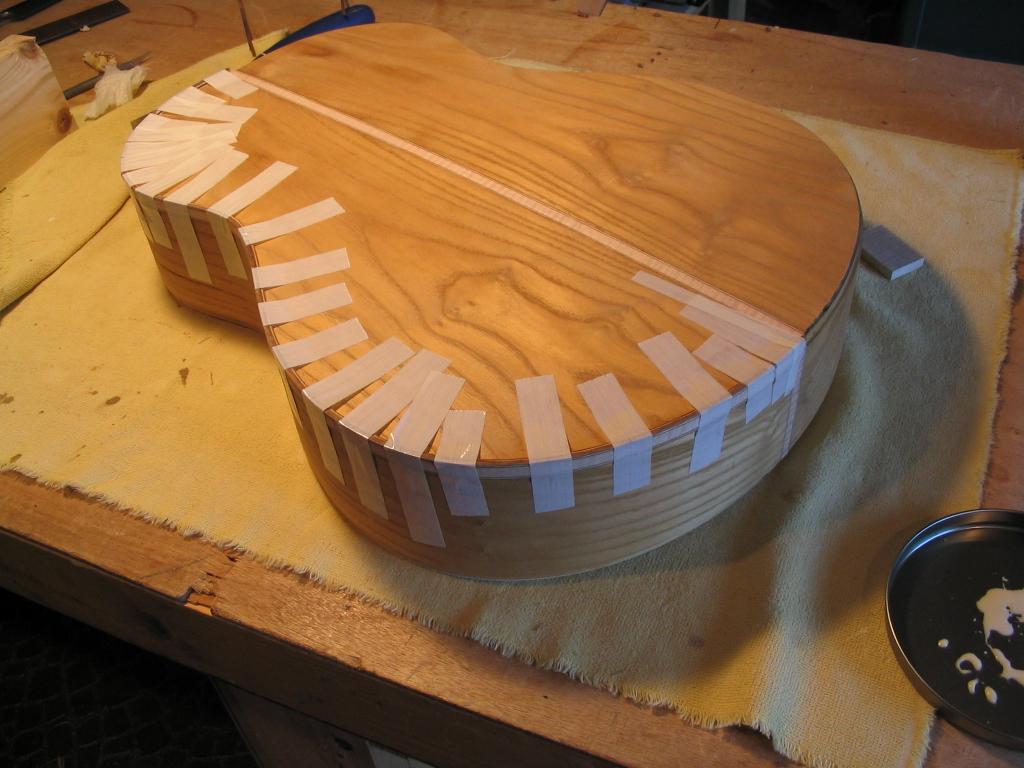
The other binding strips are fit and glued similarly. When the glue has dried, the tape is removed (being careful not to lift the grain, especially on the spruce top). The 
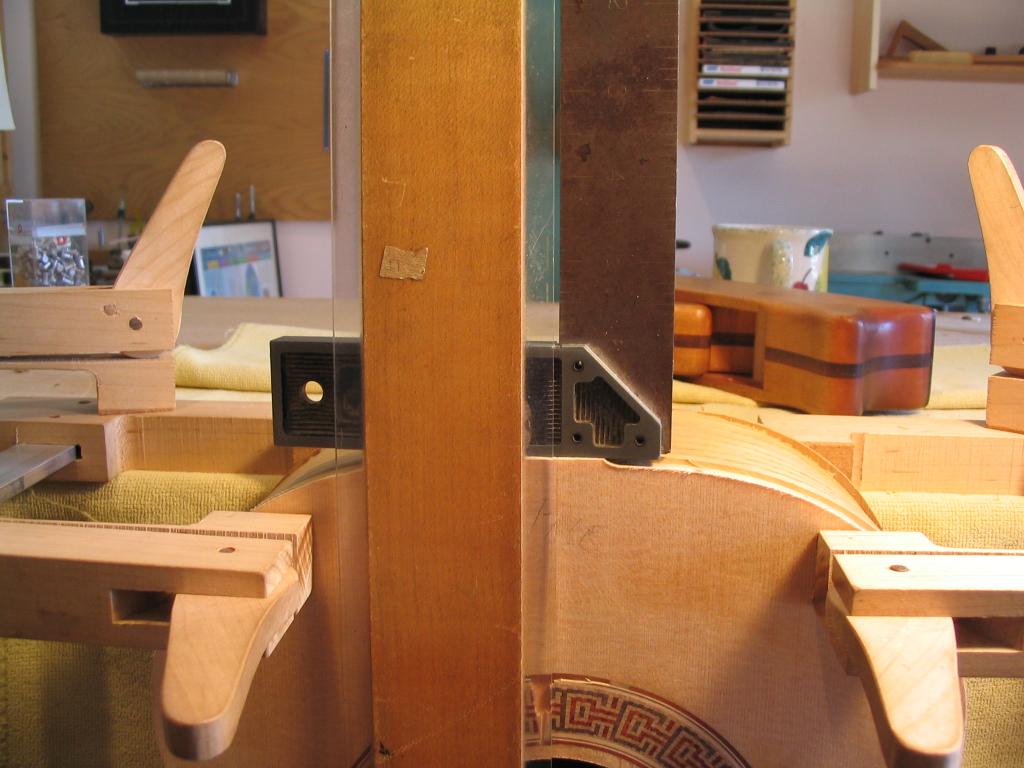
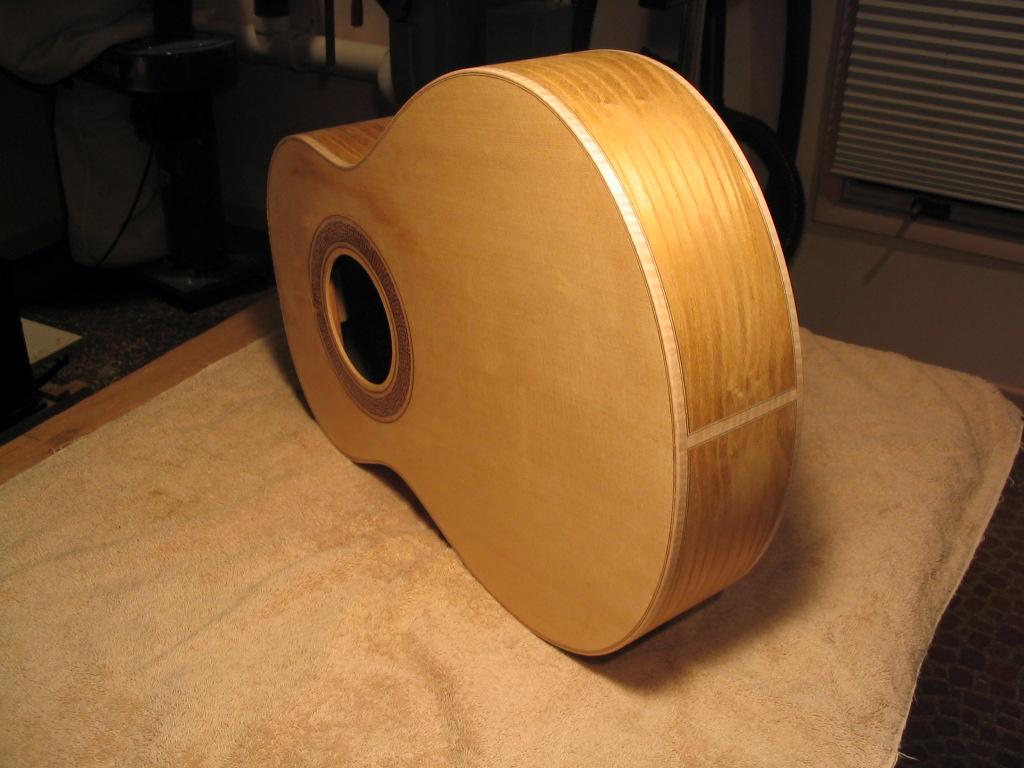
binding is now scraped flush with the sides, top and back. I find it 
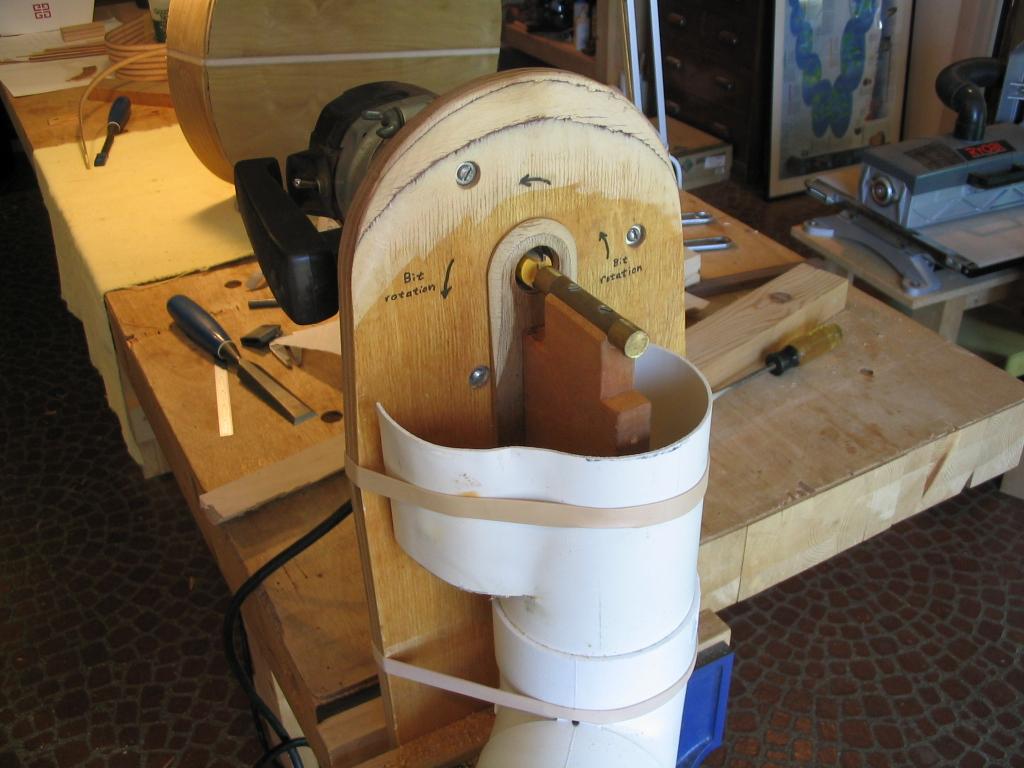
useful to brace the guitar body against a towel placed on the edge of the workbench as I scrape the binding flush with the sides; I wedge the body in with my leg and hips (OK, and gut...)

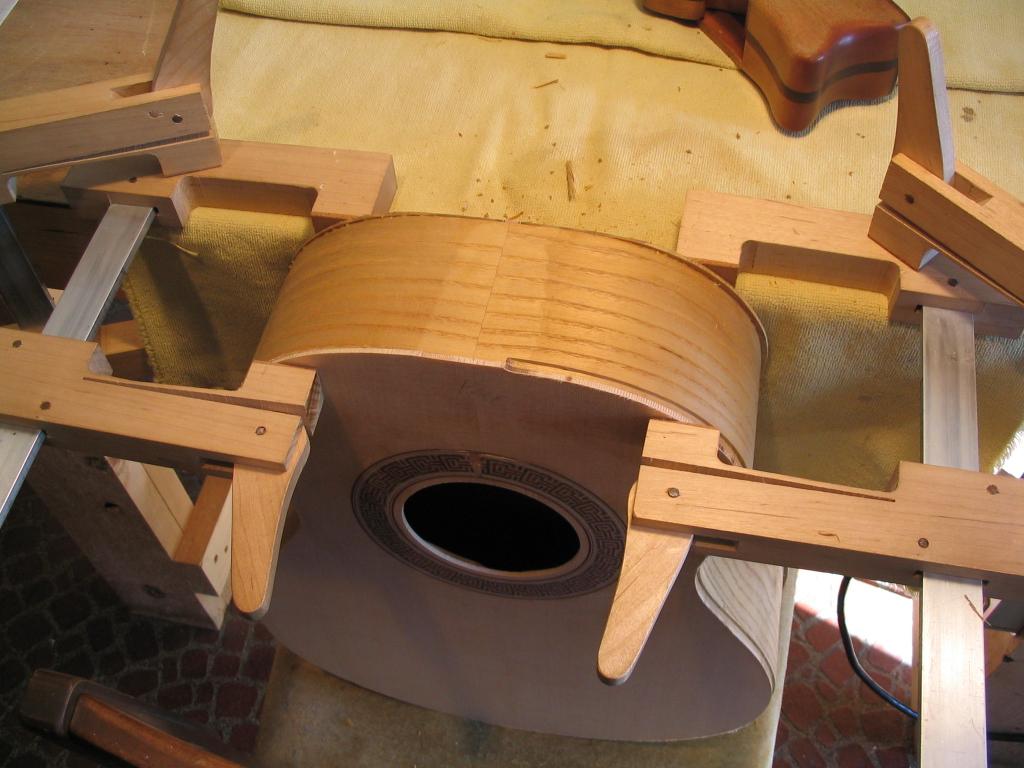
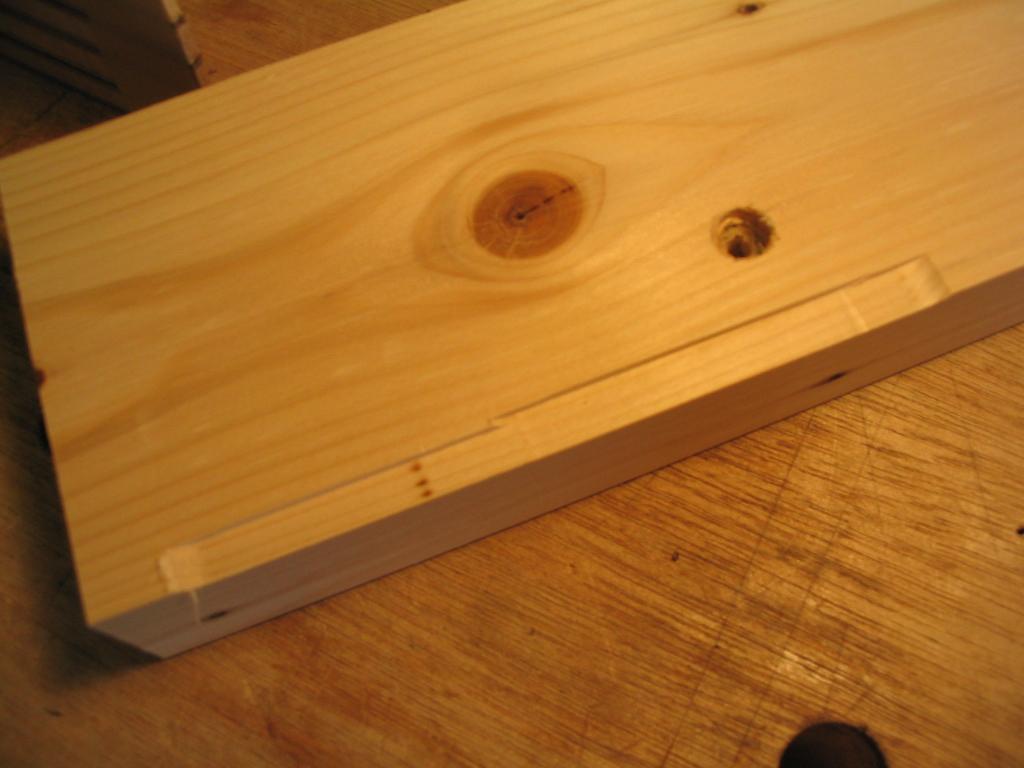
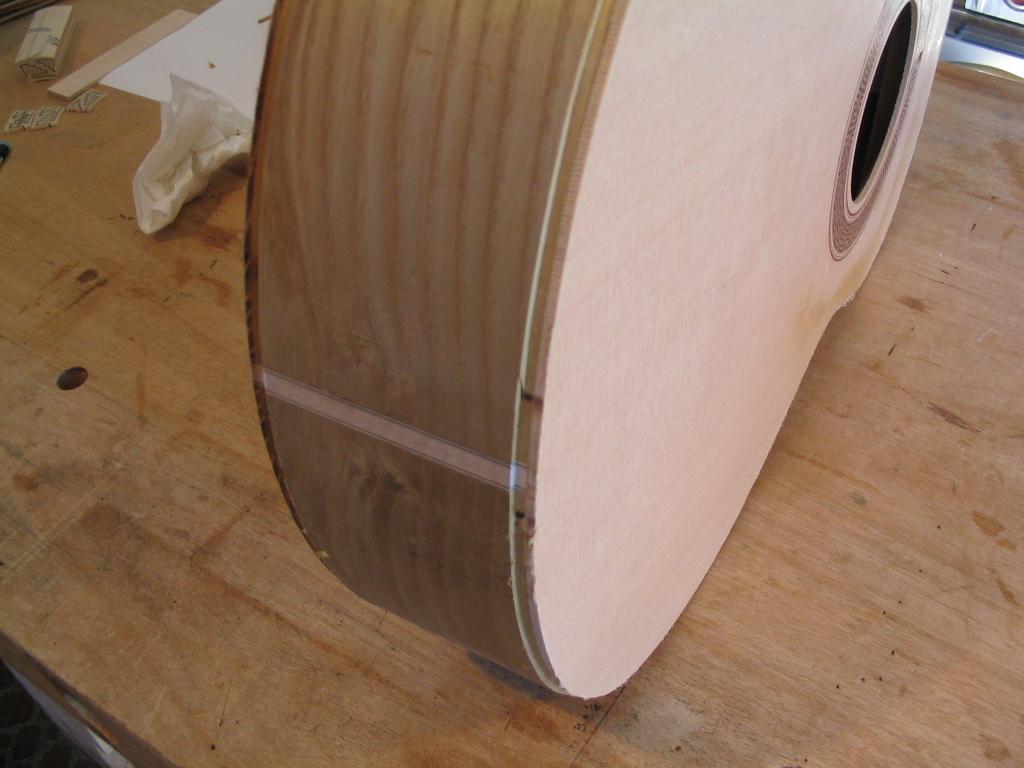
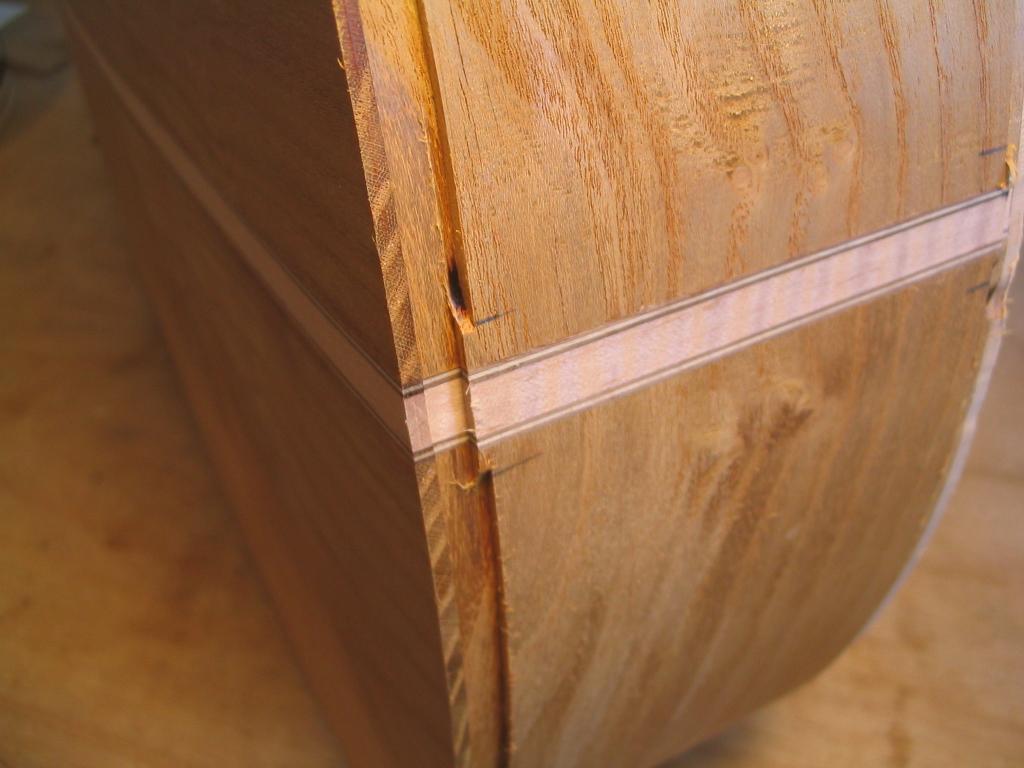
The edge of the binding strip is then rounded slightly with 100 grit sandpaper. The bound guitar body is shown below.


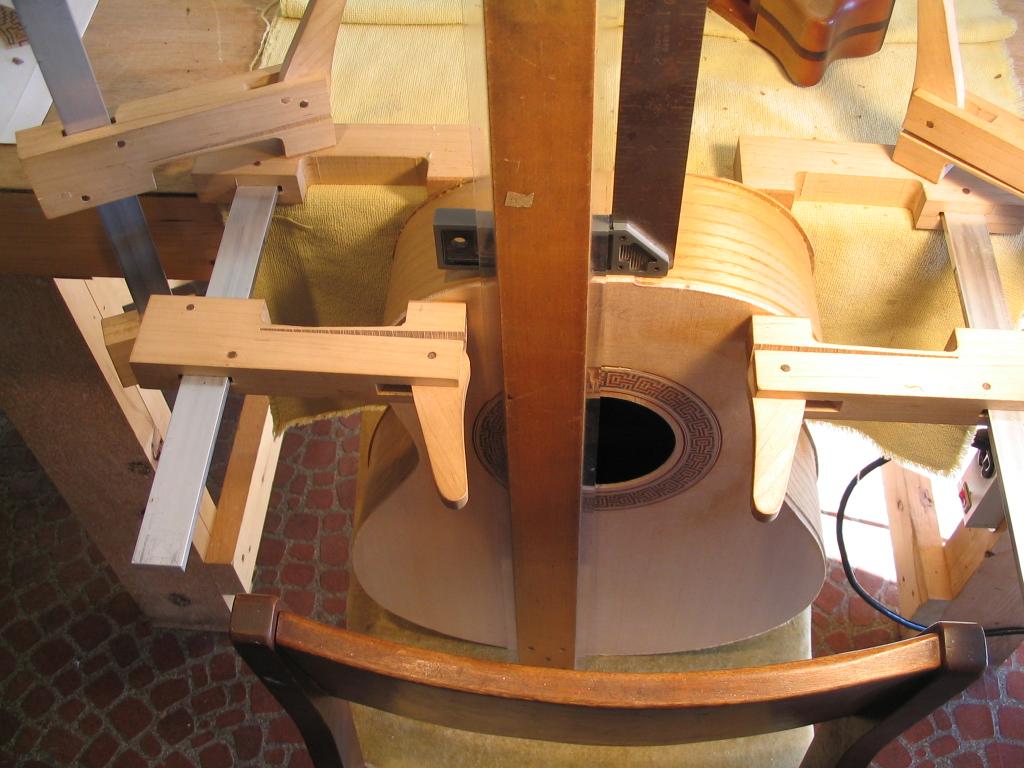
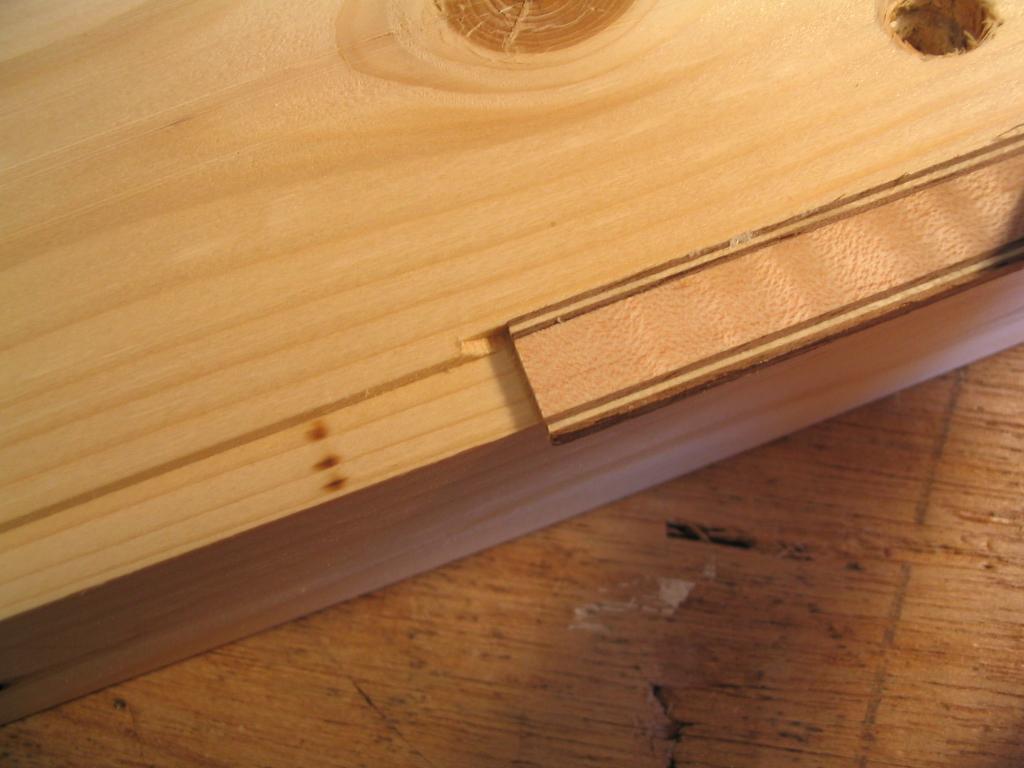
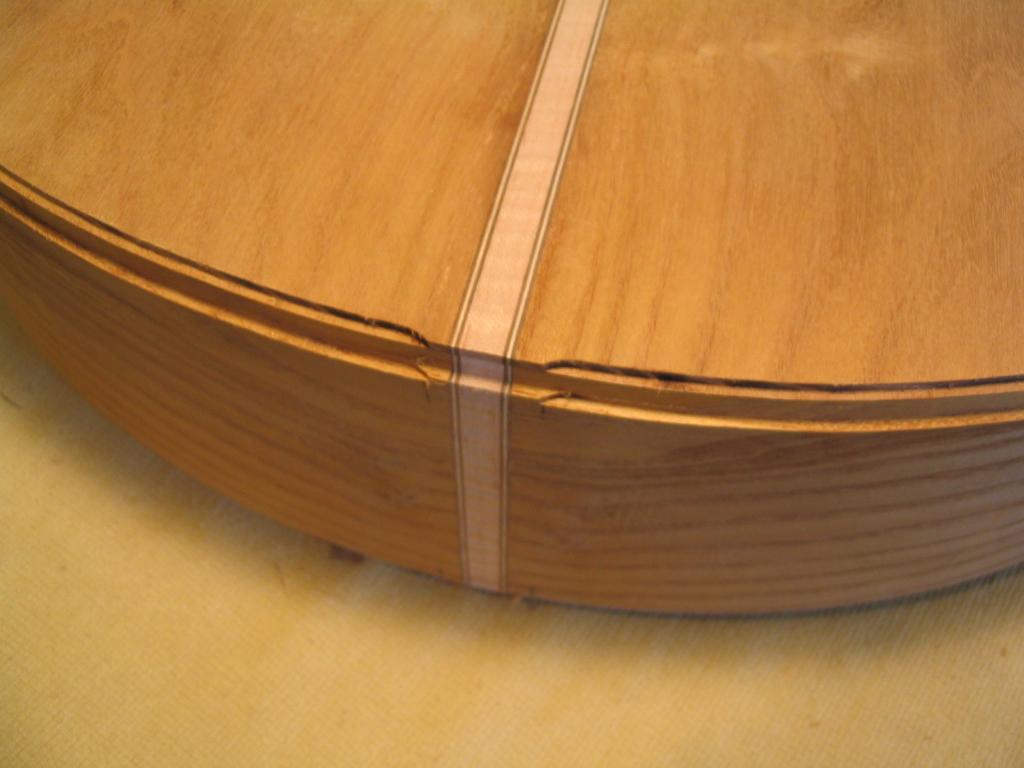
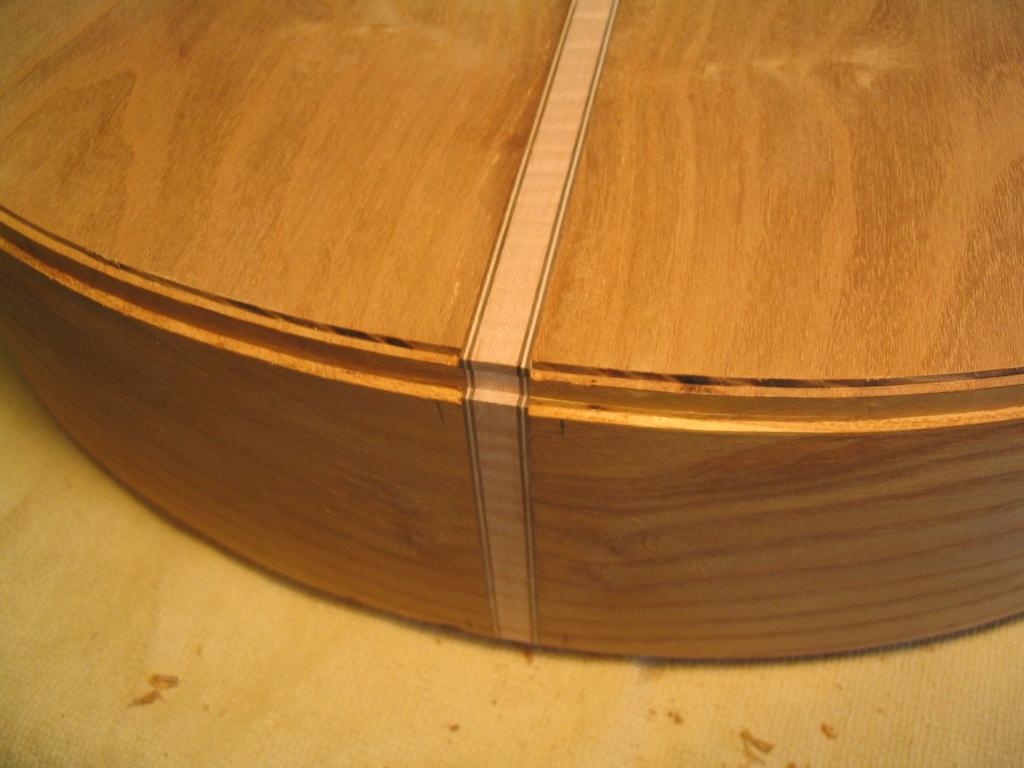
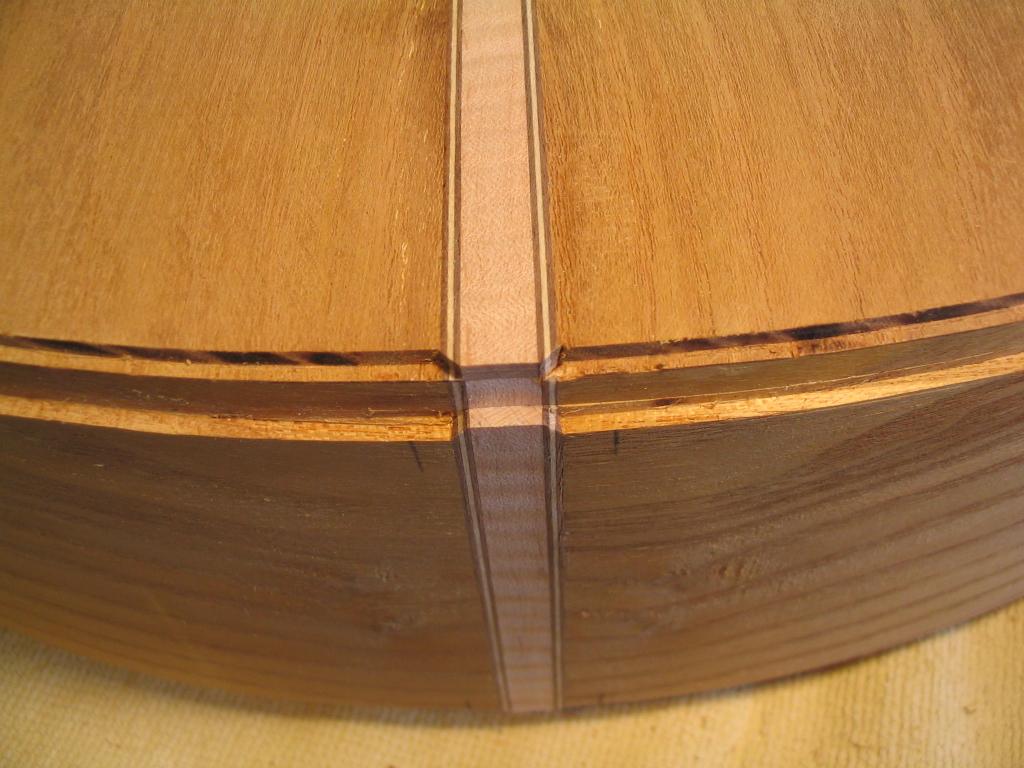
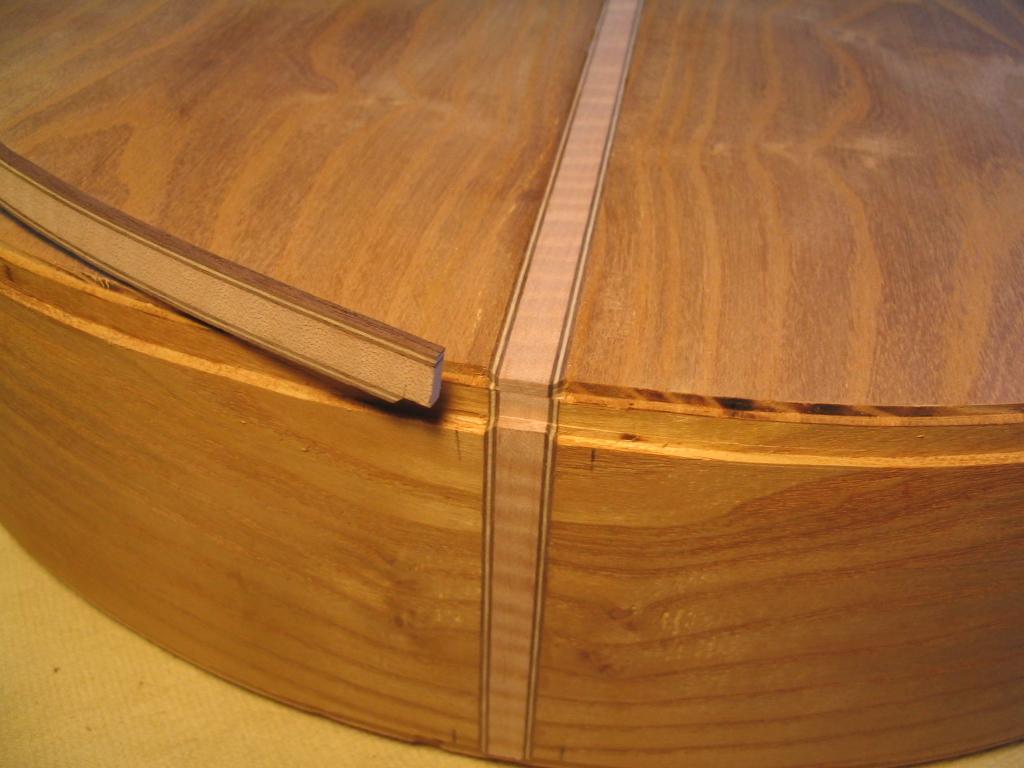
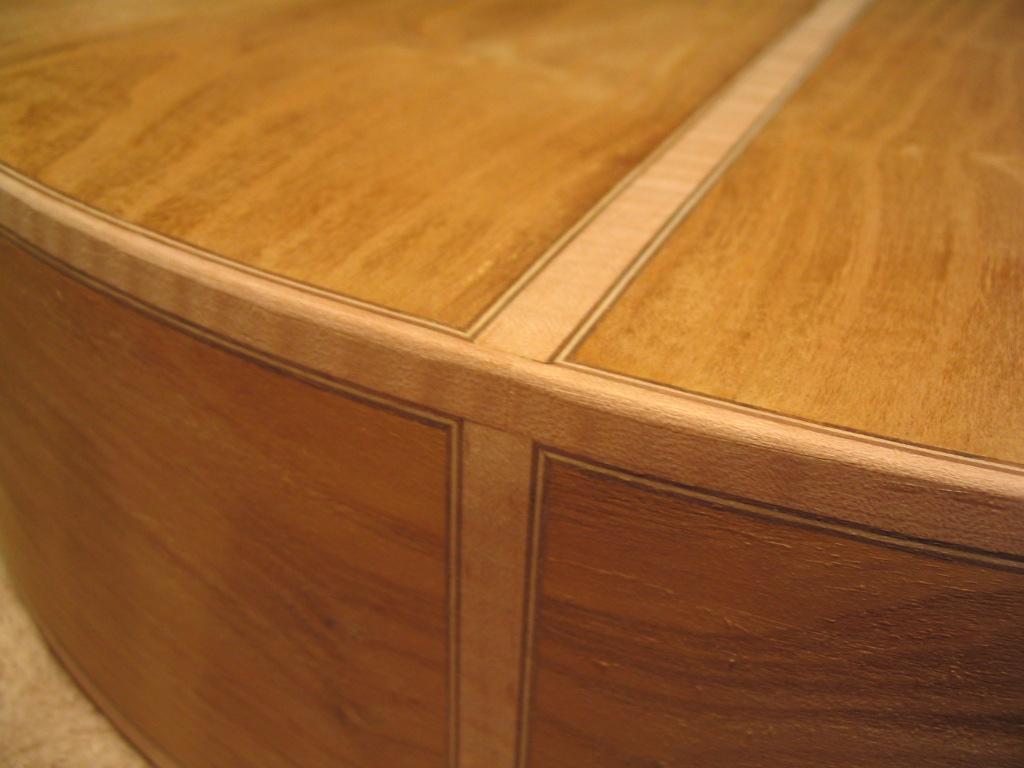
A detail of the binding and mitered purfling joints at the junction of the back center strip and the end strip.


Previous Index Next

Comments/questions: jsevy@cs.drexel.edu