Finishing
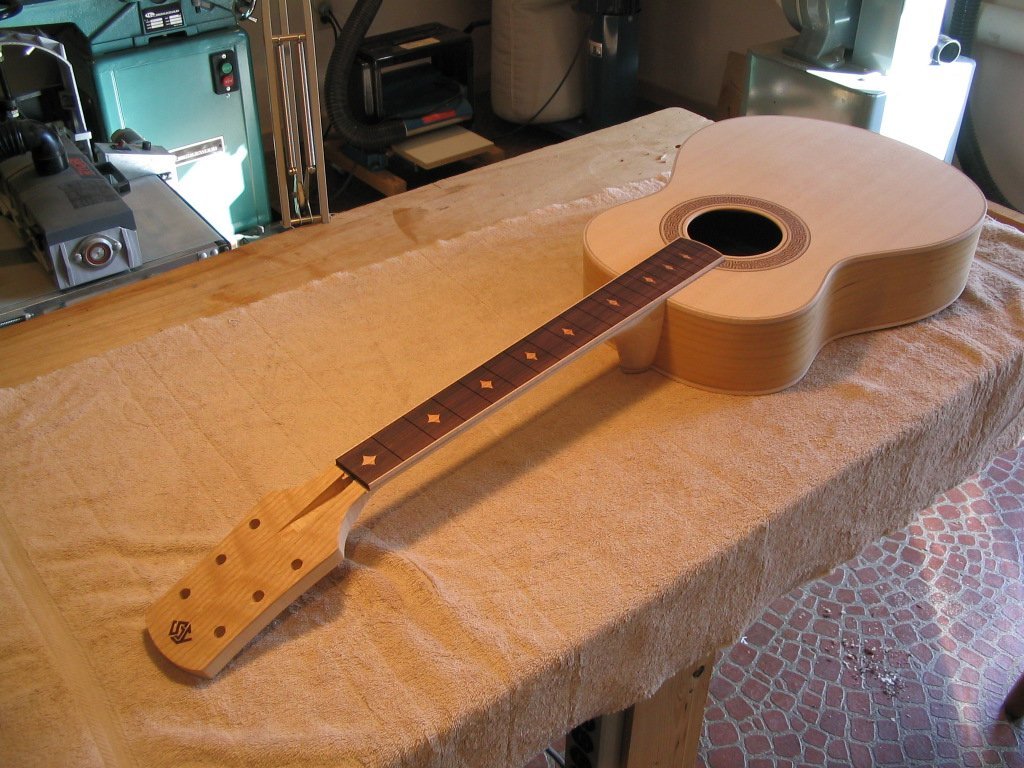
The woodwork of the guitar is now mostly finished (except for the
bridge). At this point, the guitar is completed "in the white", and
needs to have a finish applied to protect the wood and enhance its
appearance.
Finishes
Many different finishes are used on guitars. The traditional finish,
and one that's still used on classical guitars, is called French
polish. This is a finish taht consists of layers of shellac that are
successively applied with a "rubber", a cloth "sponge" that lays down a
thin coat of shellac and smooths any lines left in the application of
the previous coat. A few drops of linseed oil are used to keep the pad
from sticking as each new coat is applied. The finish builds slowly,
and the final topcoat is leveled with very fine sandpaper
(traditionally, pumice was used) and then rubbed to a high gloss. A
well-done French polish has a glass-like appearance, with beautiful
reflectivity and gloss. Unfortunately, the finish takes a long time to
build to the final thickness, and some experience is required to learn
the technique. In addition, the finish is somewhat fragile - it's very
resistant to water, but easily damaged by contact with alcohol since
that's the solvent for shellac.
On steel-string acoustic guitars, the traditional finish has for some
time been lacquer, specifically nitrocellulose lacquer. This is a
fast-drying finish that gives a beautiful gloss. The finish is usually
sprayed onto the guitar, since it dries so quickly that brushing leaves
brush marks and lines where adjacent brush strokes overlap. Spraying
requires appropriate equipment, but allows the finish to be applied
quickly and evenly. However, one problem with spraying nitrocellulose
lacquer is that its solvent is extremely flammable. The finish must be
sprayed outdoors, or in a special explosion-proof spray booth. In
addition, the evaporating solvents are essentially air pollutants, and
large-scale users of such finishes (such as automotive refinishers and
furniture manufacturers) have been required to reduce the amount of
these volatile organic solvents they produce. This has led to the
development of alternative finishes with reduced VOC (volatile organic
content).
One recent and very promising set of finishes are the water-based
lacquers. These are very similar to solvent-based lacquers, but have
been engineered as emulsions of tiny droplets of finish suspended in a
water-based solution. When sprayed, the water evaporates, causing the
droplets of finish to flatten against one another. The droplets contain
just enough of the organic solvents to cause them to "melt" together to
form the final film before the organic solvent evaporates. These
finishes have a number of advantages - they are generally non-flammable
and of lower toxicity than the solvent-based lacquers (though it's
important to always check the Material Safety Data Sheet (MSDS) for a
finish to find out about its flammability and toxicity). The initial
water-based lacquers tended to have some problems with appearance and
film hardness; however, the latest finishes are equal to the
solvent-based finishes, and superior in some ways (ease of sanding
between coats, e.g.). However, one noticeable difference between
water-based and solvent-based lacquers is the "depth" of the finish
when applied to bare wood. Solvent-based lacquers, and French polish,
tend to bring out the grain in the wood, seeming to give it a "glow"
from penetrating below the surface. The water-based finishes don't seem
to penetrate the wood in the same way, and thus don't give the wood
quite the same sheen.
To get the benefits of water-based lacquer with the depth of finish of
the solvent-based finishes, I use water-based lacquers over a washcoat
of shellac. The shellac gives depth to the finish, and the water-based
lacquer provides the protective finish and gloss.
Finishing process
To prepare for the application of the finish, the entire surface of the guitar is sanded with 150- and 220-grit
sandpaper to remove any tool marks and uneveness in the surface.
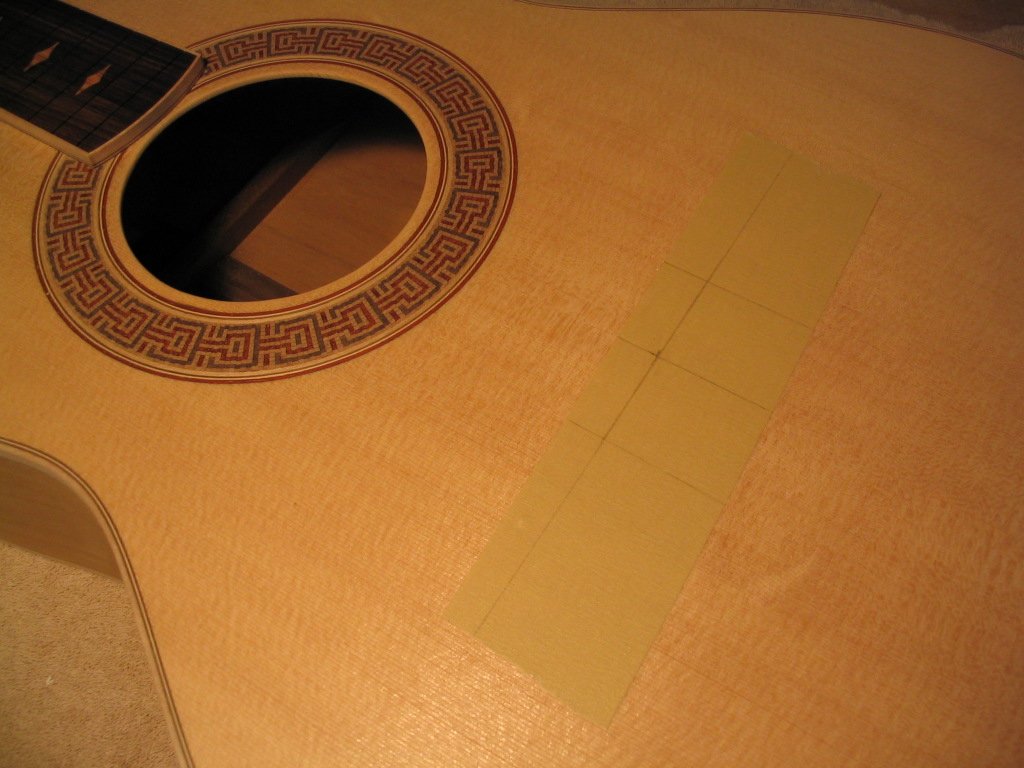
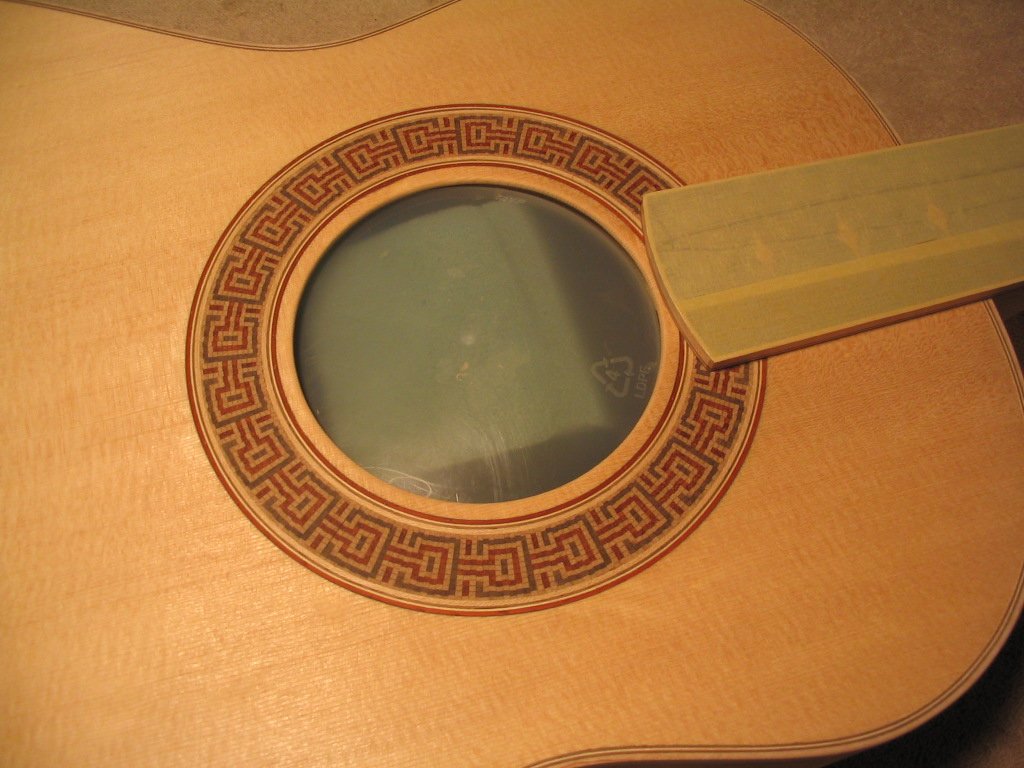
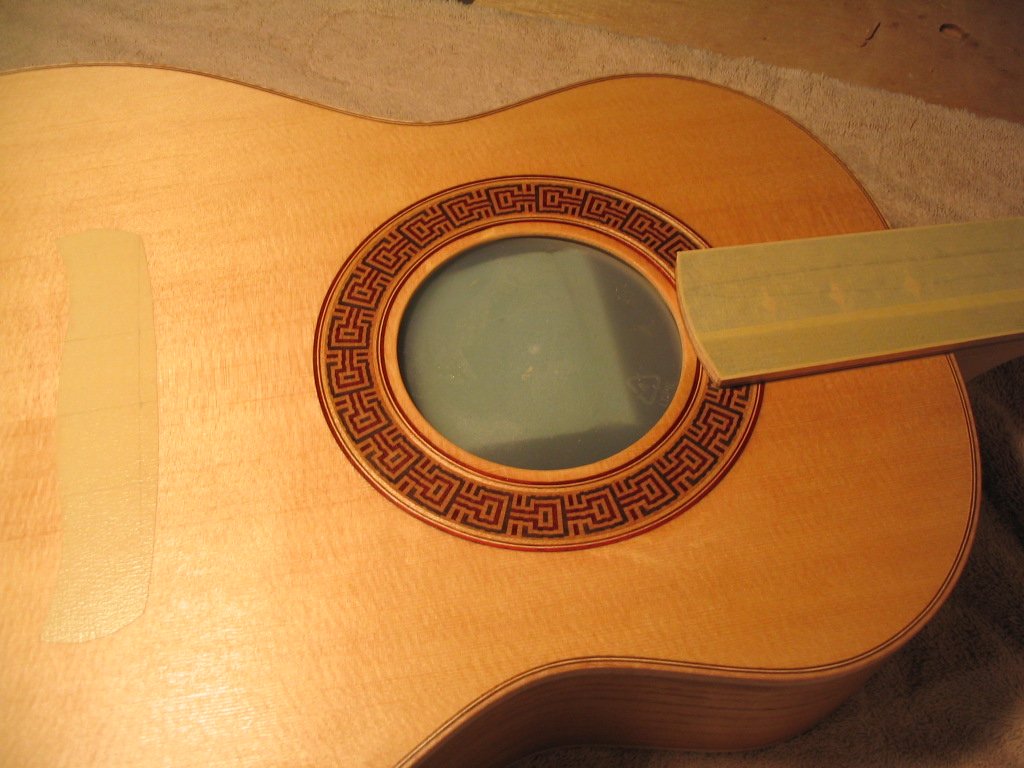
Since the bridge must be glued to bare wood to ensure a good bond, the
bridge location is masked before the finish is applied. The location of
the saddle is marked on a piece of masking tape applied to the top, and
the edges of the fretboard are extended to the tape and used to find
the bridge centerline.
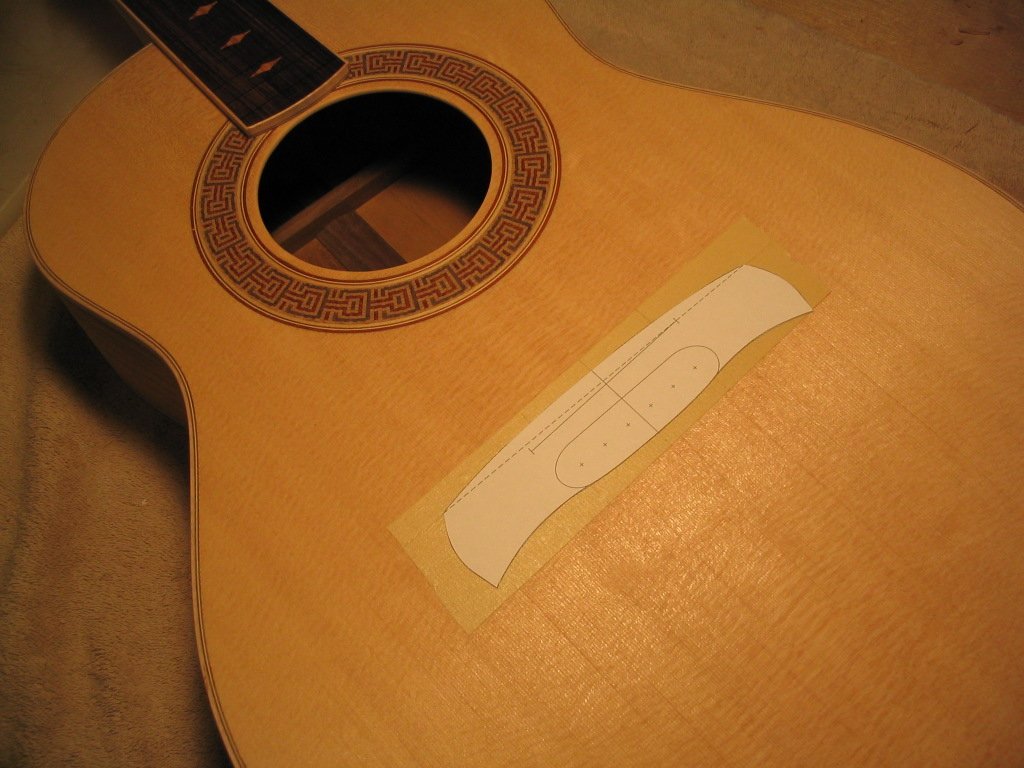
The bridge profile is printed on paper, and positioned on the masking
tape. The outline is traced with an Xacto knife, leaving a tape mask in
the exact profile of the bridge.
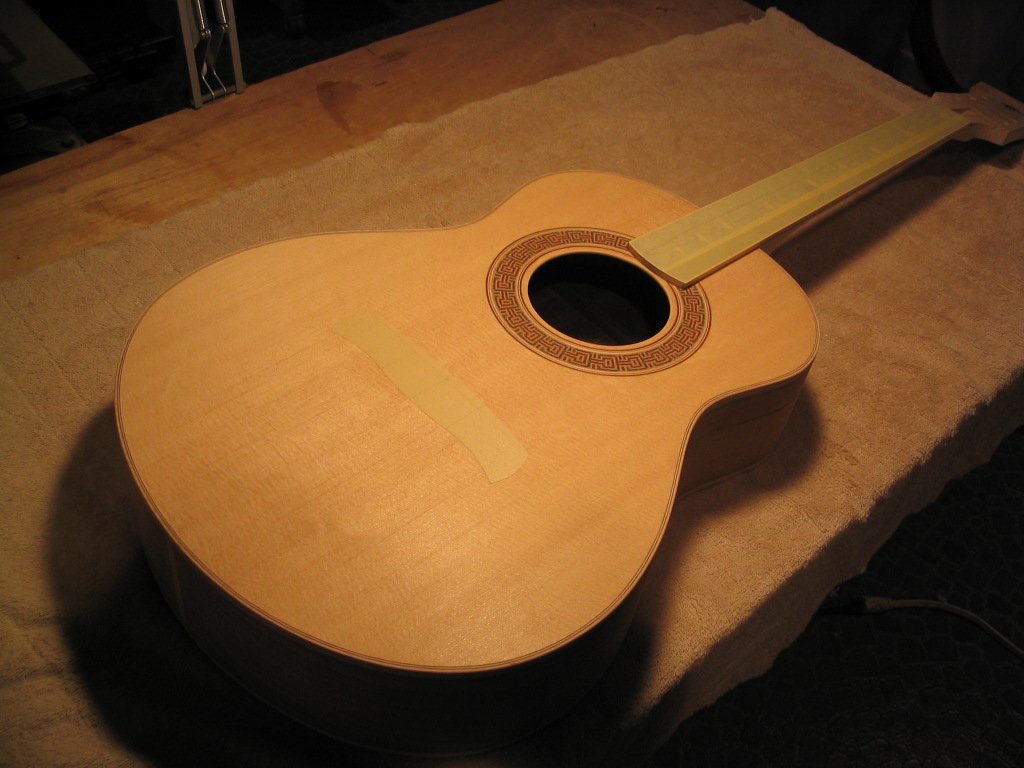
The fretboard is also masked on its top surface.
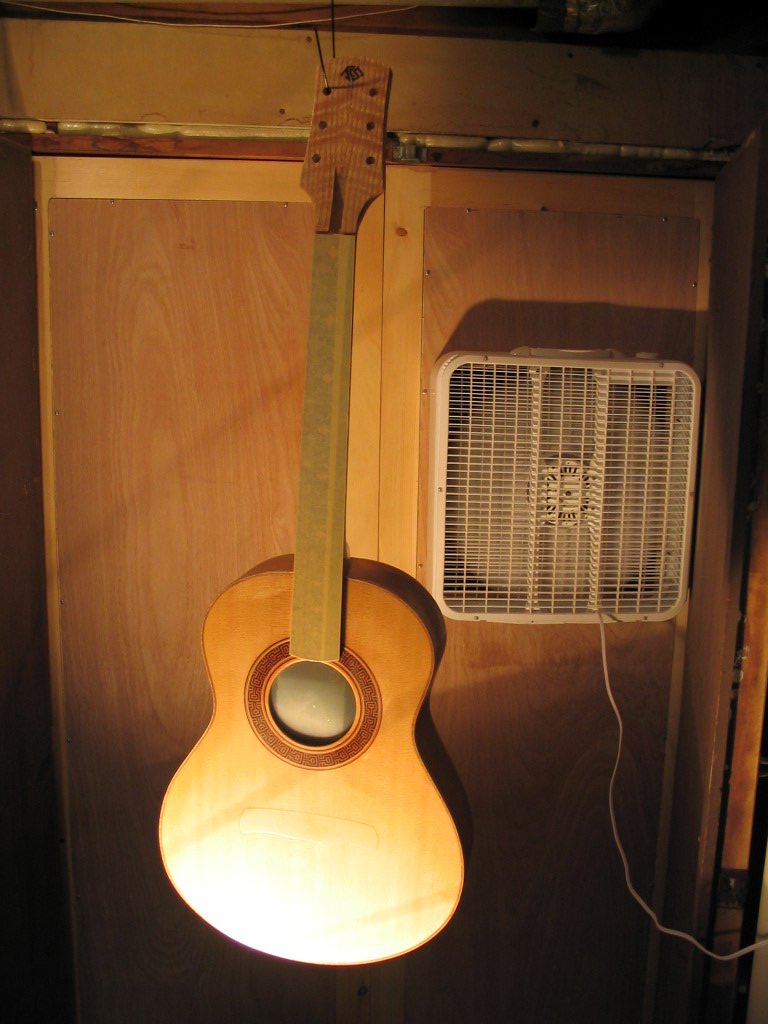
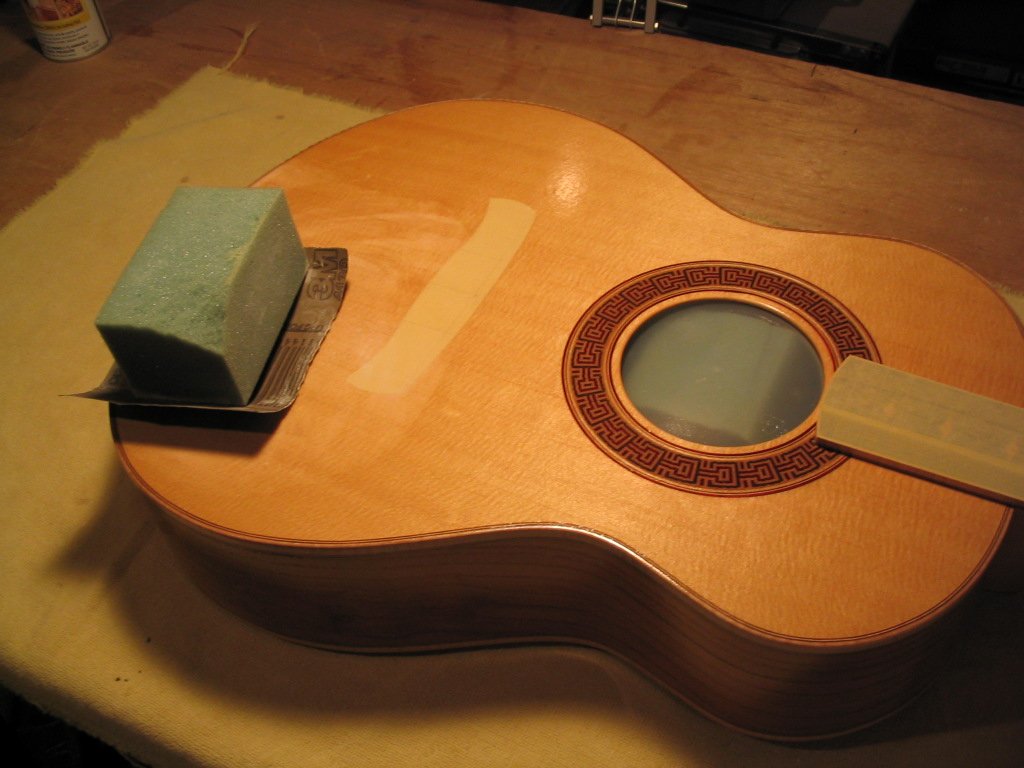
The soundhole is sealed to keep the finish out as it's sprayed. I use a
plastic coffee can lid with a block of soft foam underneath to push the lid tight agaisnt the inside of the top.
Before the finish is applied, the pores of open-grained woods must be
filled. This involves forcing a substance into the pores of the wood so
the finish will sit on top of it rather than sinking into the pores and
having a pitted appearance. Only woods with prominent pores need to be
filled; this includes many of the woods used in luthierie, such as
rosewood, mahogany, bubinga, and non-traditional woods such as oak, ash
and walnut. In particular, spruce and maple do not need to be filled
before finishing - their pores are very small and are filled by the
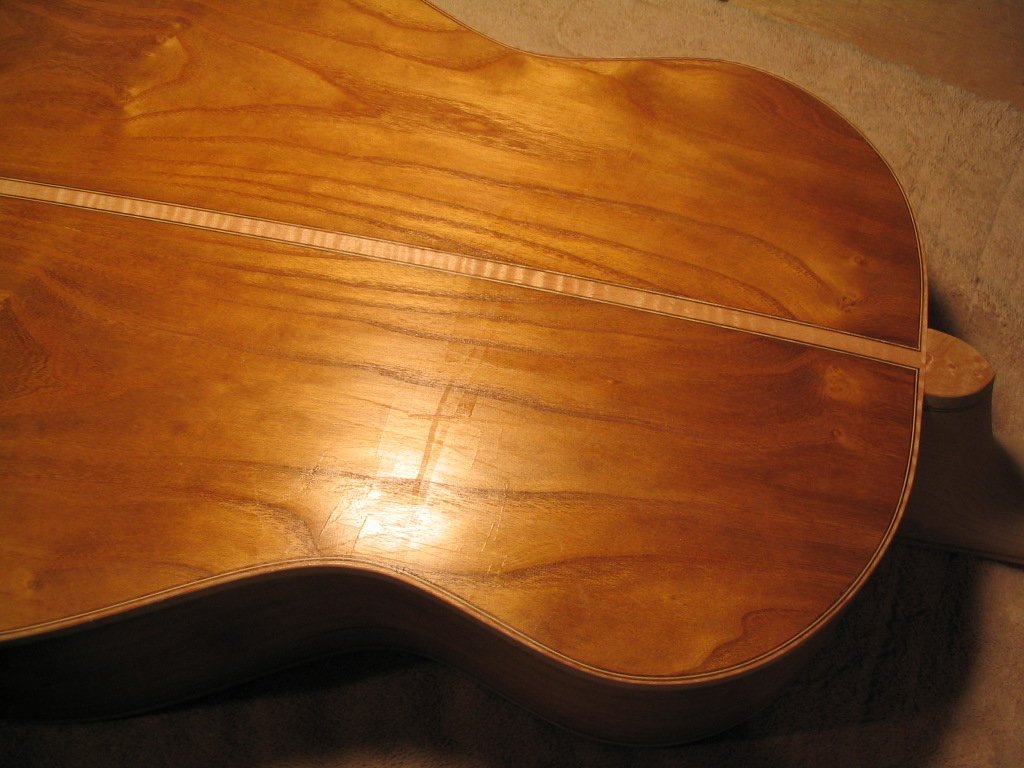
finish itself. The guitar shown has back and sides of mulberry, which
has large pores that need filling. The most natural appearance comes
when a clear filler is
used. There are a number of fillers commonly used, including
cyanoacrylate glue ("crazy glue"), epoxy, and thickened nitocellulose
or acrylic lacquer. Whichever is used, it is applied to small areas of
the back and sides and "squeegeed" off with a platic scraper, leaving
the filler in the pores while scraping it off of the surface.
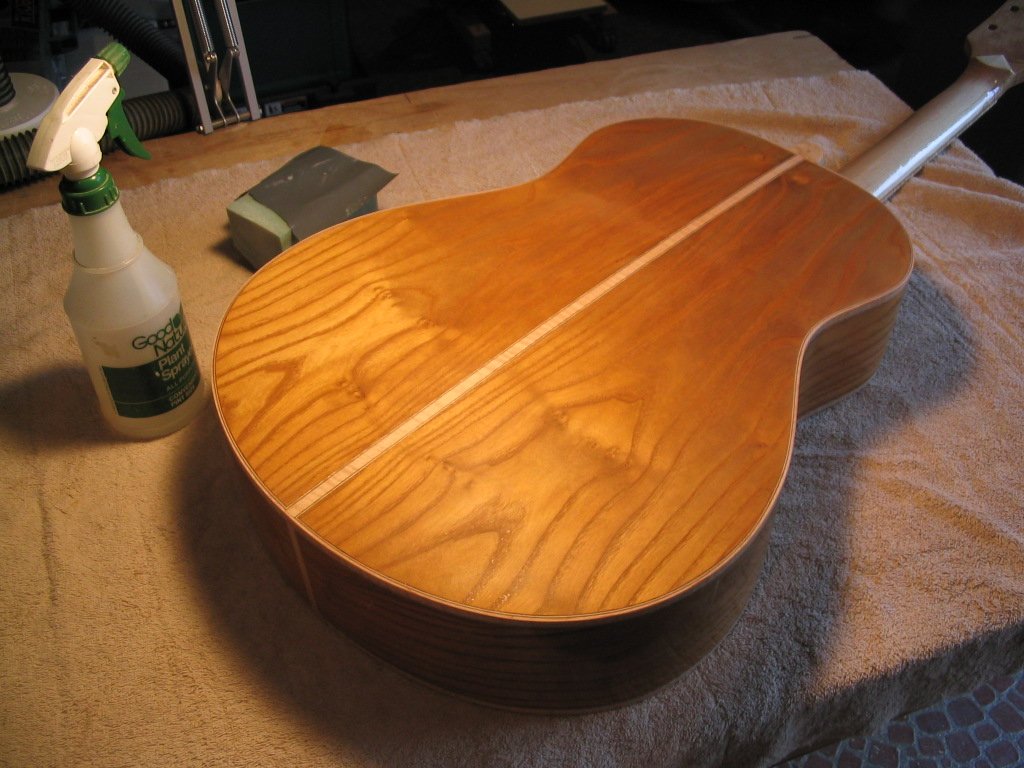
When it has dried, the filler is then sanded to remove any material
that is not in the pores of the wood. A coat of shellac is then brushed
onto the guitar, as an undercoat for
the water-based lacquer. As discussed above, this helps to give "depth"
to the appearance of the finish. The shellac is brushed on, as its
solvent, alcohol, is very flammable. The shellac should be applied in a
room with good ventilation to ensure that the vapors from the
evaporating alcohol don't build to dangerous levels.
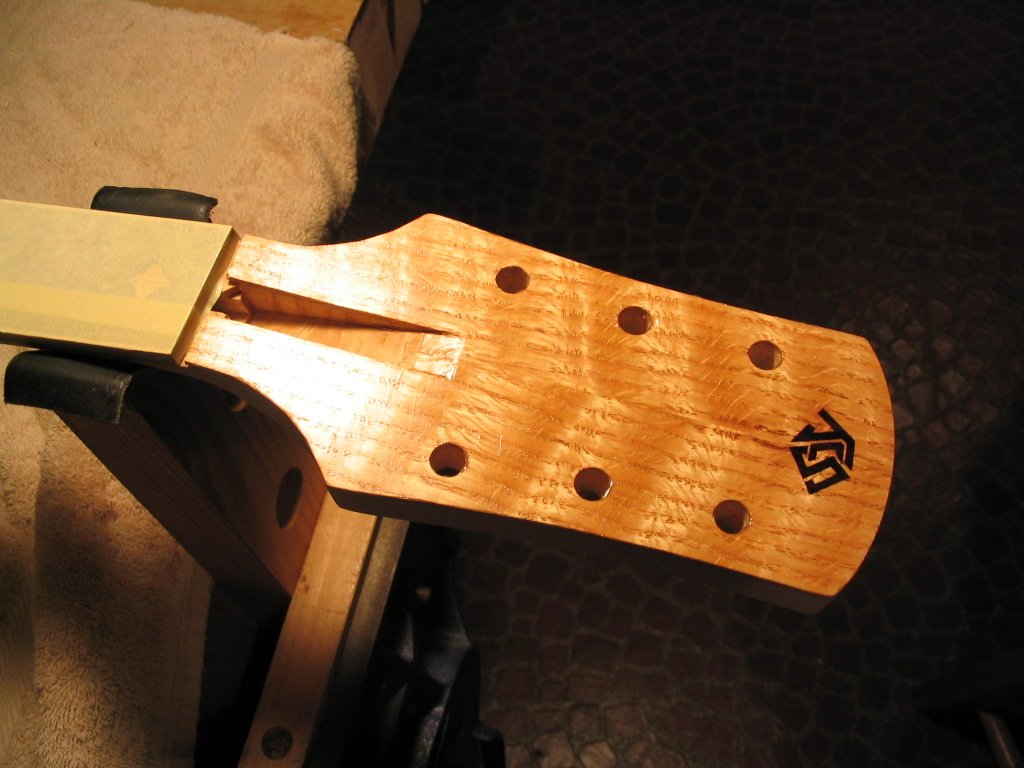
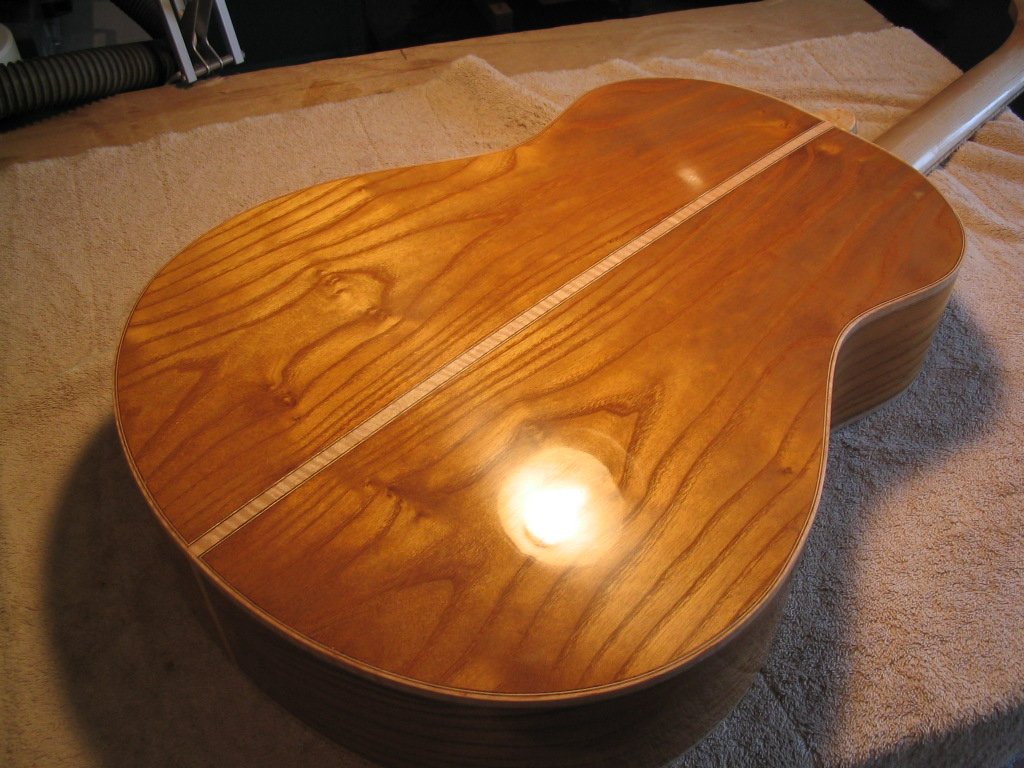
The appearance of the wood will change markedly (for the better!) as the shellac is applied.
There will inevitably be some brush marks in the shellac finish.
However, the finish can be sprayed over the brush marks, as subsequent sanding (described below) will
even out the surface. Any drips and runs should be removed, however.
The first two coats of water-based lacquer can now be sprayed onto
the
guitar. I use a high-volume low-pressure (HVLP) spray system, which
helps to minimize overspray. Becuase I spray only non-flammable
water-based lacquers, the low-tech setup shown suffices to exhaust any
overspray. This arrangement is not acceptable for spraying any
solvent-based finish - these require either a dedicated explosion-proof
spray booth, or they must be sprayed outdoors. In addition, even though
most water-based finishes are relatively non-toxic, an approved mask
must be worn to keep from inhaling the overspray; these finishes are
"relatively" non-toxic, not completely non-toxic!
The spray application will leave a high-gloss finish, but one that likely has a
somewhat rough surface termed "orange peel" due to the similarity of the
texture to the peel of an orange. The surface is leveled by sanding
with fine-grit sandpaper - 320 or 400 grit - before the next coats of
finish are applied. The sanding can be done either dry or wet, with
water as the lubricant. Wet-sanding is generally done to keep the
finish from clogging the sandpaper; however, the latest water-based
finishes tend to dry-sand very well, with very little clogging (but
producing a fair amount of dust). The finish is sanded until it has a
uniformly dull appearance, indicating that all of the orange peel has
been leveled flat. It's important to be careful at the edge of the
instrument, as it's easy to sand through the finish; if this happens,
the spot is touched up with shellac before the next finish coats are
sprayed. In addition, any spots which need additional filling - pores
which were incompletely filled, e.g., will be apparent as glossy spots
in the dull finish, and can be filled before the next coats are applied.
A close-up view of "orange peel", before it is sanded flat.
When the finish has been sanded flat to remove all of the orange peel,
the next coats of finish can be sprayed. The sand-and-spray cycle is
repeated until the desired number of coats of finish have been applied.
I try to keep the finish thin; too thick of a finish will dampen the
sound of the instrument. With water-based lacquers, I usually apply 4
to 6 coats, two coats sprayed at a time, with sanding between each
spraying. The final coats are sanded with 600 grit sandpaper; at this
point, the finish is smooth and flat, but with a dull appearance from
the sanding.
The finish is then buffed to return it to a high gloss. A buffing wheel
is used, along with various polishing compounds. I use Meguiar's
automotive polishes; a wide variety is available, from those formulated
to polish out the scratches left by the final sanding to those designed
to bring the finish to a mirror gloss. I've found that just two of the
compounds are needed: #1 medium-cut cleaner to buff out the sanding
scratches, and #3 glaze to produce a mirror finish.
A spray container of water is used as needed; buffing requires a bit of
experience to know how much compound, water and pressure to apply.
After the #1 compound has been used to buff out the scratches, the
finish will look great; however, it's after the #3 compound is used
that the mirror finish appears.
All of the sanding between coats to level the finish really pays off in the final mirror gloss!
Previous Index Next
Comments/questions: jsevy@cs.drexel.edu