Fretboard construction
The
fretboard is generally made of quartersawn rosewood or ebony, and has a
finished thickness of approximately .230". After being thinned to the
correct thickness, one side of the fretboard is trued to act as a
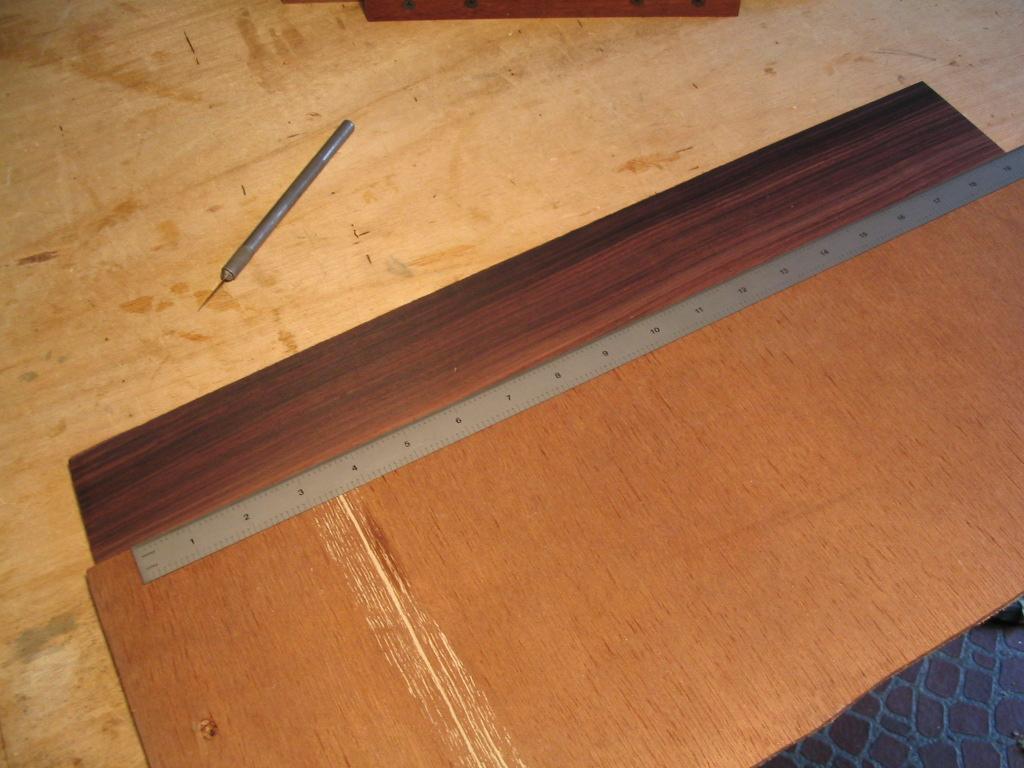
reference edge when cutting the fret slots. The positions of the fret
slots are marked on the fingerboard blank using a ruler graduated in
1/100ths of an inch. This level of accuracy is sufficient to ensure the
correct intonation of the fretted notes.
The positions of the frets are based on the 12th root of 2, and depend
on the scale length chosen for the guitar. There are a number of
fret-position calculators available on the web; a spreadsheet that
calculates the positions is available here.
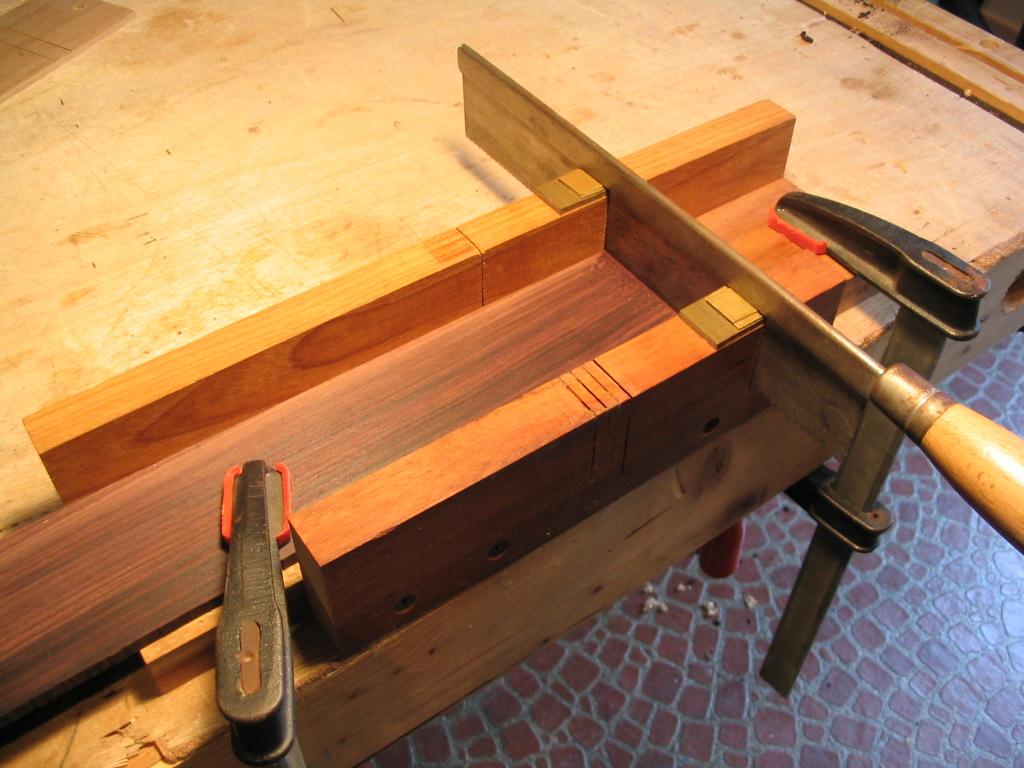
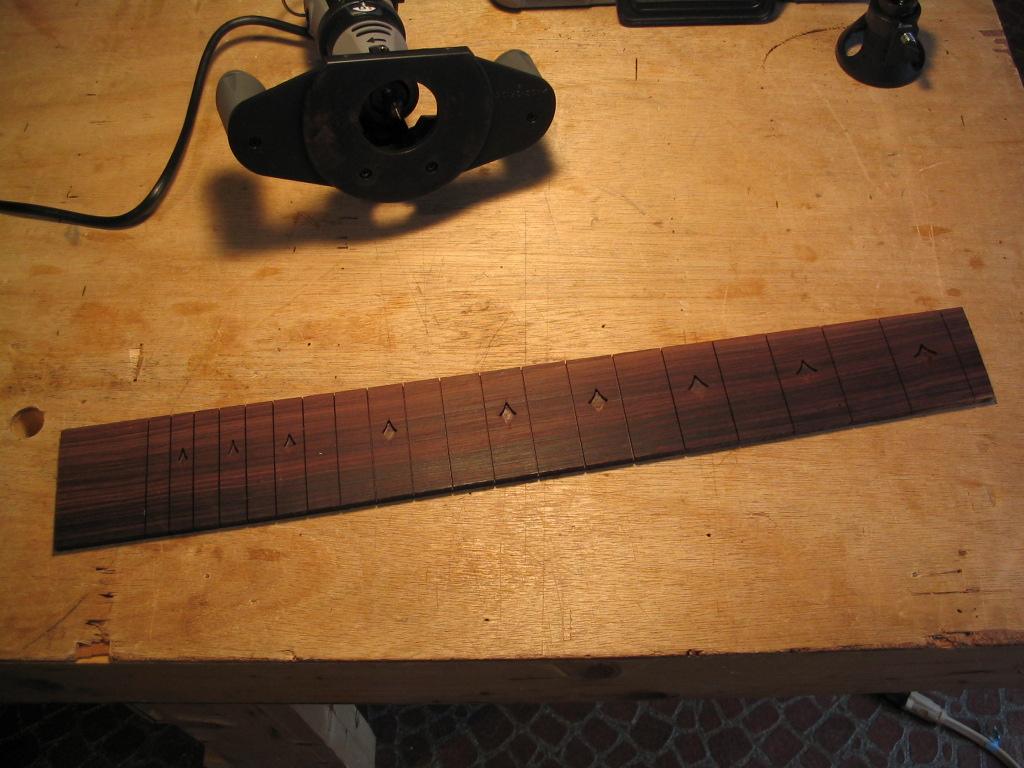
The fret slots are next cut using a custom miter box. The slots are
cut with a dovetail saw whose kerf is the correct thickness for the
frets. Since I use an epoxy fretting method, the kerf is equal to the
width of the fret tang plus the barbs on the sides, so the fret will
slip into the slot with little resistance. The epoxy will fill the rest
of the slot, forming a casting around the tang and barbs to hold the
fret securely in the slot. Traditionally, the fret has been hammered
into the slot, with the barbs gripping the sides of the slot to hold
the fret in, and the slot has consequently been cut to the width of the
tang not including the barbs. But the hammered-in frets are prone to
"popping" out of the slots since they're held just by the barbs, so I
prefer the epoxy method.
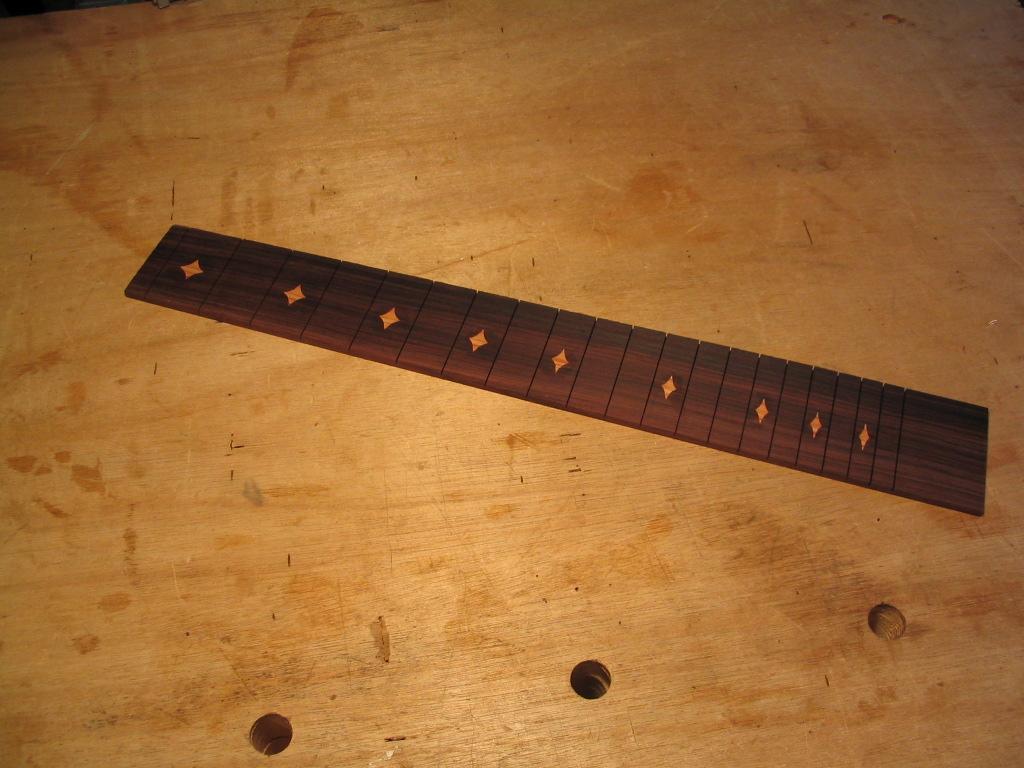
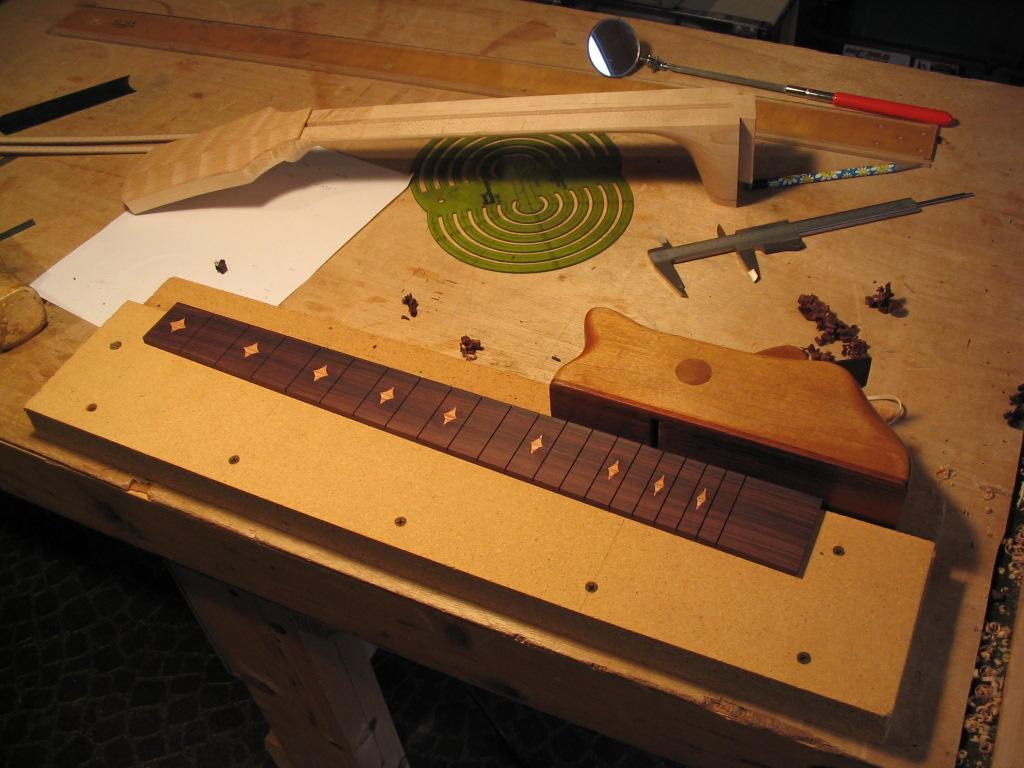
Once the fret slots have been cut, the fret position markers can be
inlaid into the fretboard. The markers are usually placed at the F, G,
A, B, C#, E, G, A and B fret positions. Rather than using simple dots
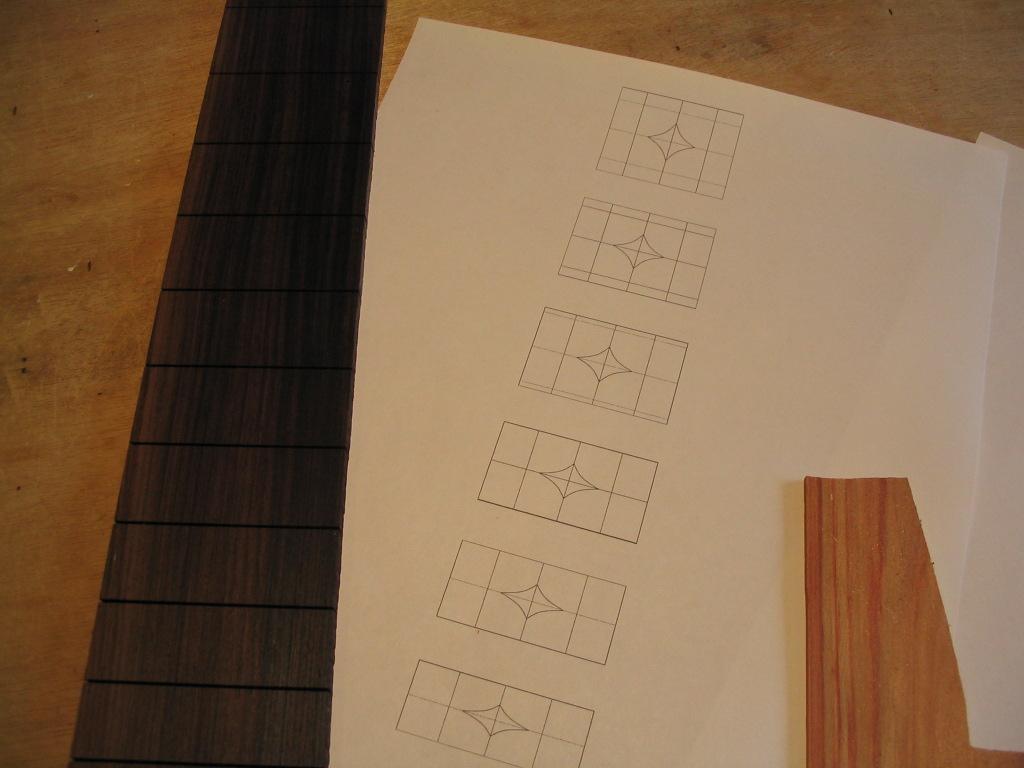
or some other identical shape for each marker, I use software called Fretmarker Design
to design the inlays. This program allows the shape to be designed, and
then scaled in size to the corresponding fret rectangles. Thus the
diamonds in the photo below decrease in height and increase slightly in
width.
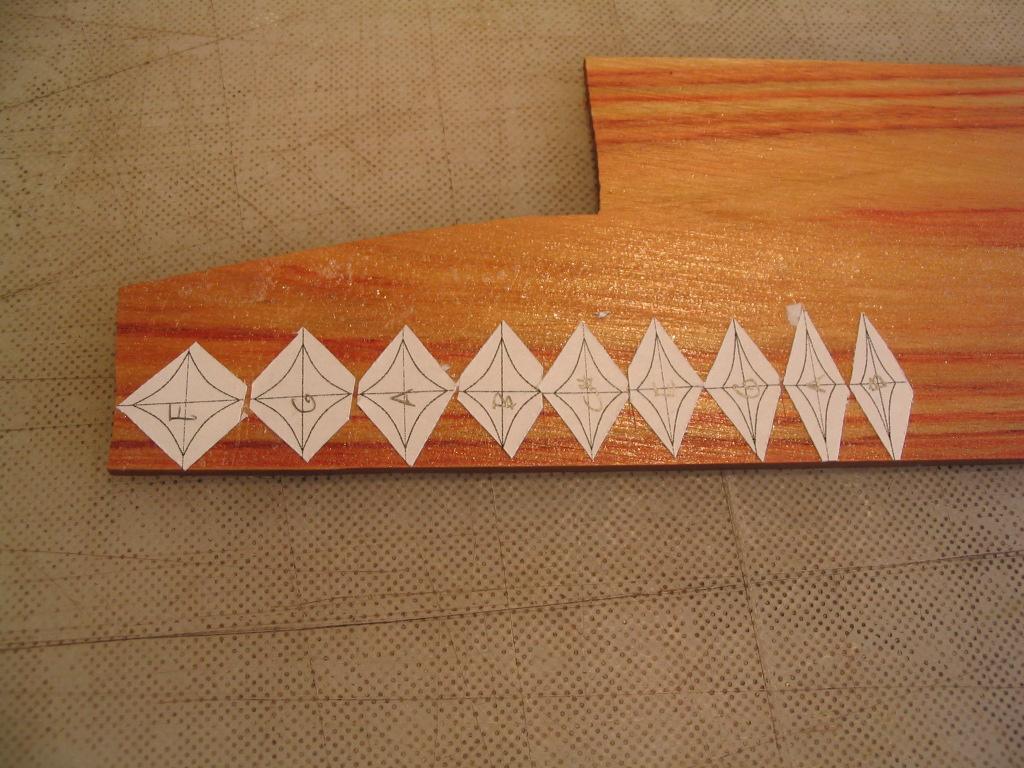
The fretmarker designs are glued to the marker material using spray
adhesive. In this case, the fretmarker material is 1/8" tulipwood.
Other materials commonly used for inlays are abalone and mother of
pearl.
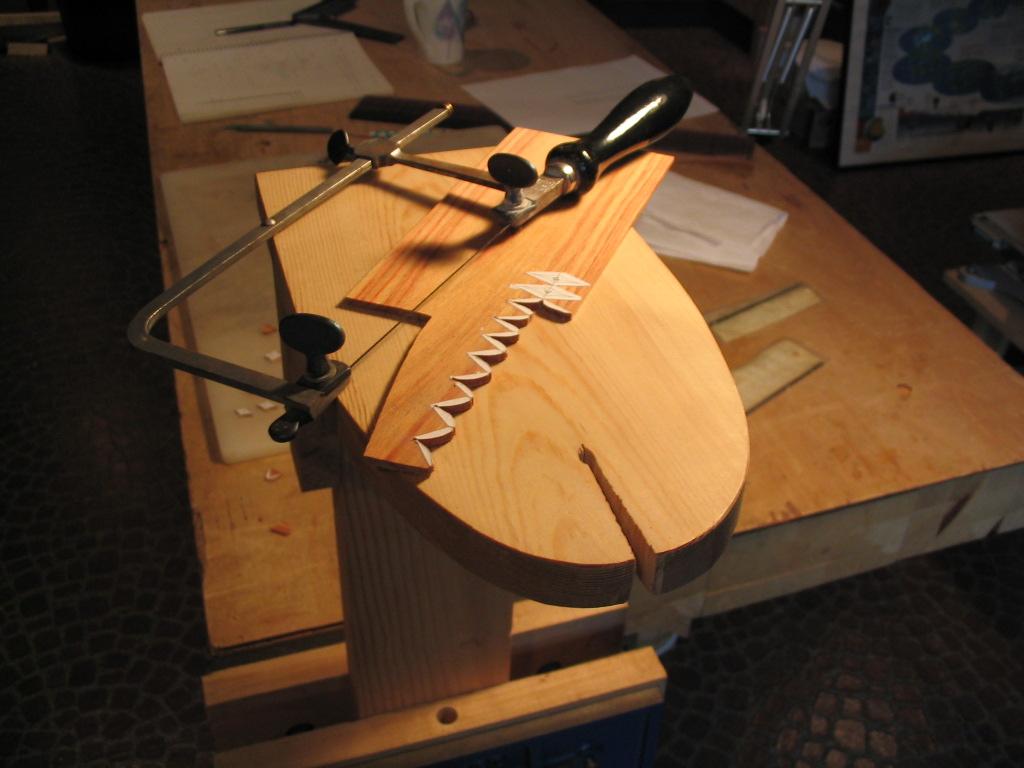
The inlays are cut out using a jeweler's saw and a "bird's mouth",
a platform with a small slot and hole to support the fretmarker
material while sawing.
The inlays are then placed on the centerline of the fretboard, and
their outlines scribed with an Xacto knife. I attach the inlays to the
fretboard with spray adhesive to keep them from slipping while scribing.
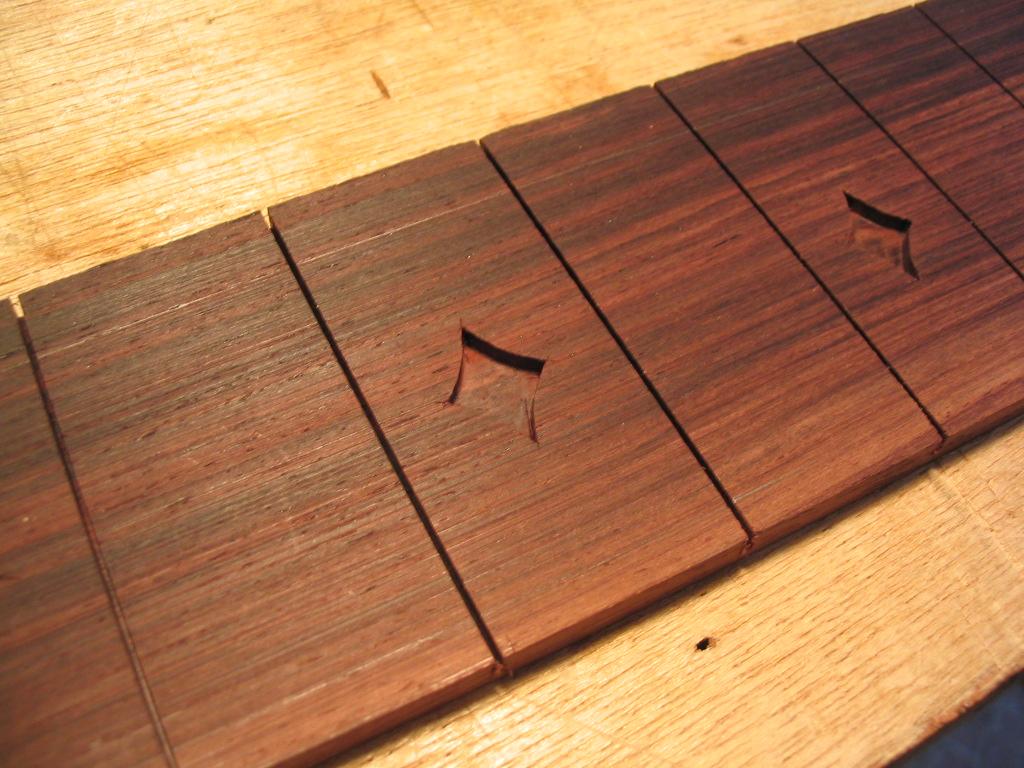
The recesses for the inlays are routed using a Dremel tool with router
base attachment and small bits. The depth of the recesses is set to be
slightly less than the thickness of the inlay material so the inlays
will sit very slightly above the freboard surface and can be pared
flush after gluing.
Since the bits can't reach into the sharp corners of the design, these must be finished with an Xacto knife.
The inlays are then glued into the routed recesses. The bottom edges of
the inlays are chamferred slightly to allow them to enter the recesses
more easily, and the inlays are pressed into the recesses using a hand
clamp. The inlays are then pared flush with the surface of the
fretboard using a sharp chisel.
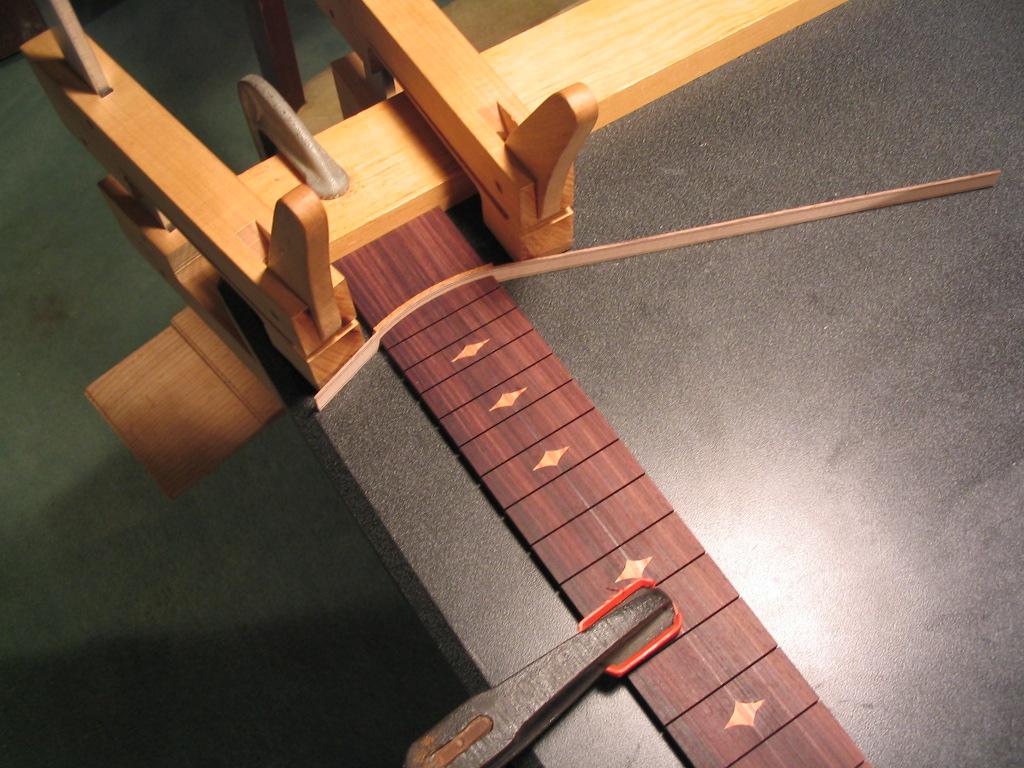
The fretboard is next cut and planed to the appropriate width; note the
use of a shooting board in the photo below to keep the edges of the
fretboard square. The width at the nut and 14th fret (where the neck
joins the body) are measured on the neck with a veneer caliper, and
used for the corresponding fretboard widths. However, since binding
will be applied to the fretboard, the thickness of the binding is
subtracted from the widths in tapering the fretboard. I try to match
the neck widths to within a few thousandths of an inch.
The body end of the fretboard is cut next. The length must be
determined so the fretboard doesn't extend over the soundhole, but
covers the gap in the rosette at the top of the body. The fretboard
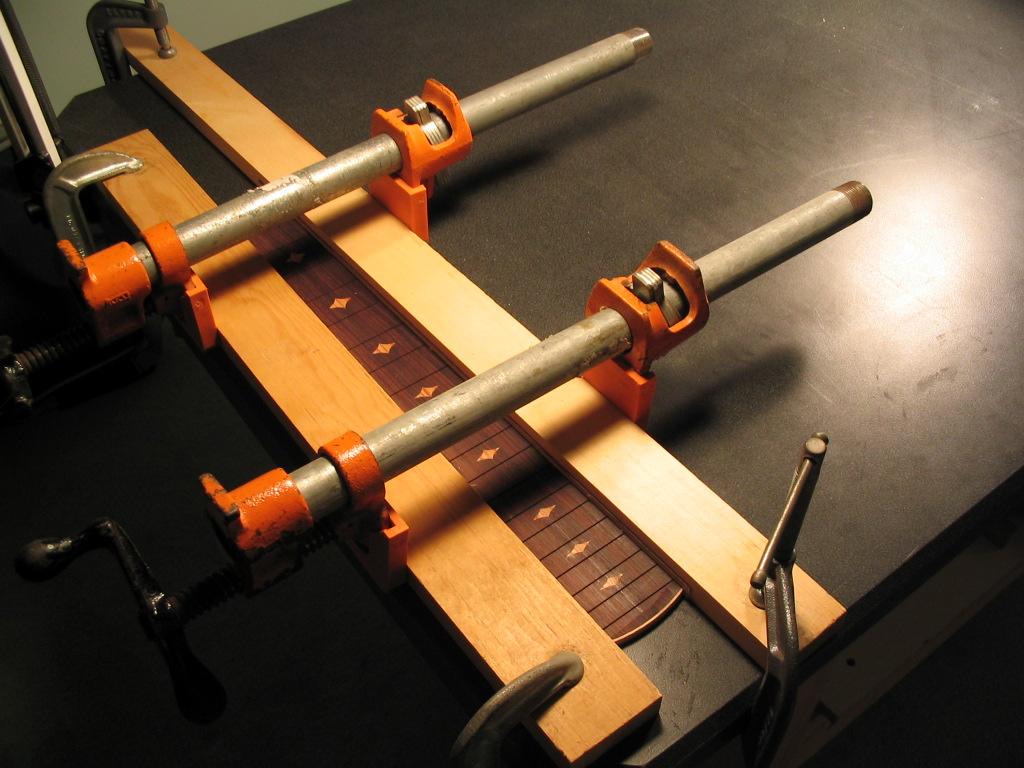
binding material is then glued to the bottom edge of the fretboard. The
binding material is taller than the thickness of the fretboard, and
will be trimmed flush after gluing. Here the cutoff piece from the
bottom of the fretboard is used as a caul (with a thin piece of cork on
the contact surface - you can get sheet cork at an auto parts store,
where it's sold as a gasket material).
The fretboard binding is next glued to the sides of the fretboard. Any
glue squeezeout that gets into the fret slots should be removed with a
thin blade - I use an Xacto knife blade with the edge ground flat. When
the glue is dry, the binding can be trimmed flush with the surface of
the fretboard.
Previous Index Next
Comments/questions: jsevy@cs.drexel.edu