Previous Index Next
Top Bracing
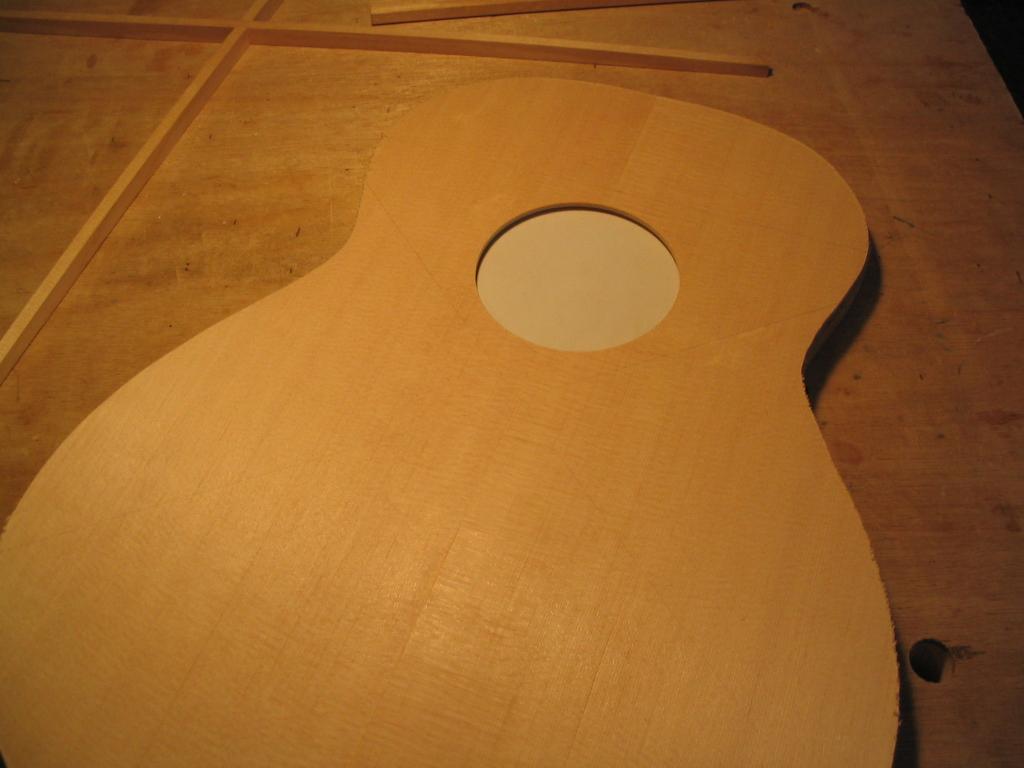
The top has braces glued on the underside, both to give the top extra
strength - the "X" brace and upper-bout struts - and to improve the
tone of the resulting instrument. The photo below shows the underside
of the top with the position of the X brace and upper bout cross brace
lightly marked in pencil.
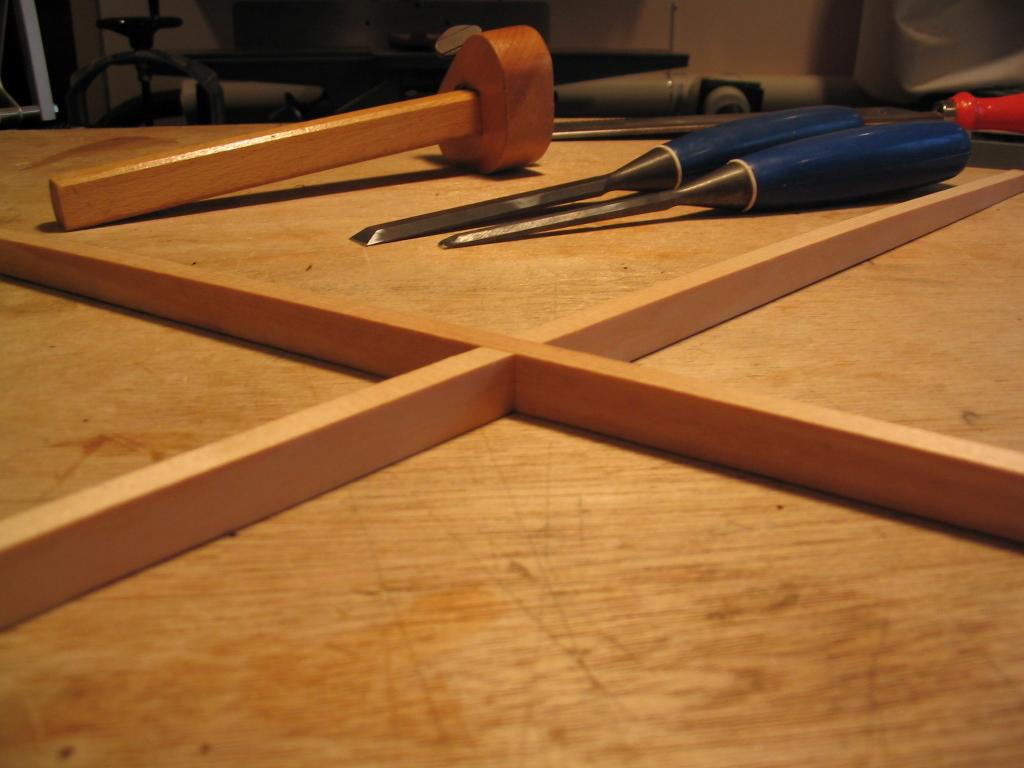
The X brace legs must have the lap joint cut before gluing; the joint
is marked using an angle gauge since the braces don't meet at a right
angle. The joint is then cut in each leg with a dovetail saw, and then
pared with a chisel to get a tight fit. (If you're good with the saw,
paring may be unnecessary, but make sure to get a tight joint.)
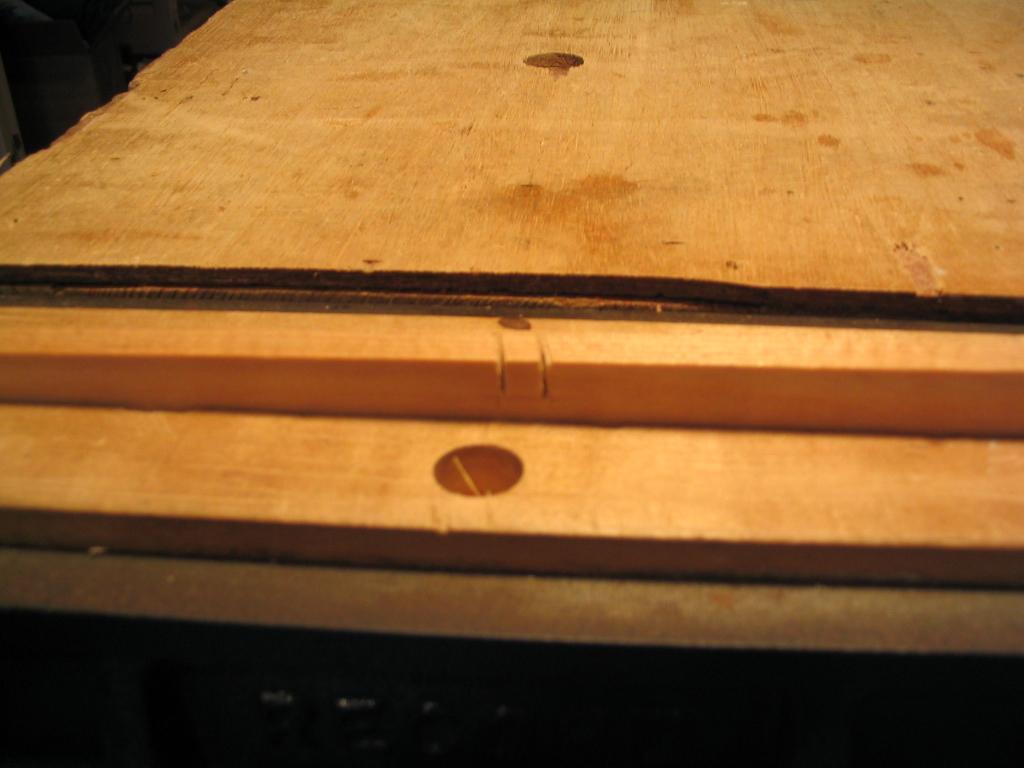
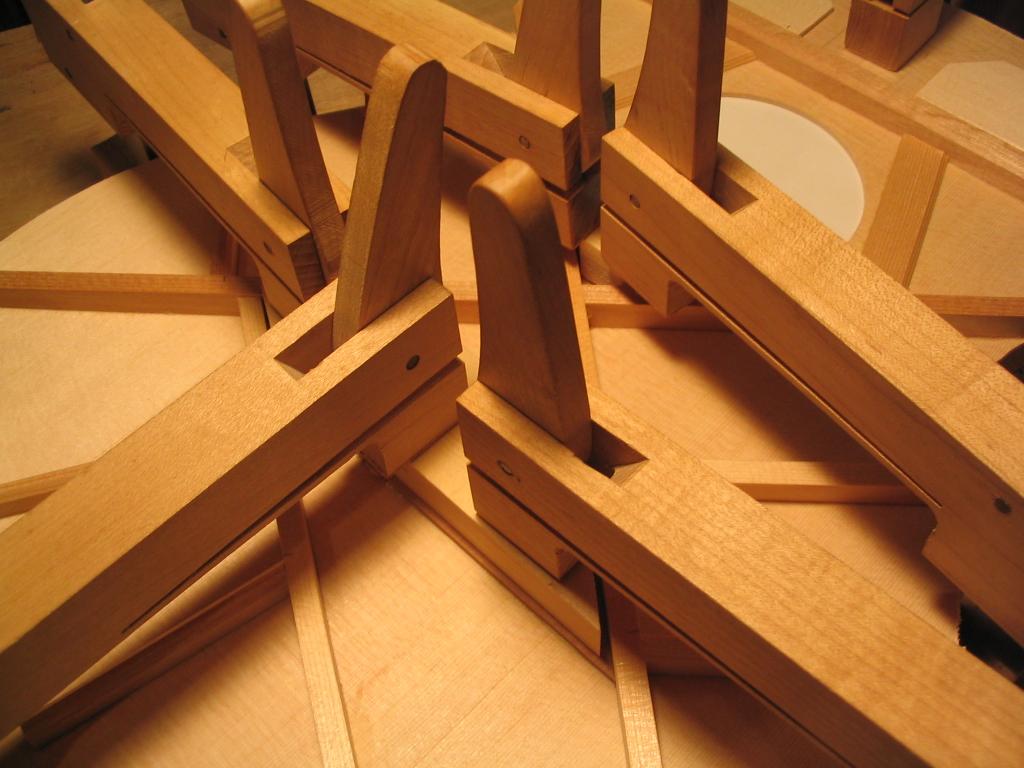
The photo below shows the completed X brace, with joints cut. The legs
are glued together when the brace is glued to the top. Notice how the
top surface (which will be glued down to the top) is arched.
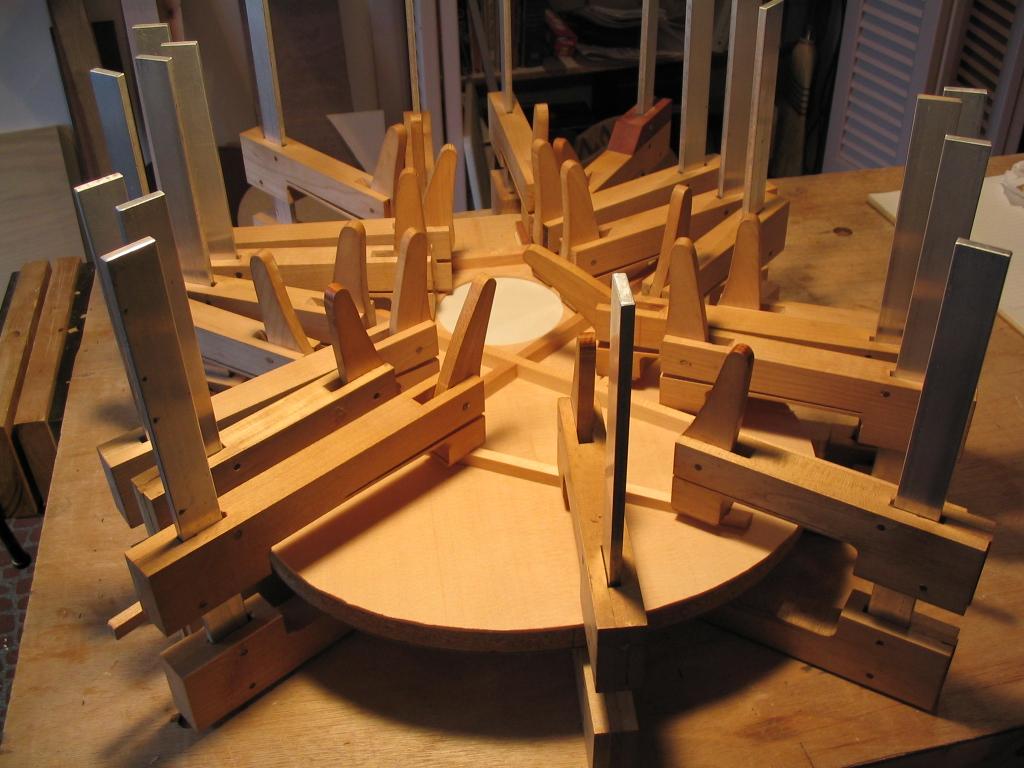
The X brace is being glued to the top, below. Glue has been applied to
the joint faces as well as the brace surfaces. The top is placed on an
arched workboard whose arching matches that of the braces. Here's an
article on how to make such an arched workboard.
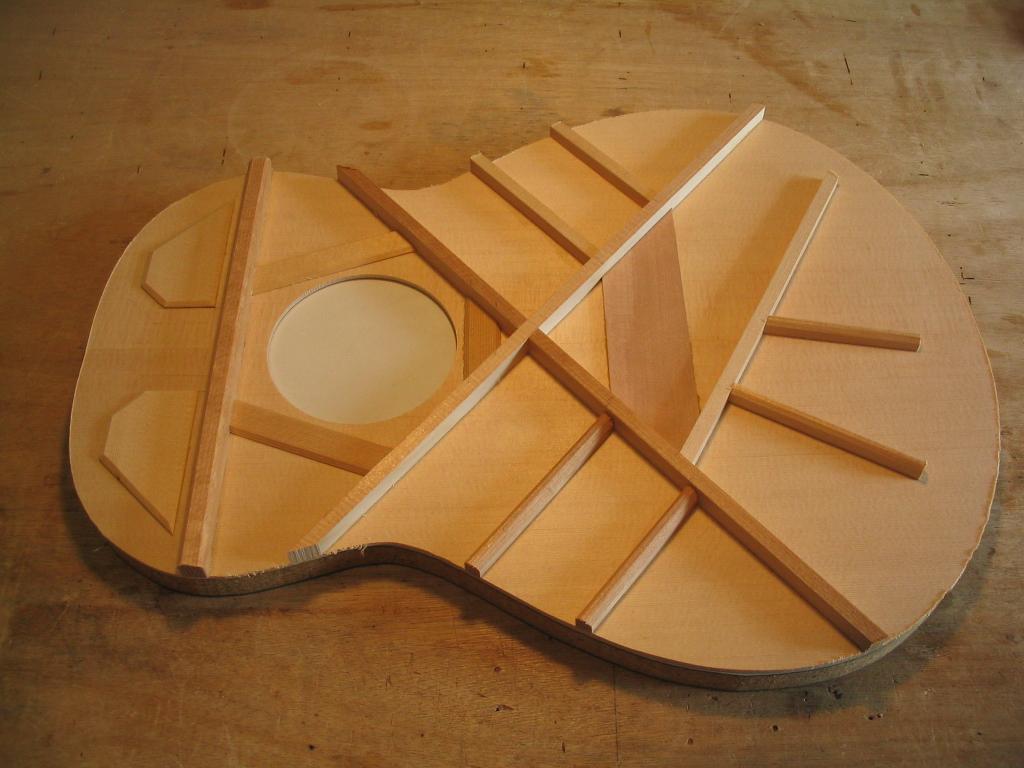
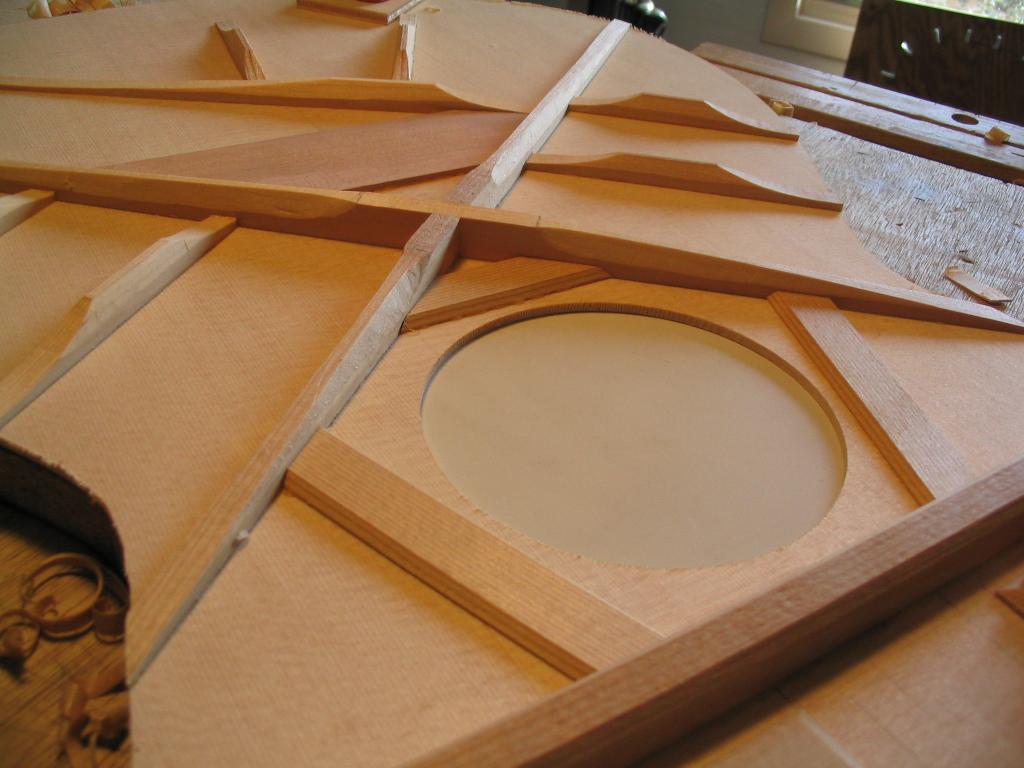
The photo below shows additional braces being glued to the top.
Below, the bridge plate is being glued (this one is .100", made of dogwood).
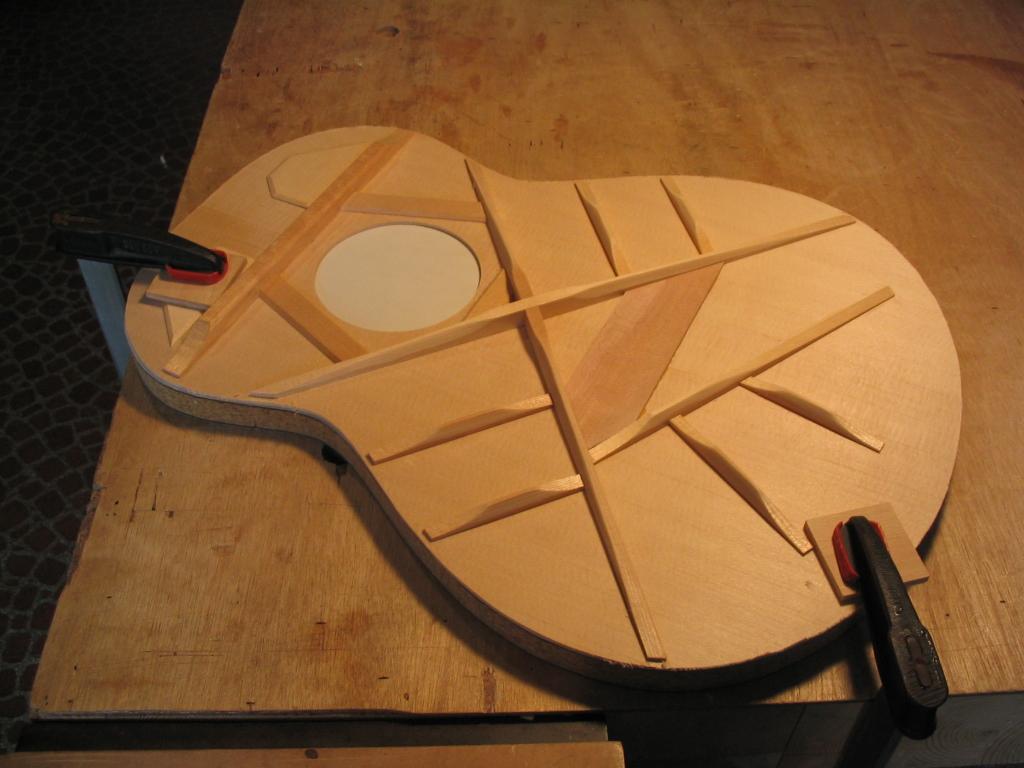
The top with all braces glued, but unshaped, is shown below.
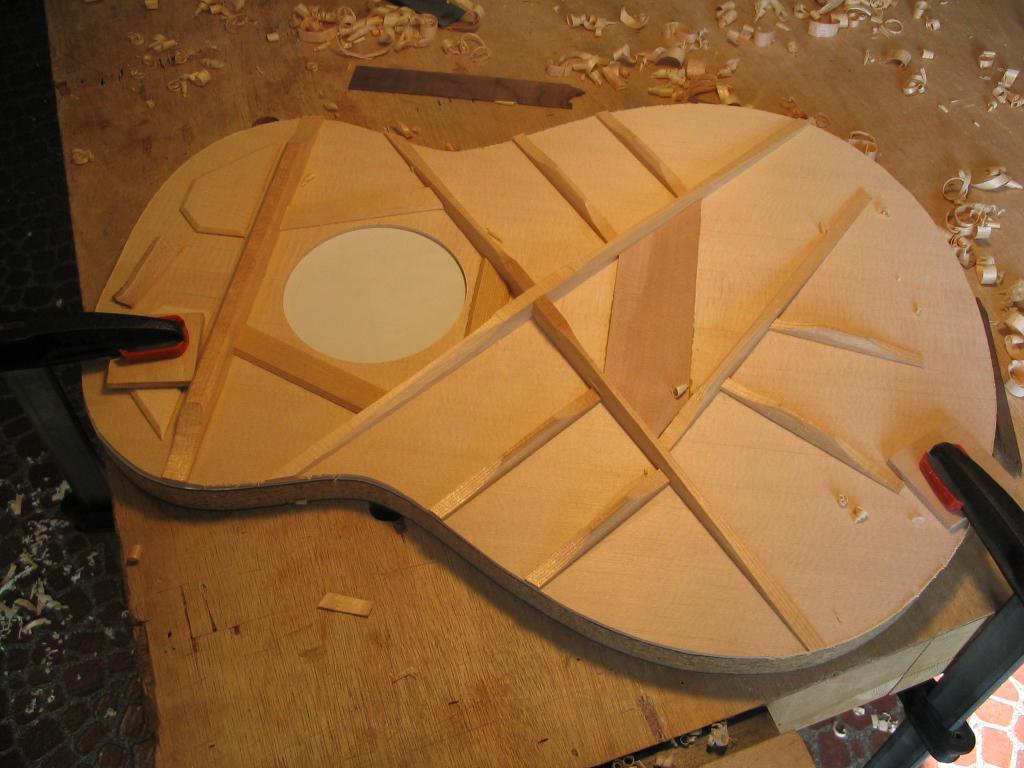
The next few photos show the braces after rough shaping with a sharp
chisel. Note the tapering on the braces; they're tapered to a thickness
of approximately .090" at the ends, and are tapered bottom to top.
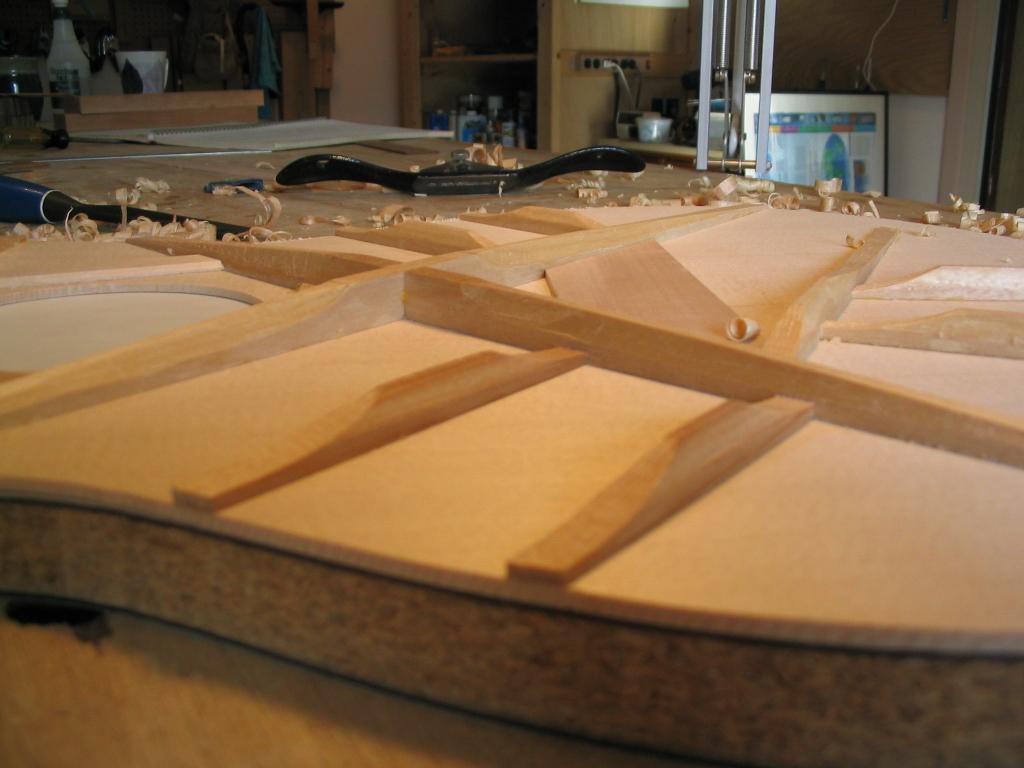
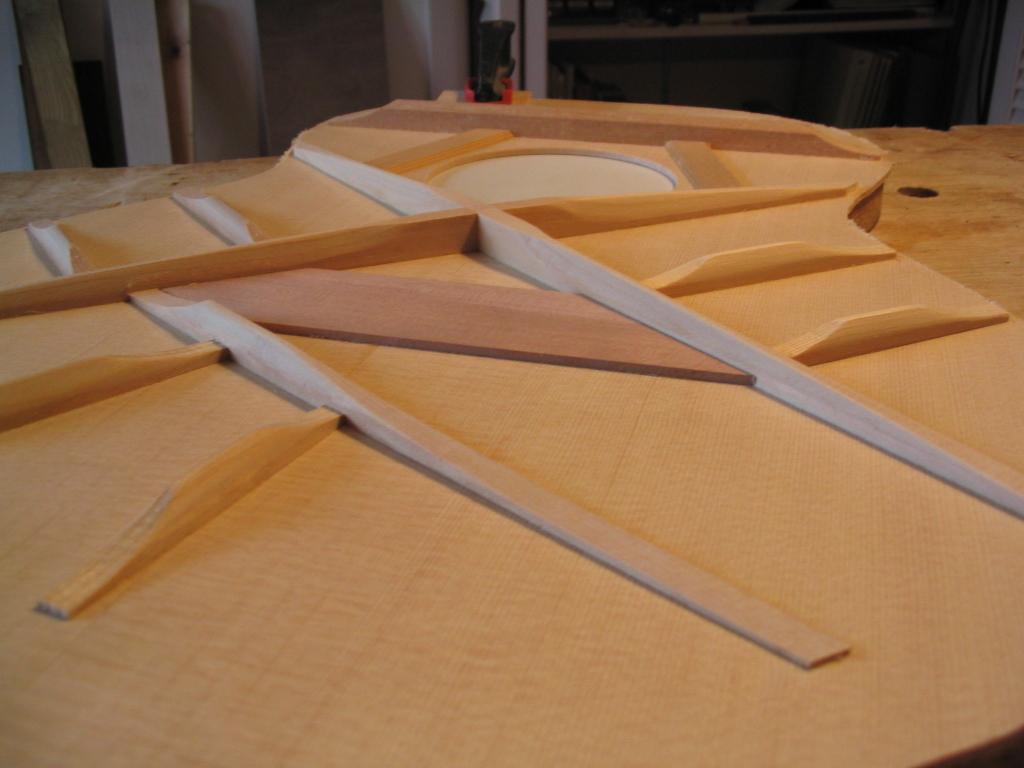
After rough shaping, the braces are sanded to smooth the surfaces. The
result is shown in the photos below. Note that the ends of the braces
have been trimmed where they meet the periphery; they're trimmed to
within the thickness of the sides from the edge.
Previous Index Next
Comments/questions: jsevy@cs.drexel.edu