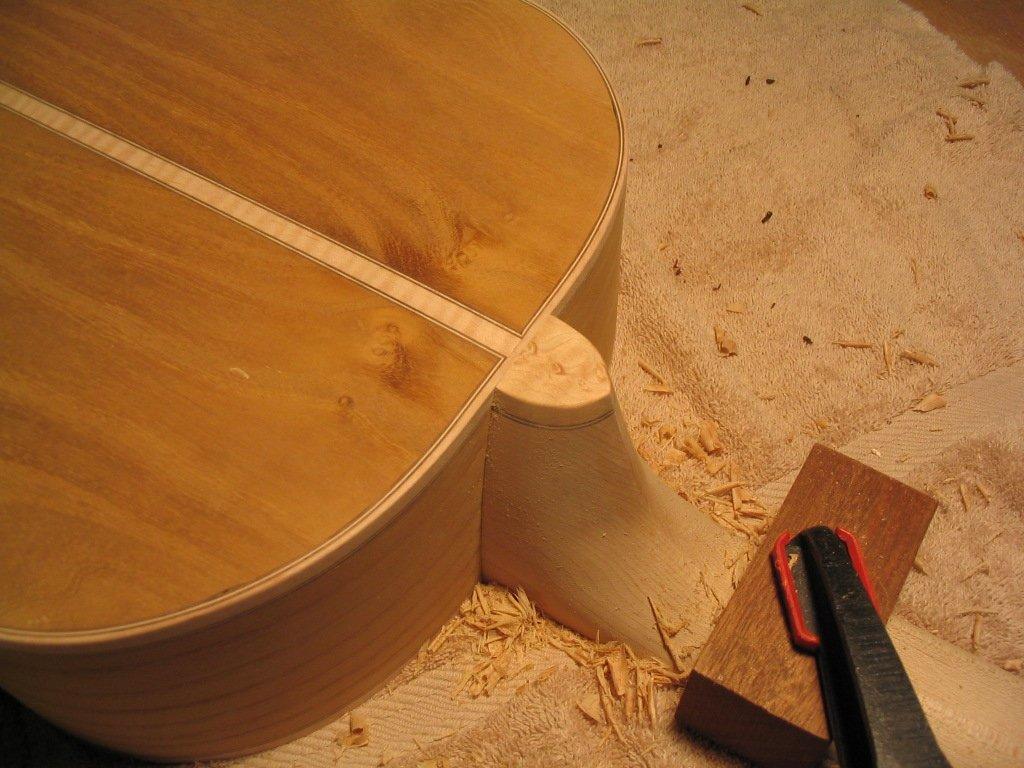
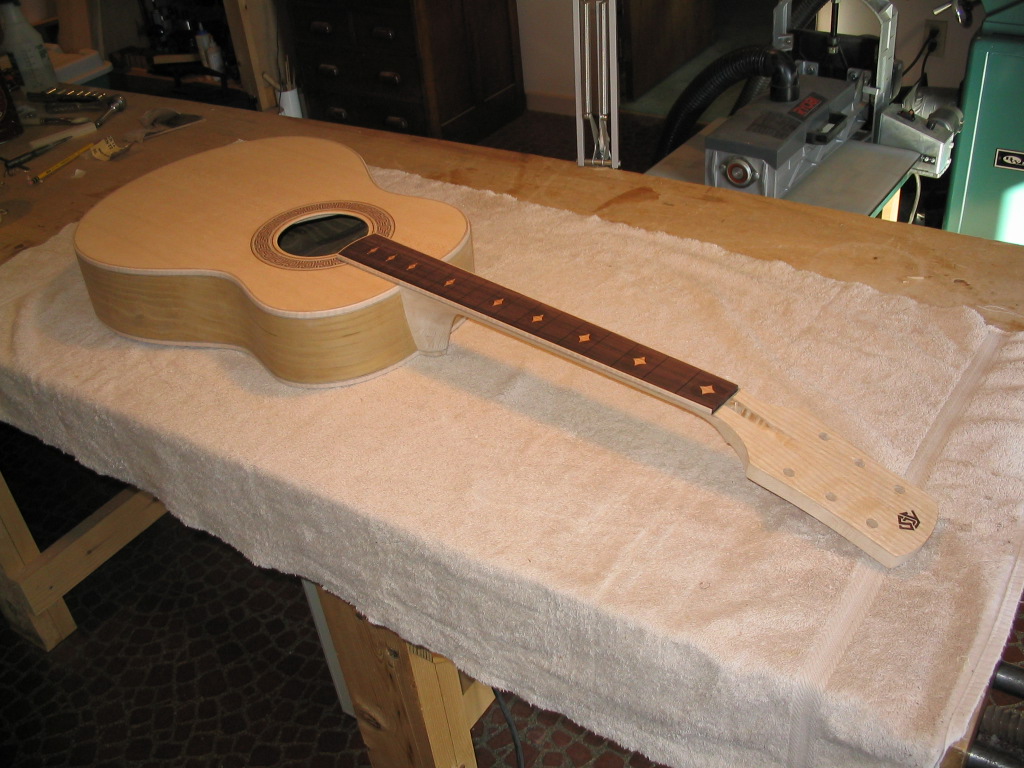
With the body, neck and fretboard completed, the three components can now be joined. The neck is first attached to the body with the tapered sliding dovetail joint, and the fretboard is then glued to the neck and body.
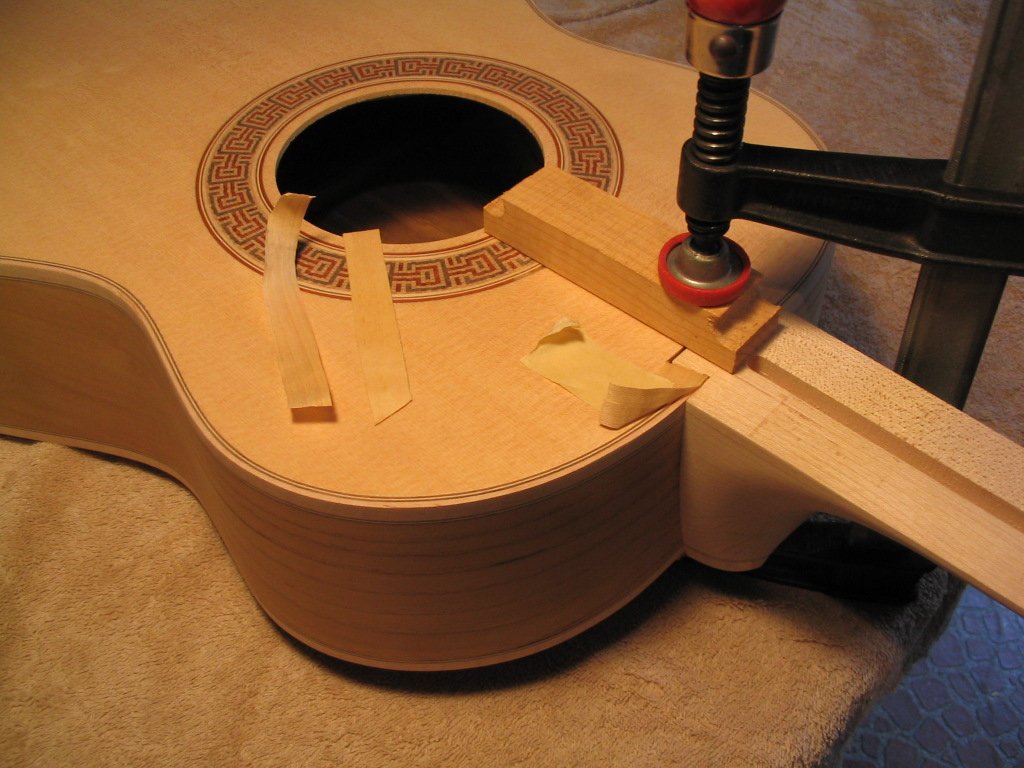
The fit of the sliding dovetail joint can be adjusted with thin shims placed along the “cheeks” of the dovetail; the fit should be such that the top surface of the neck is flush with the top when the dovetail is tight. The shims can be thin slices of veneer if the dovetail is particularly loose, or thick plane shavings if the joint is closer to a good fit. A pair of shims can be seen lying on the face of the guitar in the photo below, one a veneer shim and one a plane shaving. Another shim can be seen in position in the fitted joint, held in place with a piece of masking tape so it doesn’t move when the dovetail is slid into place.
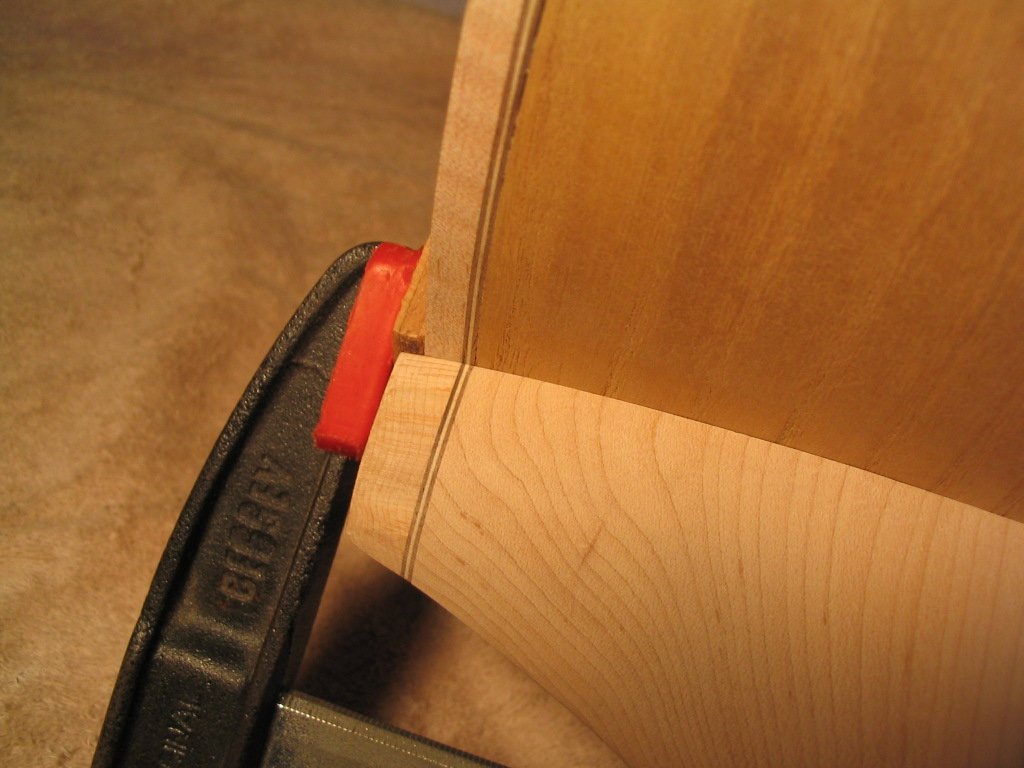
Attaching the neck to the body is quite simple; glue is applied to the appropriate surfaces of the dovetail, the dovetail is slid into the mortise, and the neck is clamped in place with a single hand clamp. One important point is that glue is applied only to the two cheeks of the dovetail, i.e., only to the surfaces on which the shims are placed (and to the shims themselves). Glue is not put onto the other surfaces, for several reasons. First, the glue is only needed to keep the dovetail from sliding out of the mortise. The glue doesn’t add any mechanical strength – the joint is plenty strong enough just from the dovetail in the mortise. Second, the joint can become extremely difficult to disassemble in the future for repairs that involve removing the neck if glue is put onto other surfaces such as the dovetail “shoulders”. Such a repair is not uncommon – the neck is removed and the joint recut to change the neck angle in what’s called a “neck reset”, which can be necessary if the guitar top bulges outward from the string tension on the bridge as the instrument ages. In fact, some luthiers and manufacturers have switched to removable neck joints (glueless pinned or bolted joints) specifically to facilitate this type of repair. In any case, if you put glue on all the “obvious” surfaces, it can make it very difficult to remove the neck in the future. Thus glue should be put only on the “cheeks”.
When glue has been applied, the shims are inserted into the mortise and the dovetail is slid into place. A clamp is then used to fully seat the dovetail in the mortise; the caul on the top of the guitar allows the clamp to seat the joint, but stop when the neck surface is flush with the top surface.

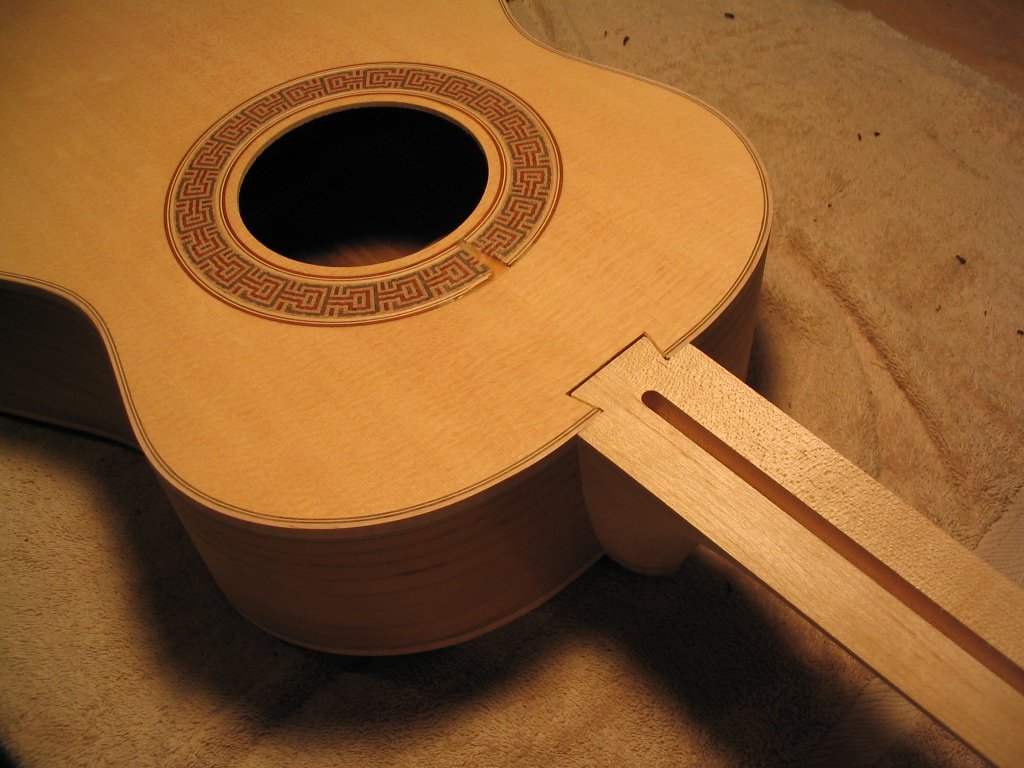
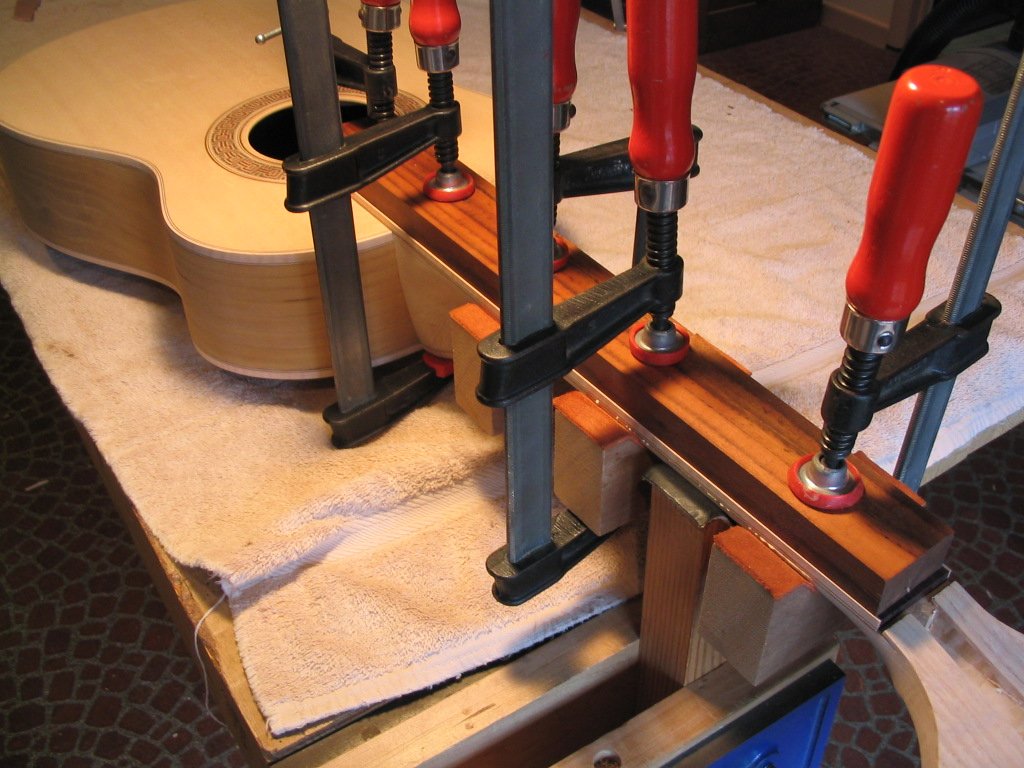

When the glue has cured, the clamps can be removed and any glue residue scraped and sanded away.
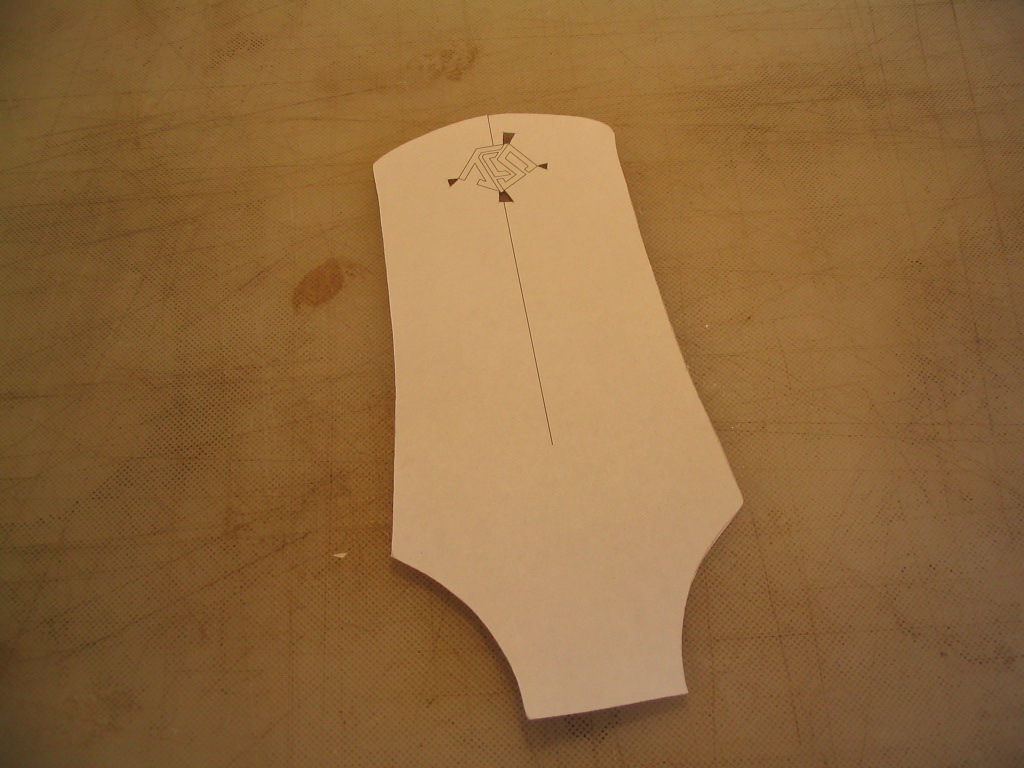
The peghead inlay is next. The design for the inlay is transferred to the inlay material (rosewood, in this case), and the pieces to be inlaid are cut out using a jewelers saw and “bird’s mouth”. For better visibility, I create the design on paper, and then glue this to the inlay material with spray adhesive.
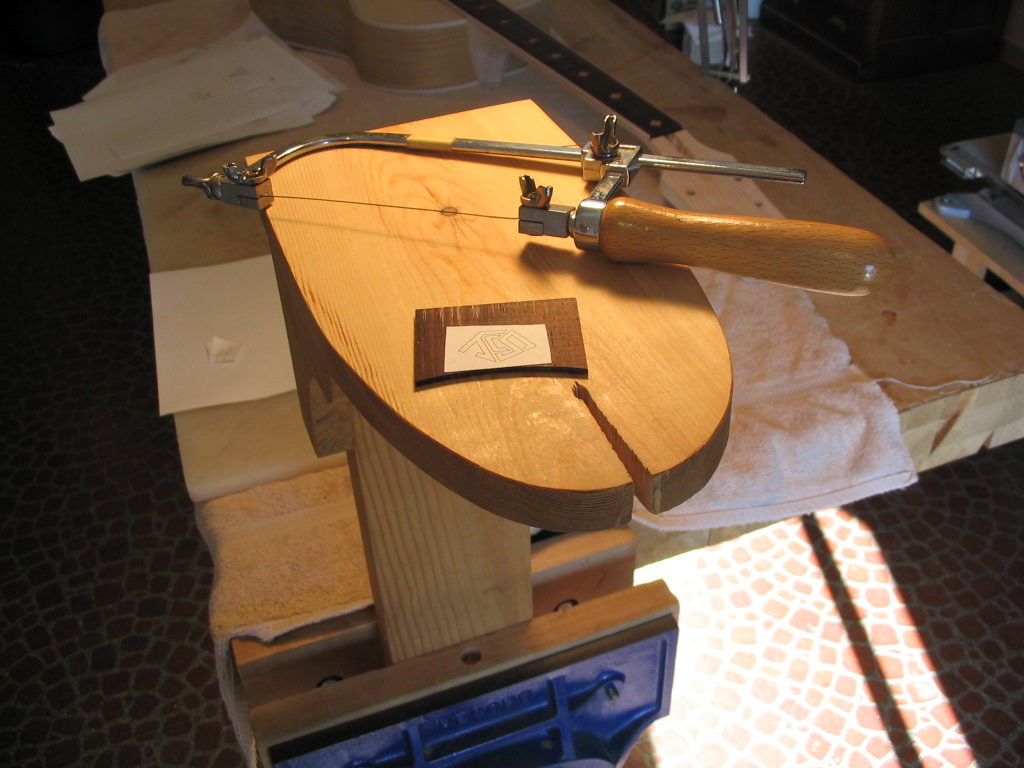
The pieces to be inlaid, cut from the inlay material.

The inlay design is also transferred to a template in the shape of the peghead, to aid in positioning the inlay. The dark areas are cutouts used to make marks with a pencil to mark specific points on the inlay.
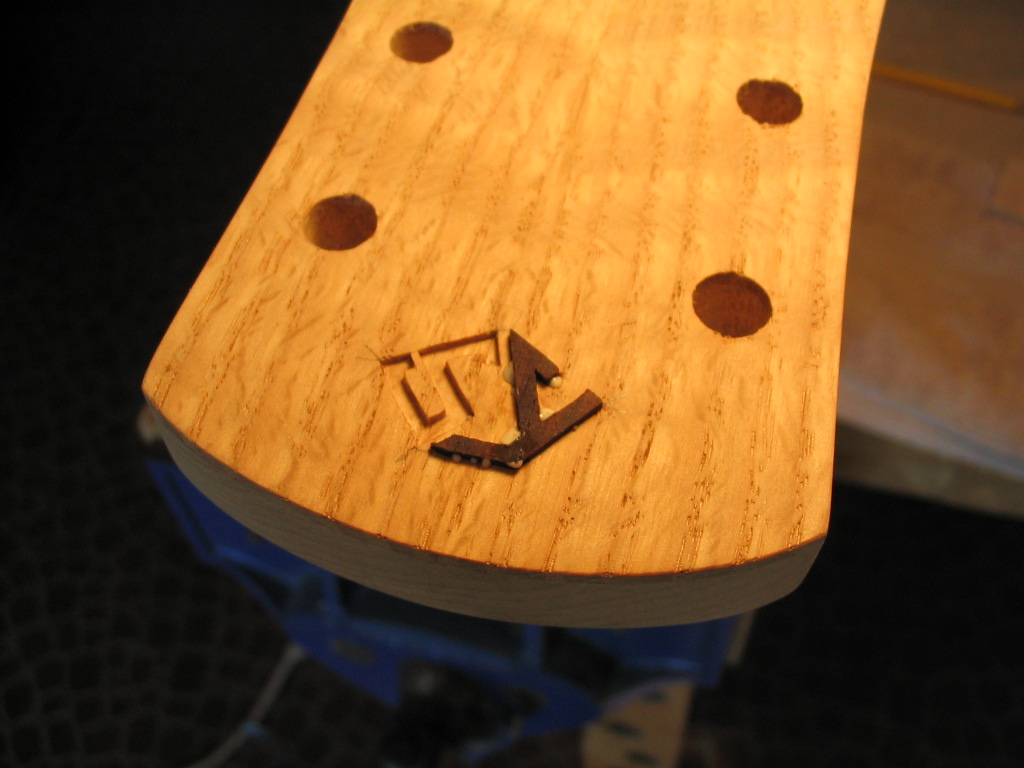
Below, the registration marks have been pencilled through the cutouts, and the first inlay piece is placed in position. The piece is then traced with an Xacto knife, and the resulting inlay groove is routed with a Dremel tool and small bits. The sharp corners are finished up with an Xacto knife. The depth of the groove is less than the thickness of the inlay material, so the inlay will stick up above the peghead surface after being glued.

The photo below shows one inlay piece being glued into its groove, and the groove for the second piece. The inlay is trimmed flush with the peghead surface when the glue has dried.
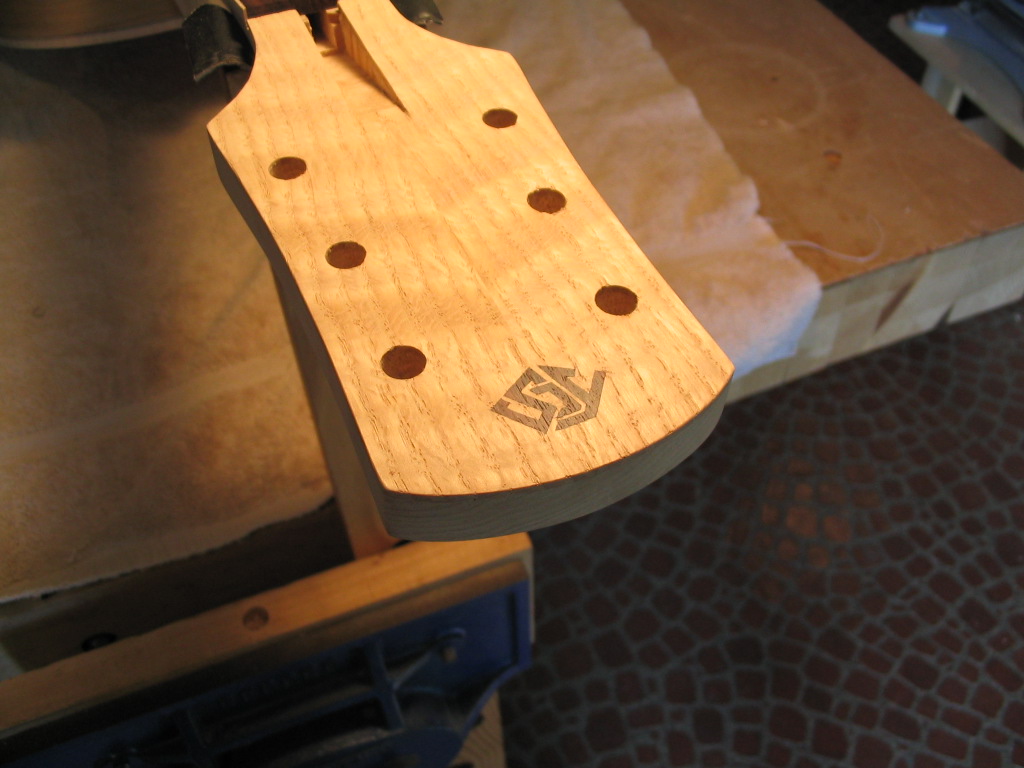
The peghead when the inlay has been completed.
As with the fretmarker inlays, it’s possible to use an inexpensive CNC router to cut the inlay pieces and their recesses, as described in another article.
At this point, the guitar is completed “in the white”, ready for the finish to be applied.
Previous: Constructing the fretboard |
Next: Applying the finish |