The back plate is next braced in preparation to being glued to the side-top assembly. The back plate is arched in two dimensions, both across its width and along its length. Since the arching is generally different (more pronounced) than for the top, a separate arched workboard is needed for the back. As before, the construction of such a board is described in a separate article on the website.
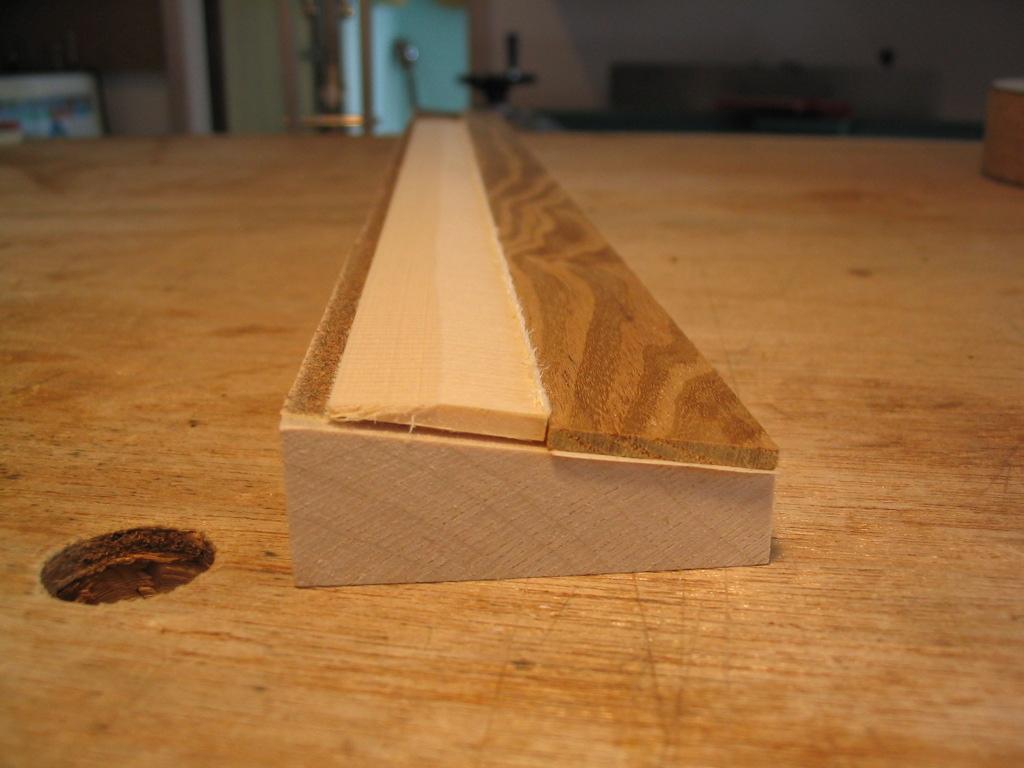
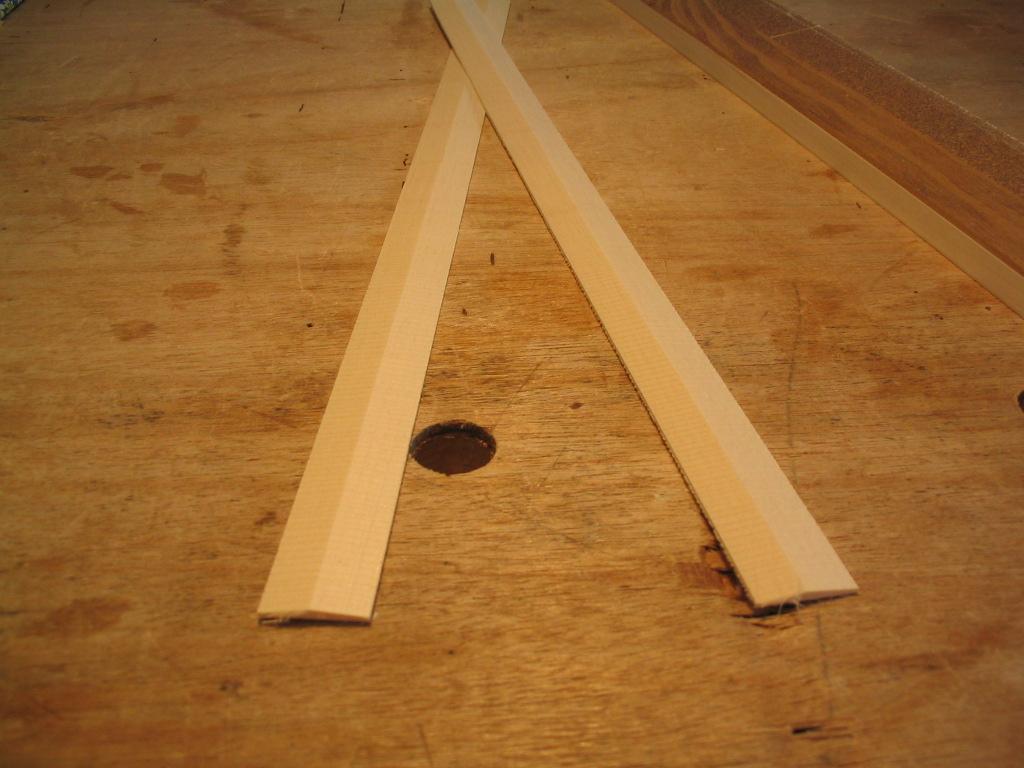
The back first has reinforcement strips glued over the glue joint(s). These strip are made from cross-grained spruce, cut from leftover top material. I usually make them between 3/4″ and 1″ wide. The strips are tapered so they are slightly peaked along their center line. This is easily done by hand, or by running the strips through the thickness sander on a tapered carriage. The carriage is shown in the photos below with one of the strips on top.
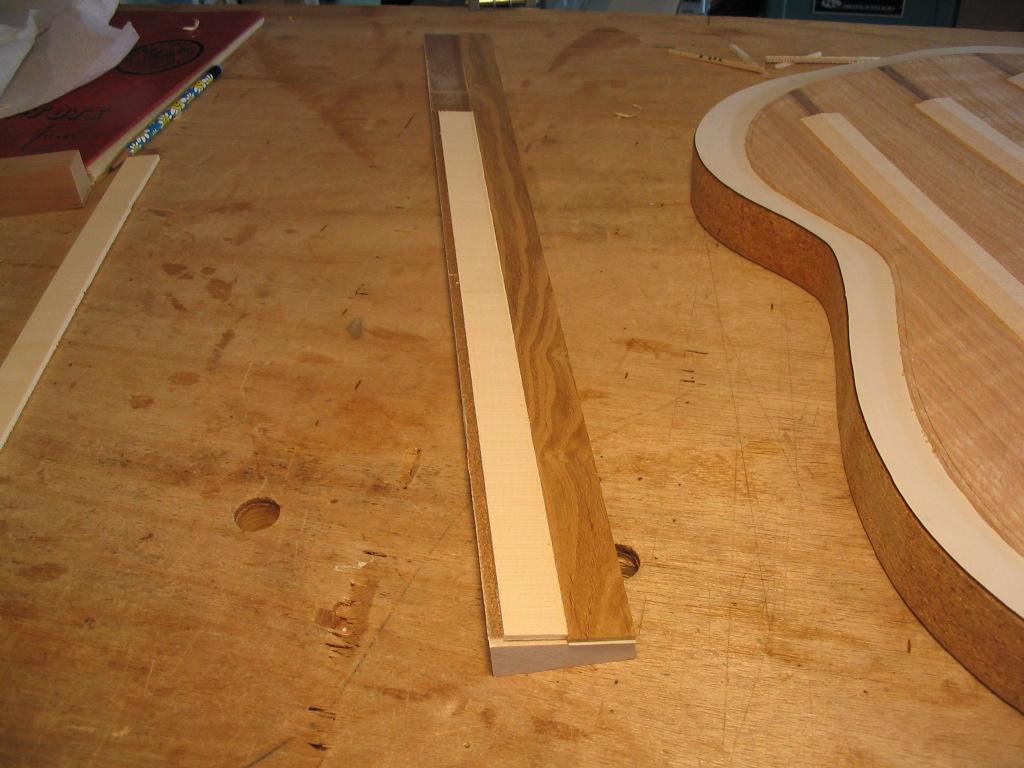
After being run through the sander twice, the strip gets the desired peak. Below, the strip after the first pass.
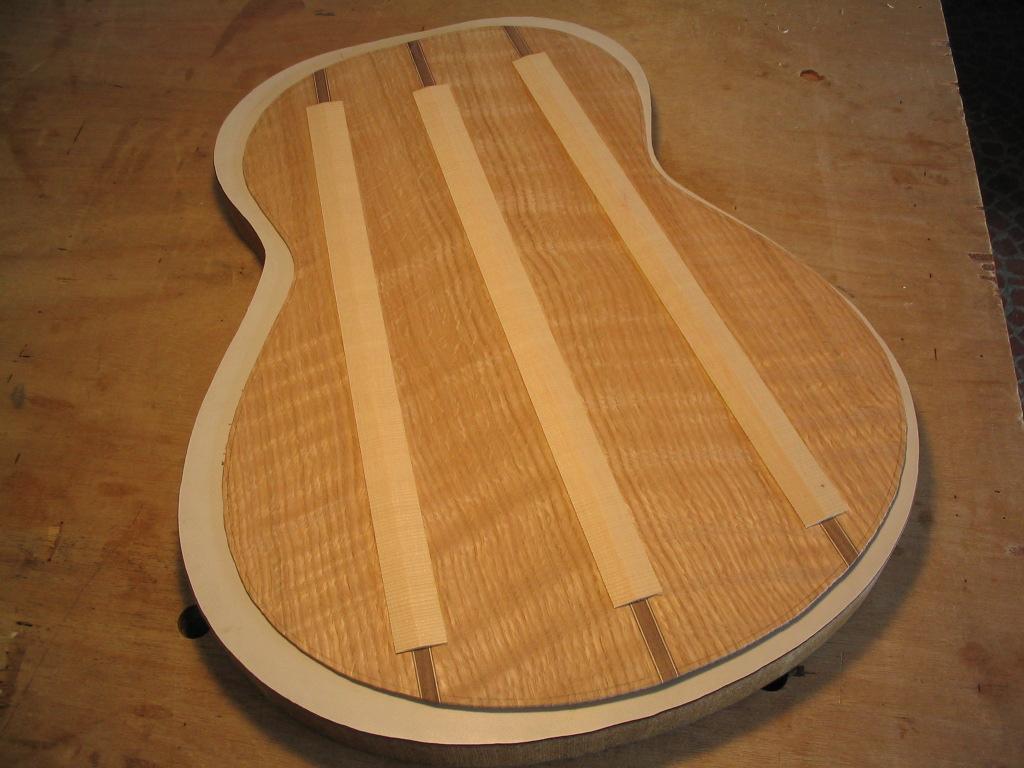
The strips can next be glued over the seams in the guitar back. The back shown is a four-piece back, so it has three seams. Since the back is to be arched, the strips are glued on while the back is on its arched workboard, and thus an arched clamping caul is used. Since the center strips are peaked, the clamping caul has narrow cork strips glued to its outside edges so it puts pressure on the outside edges of the reinforcement strips.
The back with attached reinforcement strips is shown below.
The reinforcement strips must now be notched so the back braces can be glued. The brace positions are marked using a ruler and square, and the reinforcement strips are scribed with an Xacto knife on both sides of each brace.
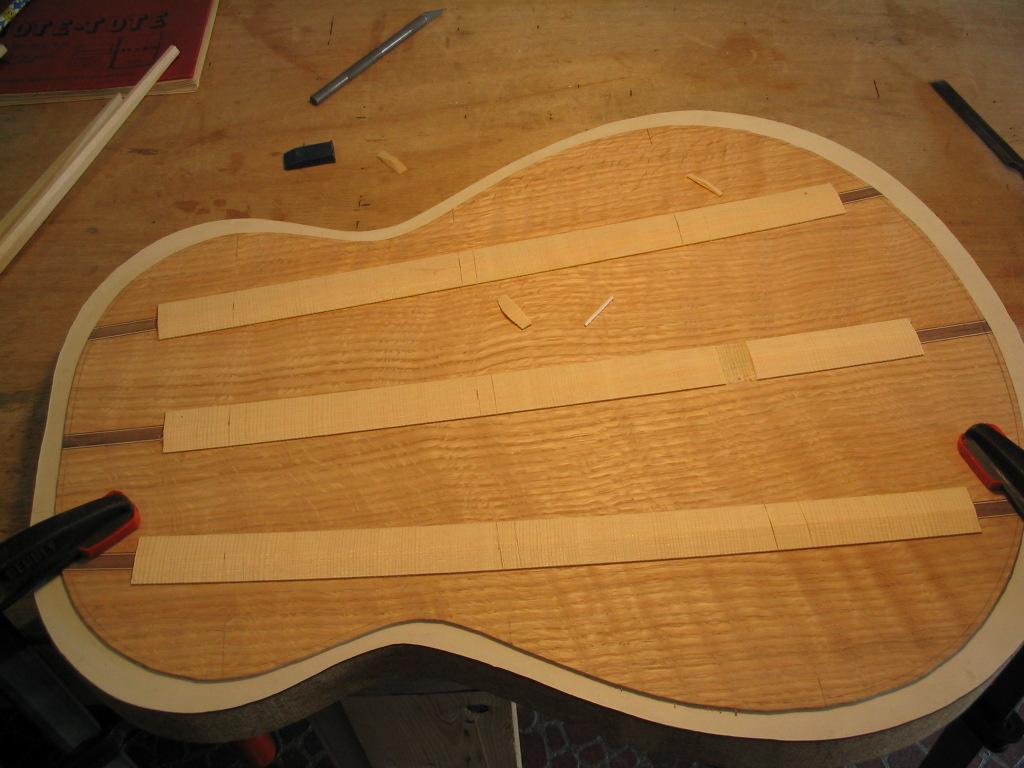
The material between the scribe marks is removed with a chisel.
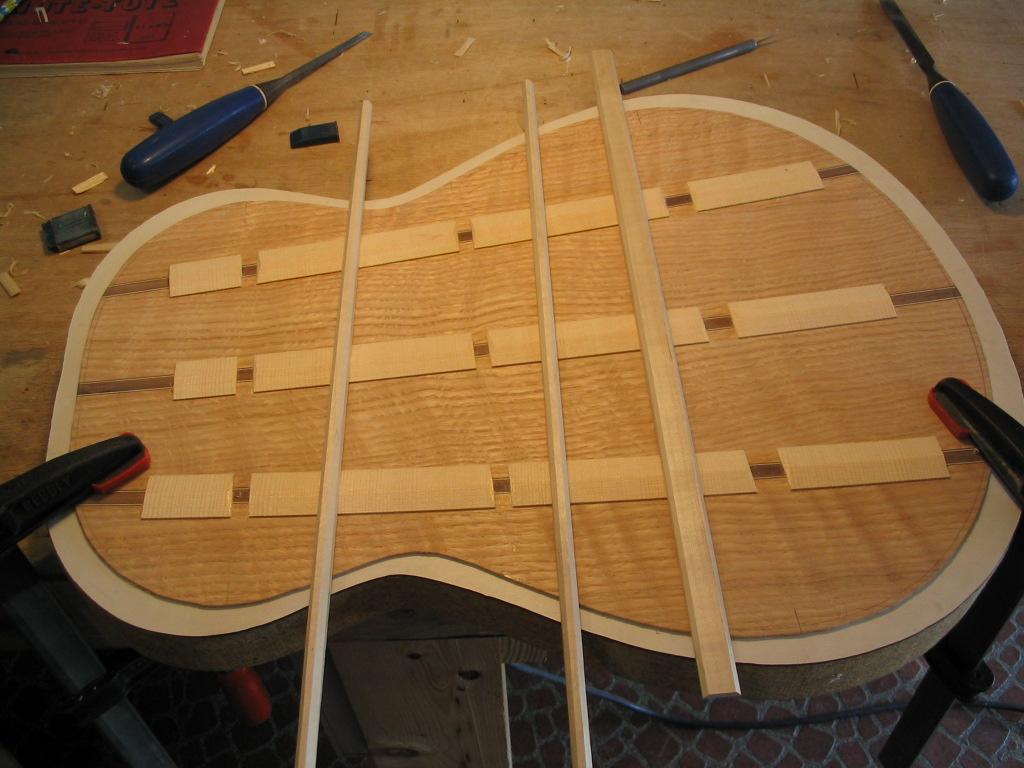
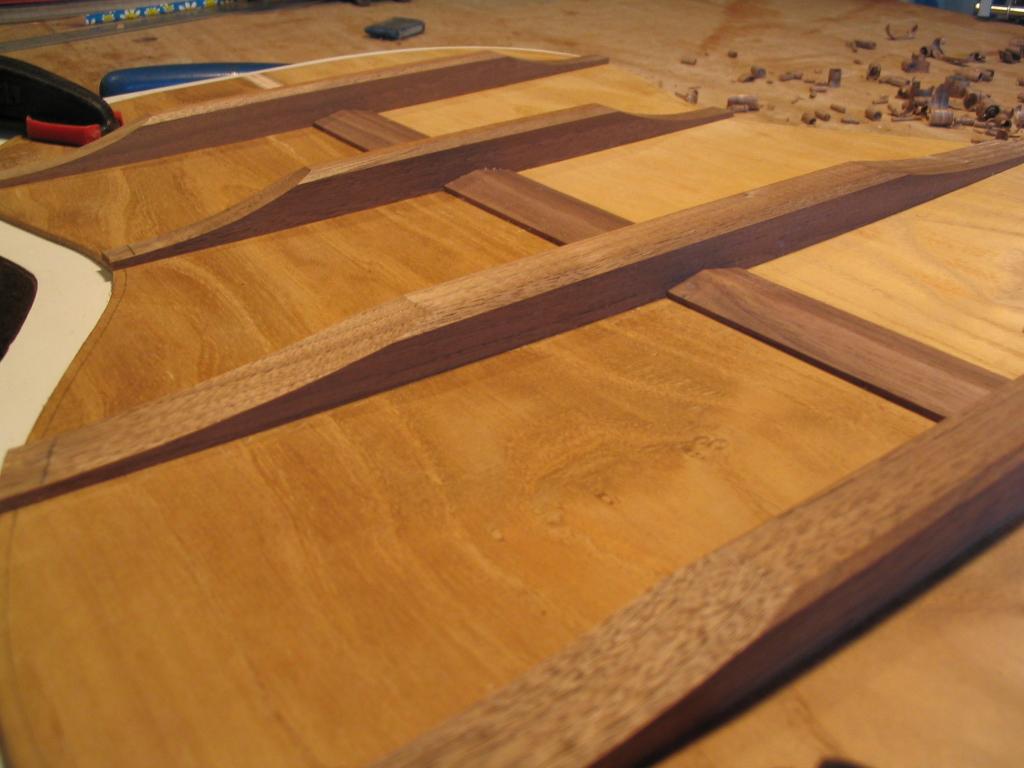
The back braces are made in the same way as the top braces, being arched in the same fashion, but using a separate arching jig due to the more pronounced arch. My dimensions for back braces are usually about 5/16″ wide by 1/2″ high for the narrow braces at the upper bout, and 5/8″ wide by 7/16″ high on the lower bout. The guitar shown uses just three back braces; I’ve also made guitars with four braces. The material for these braces in the photographs is maple; I’ve also used walnut, mahogany, and spruce. The material used doesn’t seem to be critical to the instrument’s tone.
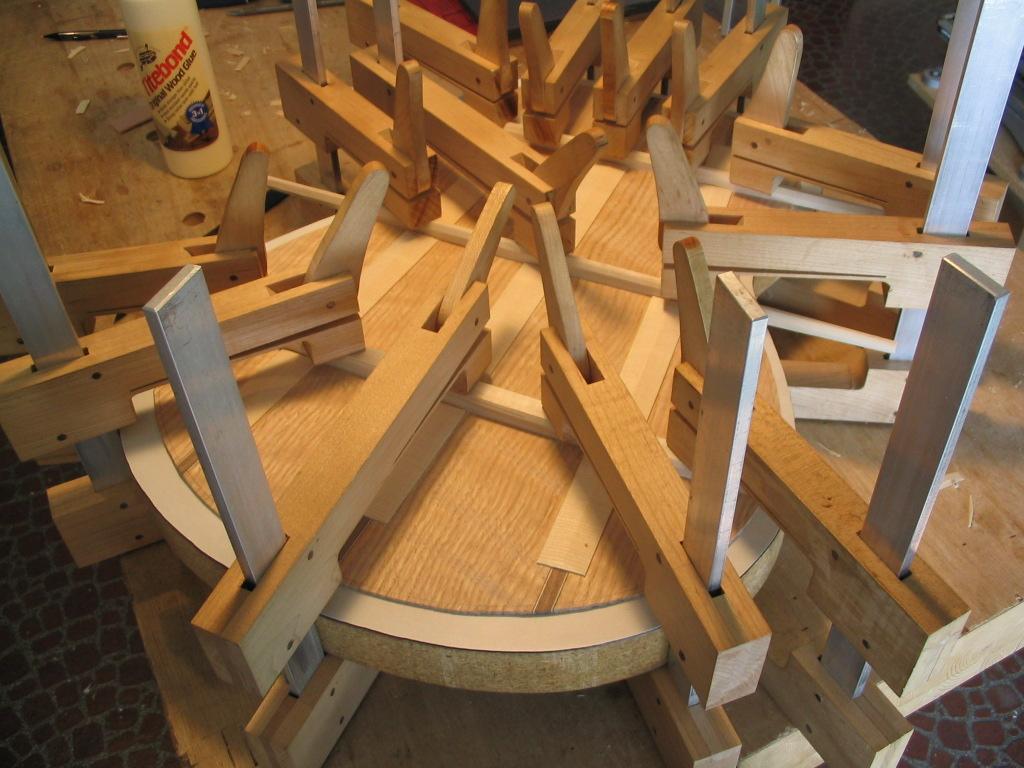
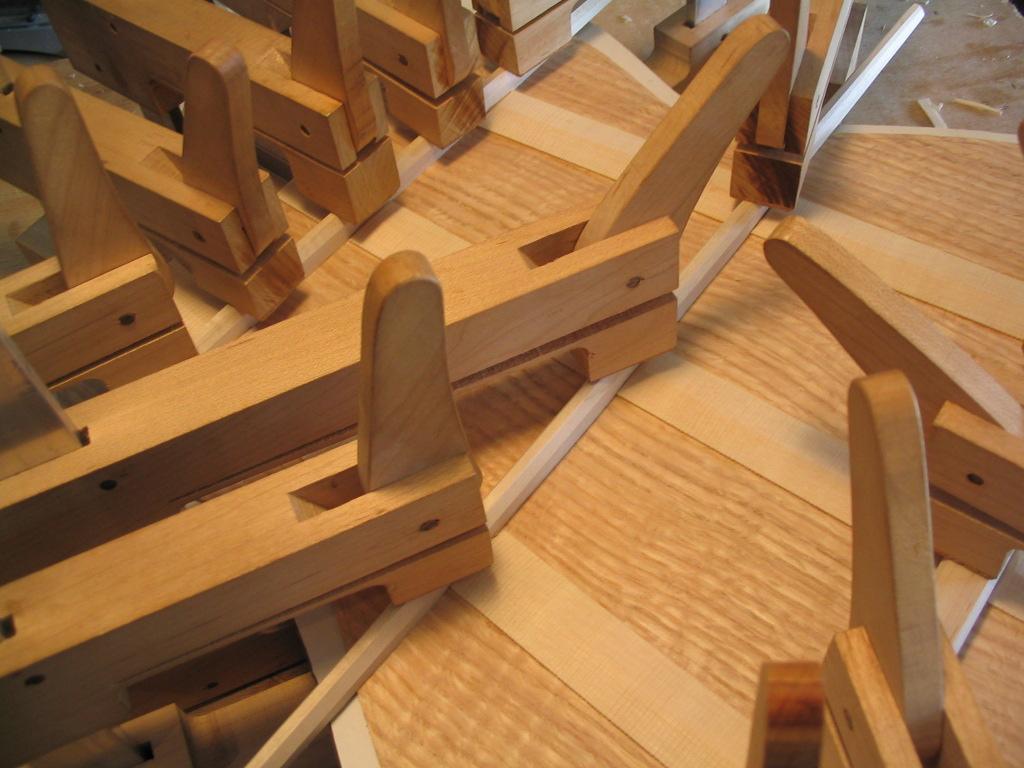
The braces are now glued to the back, with the back laid atop the arched back workboard.
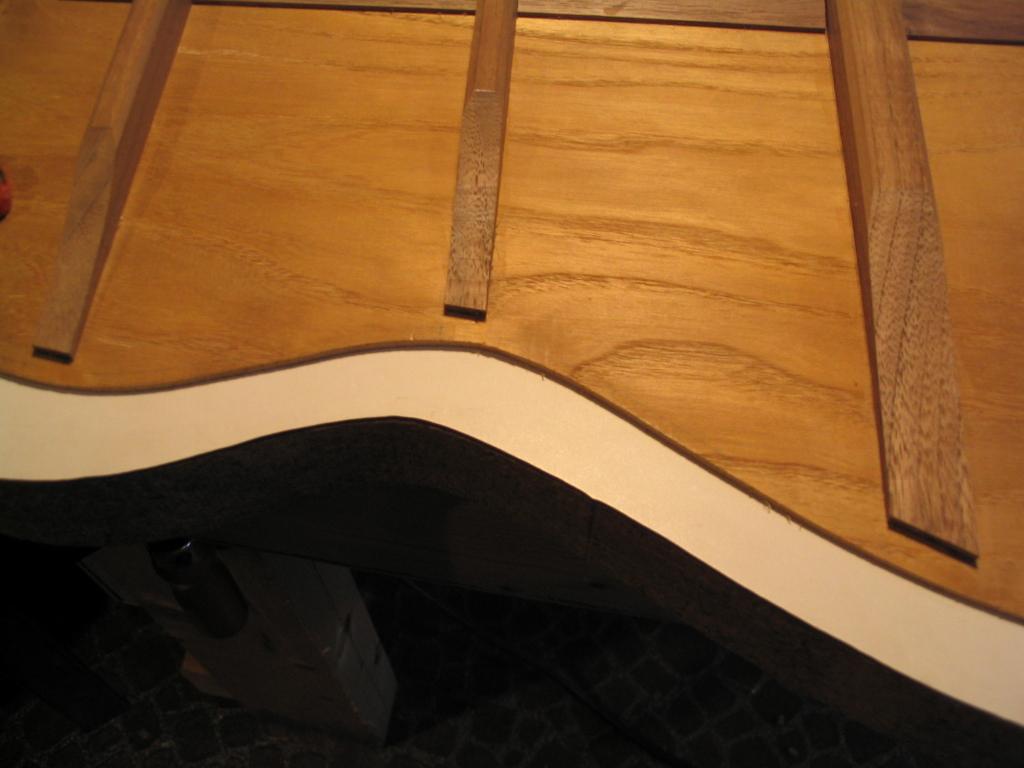
When the glue on the braces has dried, the protruding ends can be cut flush with the edge of the body profile on the back. The ends of the braces are then tapered to about .100″ at their ends, with the taper beginning 3″ or so from the ends. Note that this back use 4 braces instead of 3 as illustrated above, and uses walnut rather than soft maple as the brace material.
The brace ends are then trimmed so they end the thickness of the sides from the body profile line on the inside of the back (recall that the back was cut about 1/8″ bigger all around).
Previous: Joining the top to the sides |
Next: Joining the back and the top-side assembly |