The frets on a guitar are strips of specially shaped wire with a “T” cross-section, whose “tang” fits into the fret slots cut in the fretboard. The tang has small bumps or barbs on its sides. The traditional way of affixing the frets to the fretboard is to cut the slots to the width of the tang without the barbs; the frets are then hammered into the slots, and the barbs grip the sides of the slot to hold the frets in. Unfortunately, the barbs not infrequently lose their grip, and the frets pop out of the slots, leading to buzzing while playing. Epoxy adhesives provide an alternate method for attaching the frets: the slots are cut to the width of the tang plus the barbs, and the frets are glued in with epoxy. The epoxy forms a little casting around the barbs, and thus holds the frets firmly in place, eliminating the tendency for them to pop out of the slots. The following illustrates this epoxy fretting method.
Surprisingly, the epoxy fretting method makes fret removal easy when the frets have become worn and it is time for the guitar to be re-fretted . Epoxy loses its strength when heated, so the frets are easily pulled from the fretboard if they are each first heated. This is accomplished with a soldering iron run back and forth across the fret surface. The epoxy which remains in the slot is then easily removed with a thick Xacto knife blade or a fine bit in a Dremel tool. With the traditional method, the barbs have a tendency to cause the fretboard to chip at the edges of the slots when the frets are pried from the fretboard; this doesn’t occur with the epoxy fretting method, since the width of the slot includes the width of the barbs.
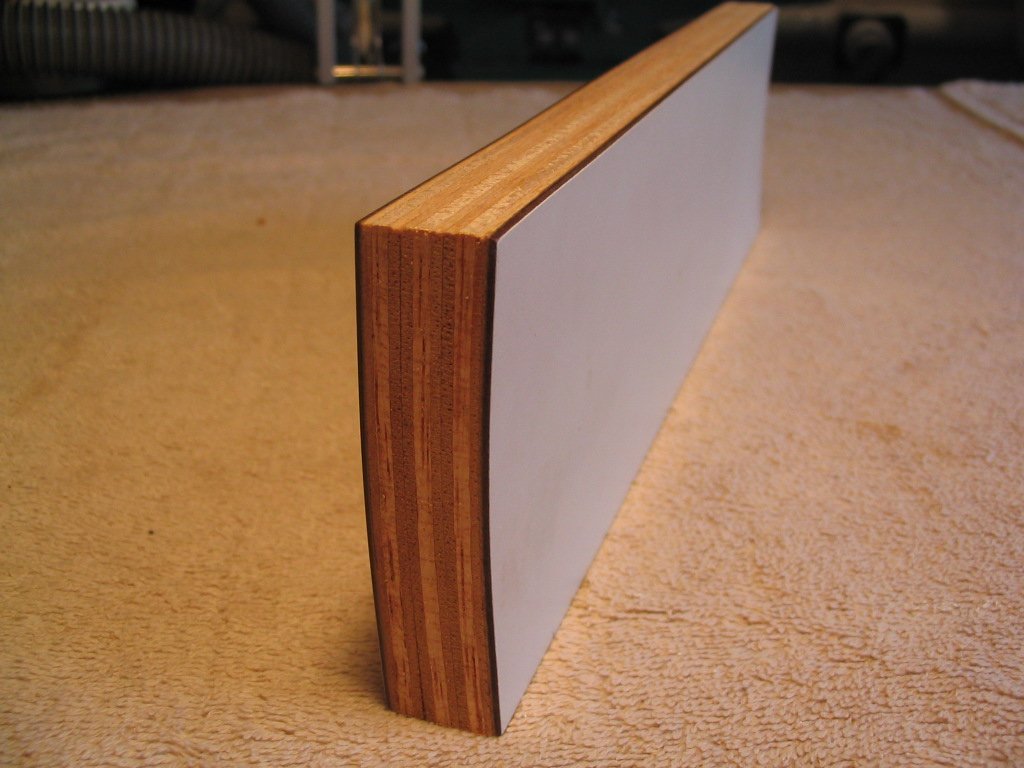
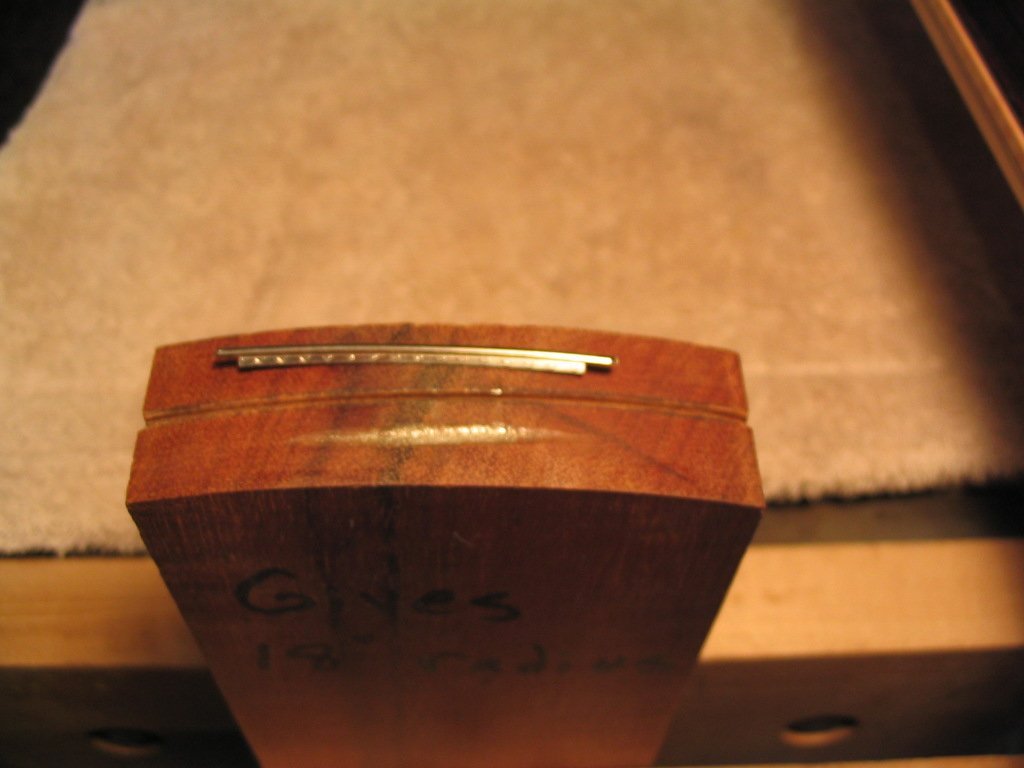
The fretboard is prepared for fretting by being surfaced so that it is straight along its length and arched across its width. To achieve both ends, a sanding block is used that has the desired convex arch across its width. The block is shown below, made from layers of plywood laminated together into the desired arched profile and faced with Formica. I tend to use an arching of about 18″ radius for the curvature of the fretboard surface. There’s a description of how to make such a block in a separate article. Lutherie supply shops such as Luthiers Mercantile sell pre-made blocks in a number of popular radii.
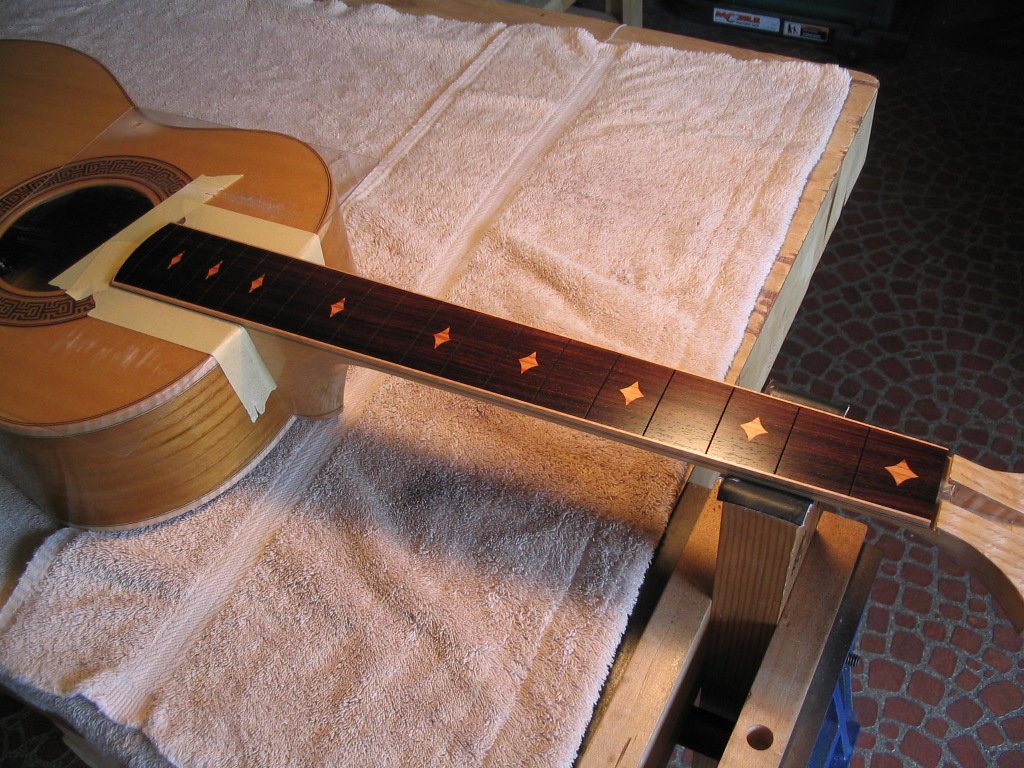
A plastic protective mask is placed on the guitar top to protect it during surfacing and fretting.

The surfacing of the fretboard is begun using very coarse sandpaper – 40 or 60 grit. Self-adhesive sandpaper is helpful, though standard paper can be wrapped over the concave surface. As the fretboard is surfaced, the outer edges will be cut first due to the curved profile of the sanding block. Pencil “witness lines” are drawn across the fretboard, which disappear when the sandpaper has cut the complete arched profile. The lines can still be seen in the middle of the fretboard in the photo below, indicating that the arching is not yet complete (the center of the fretboard is still flat).
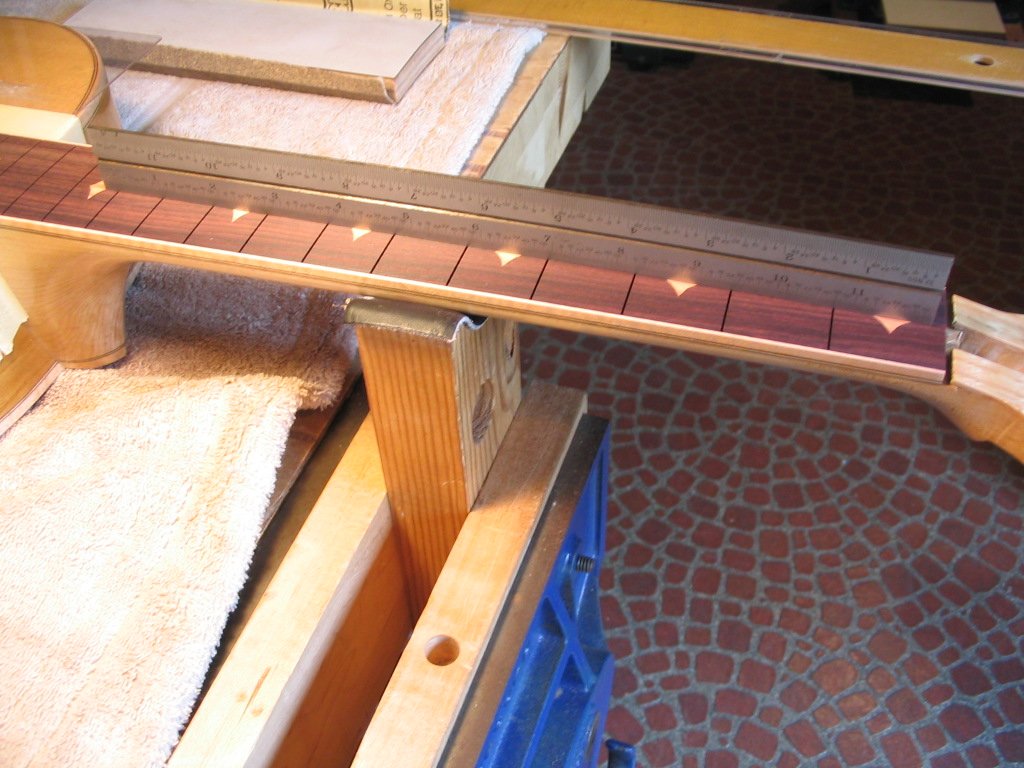
The straightness of the fretboard is checked with a straightedge as surfacing progresses. I try to get the fretboard perfectly flat; some builders put a little “relief” in the fretboard, surfacing it so there’s a little space under the center of the straightedge, i.e., so the fretboard is curved up slightly.
When the fretboard surfacing is complete at the coarsest grit, the surfacing continues with a succession of finer grits up through 220 grit. Pencil witness lines are drawn at each stage to make sure the scratches left by the previous grit are removed by the next.
The final sanding is done by hand with 320 grit paper, followed by polishing with steel wool. I then apply a light coat of tung or linseed oil, which makes it easier to remove any epoxy squeeze-out after the frets have been glued. It’s important to make sure none of the oil gets into the fret slots, where it would interfere with the adhesion of the epoxy used to attach the frets.
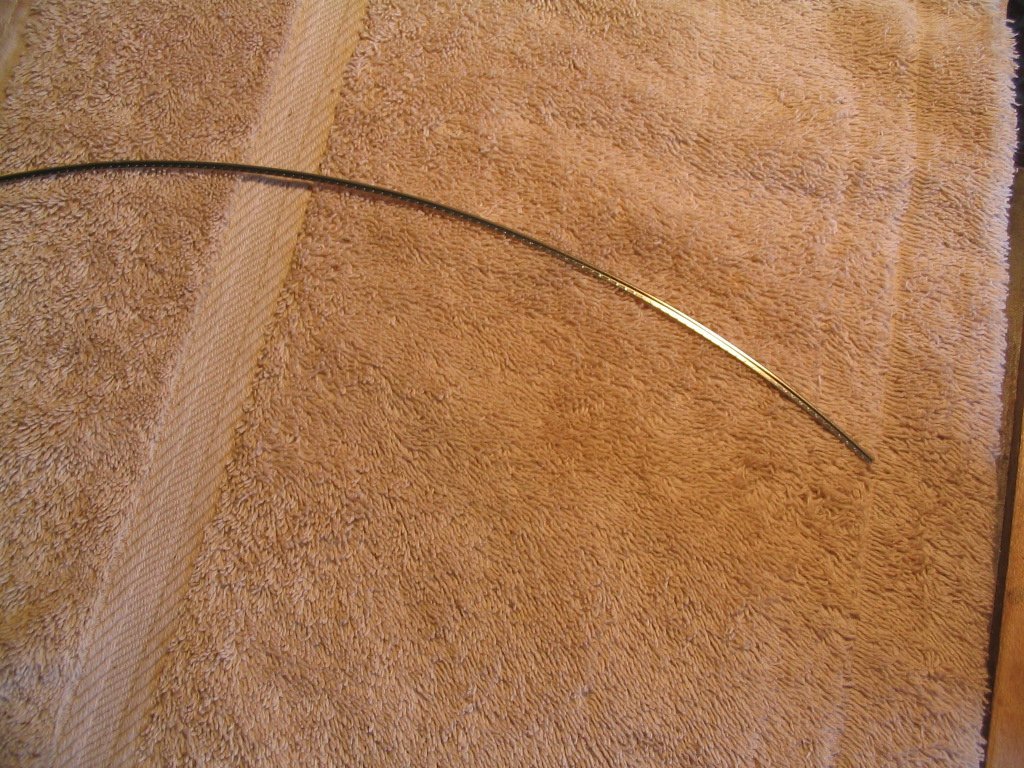
The fret wire is usually supplied in straight 2-foot lengths. I curve each length of fret wire into the desired arch to match the profile of the fretboard, since it’s easier to bend the long piece of wire before it’s cut into appropriate lengths for the frets. The curving is facilitated with a block with a curved top surface and a groove for the fretwire tang to fit into; the block is illustrated two photos down.
The pre-curved fretwire is then cut into appropriate lengths, with each fret being slightly longer than the corresponding fretboard width. The frets are kept in order since their widths differ.
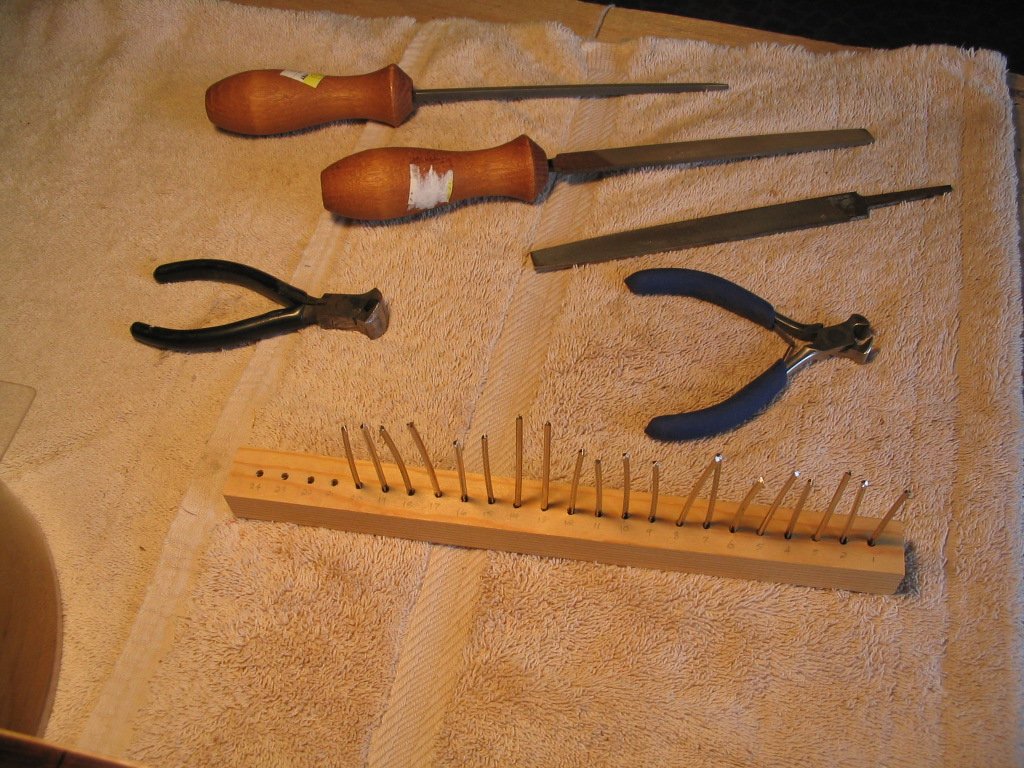
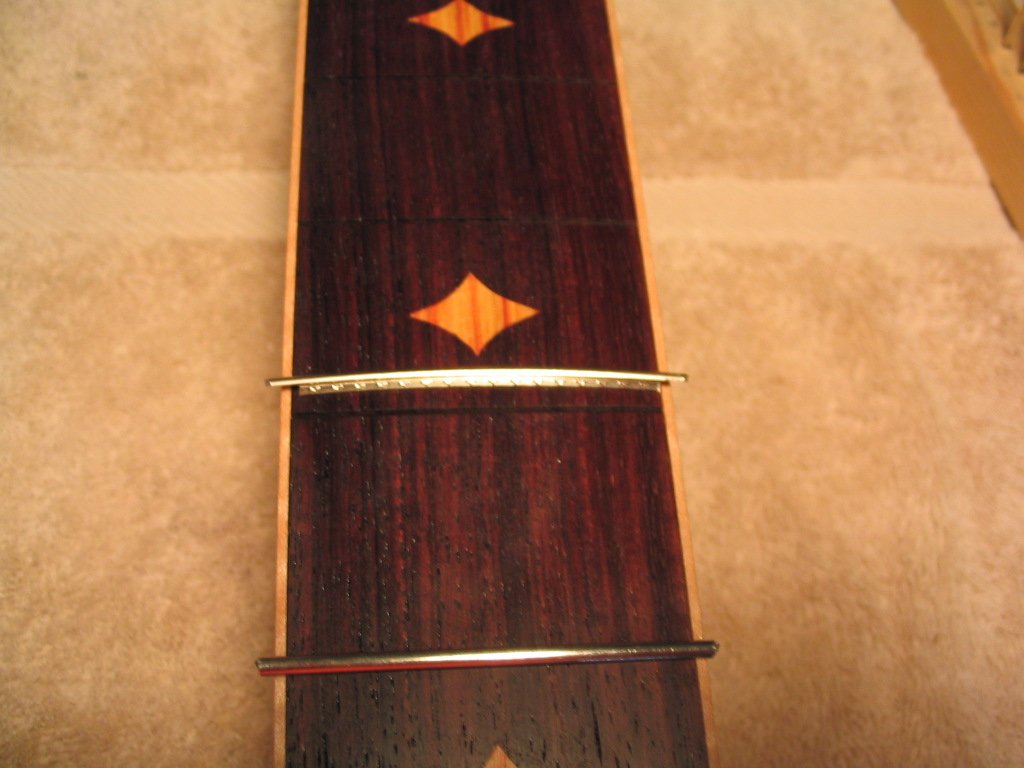
Because the fretboard has binding along the edges, each fret must have its tang notched at the ends so the top surface will extend onto the binding. This is accomplished by using wire cutters to nip the tang at each end and then files to file the remaining tang stub flush with the underside of the fret.
The fret shown notched to fit within the binding.
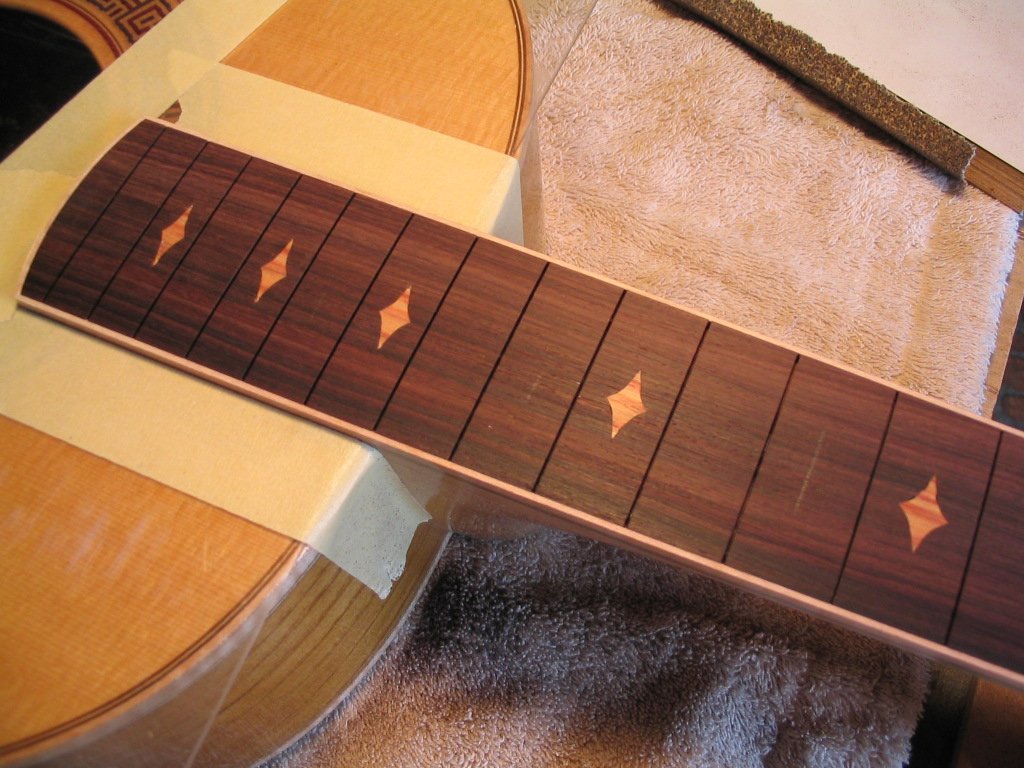
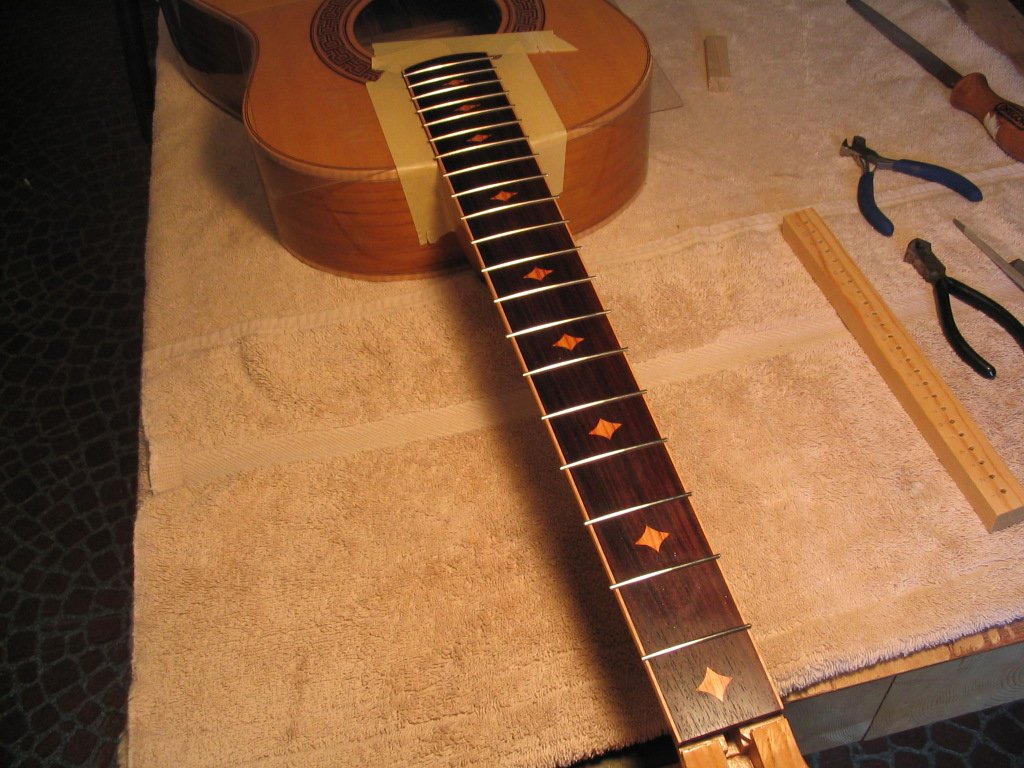
The notched frets laid (but not yet glued) in the fretboard.
I next chamfer the top corners of each fret slot, using a bent file. This helps to prevent any chipping at the edges of the slots when the frets are removed, which occasionally happens with the epoxy fretting method is the slot is a little too narrow.

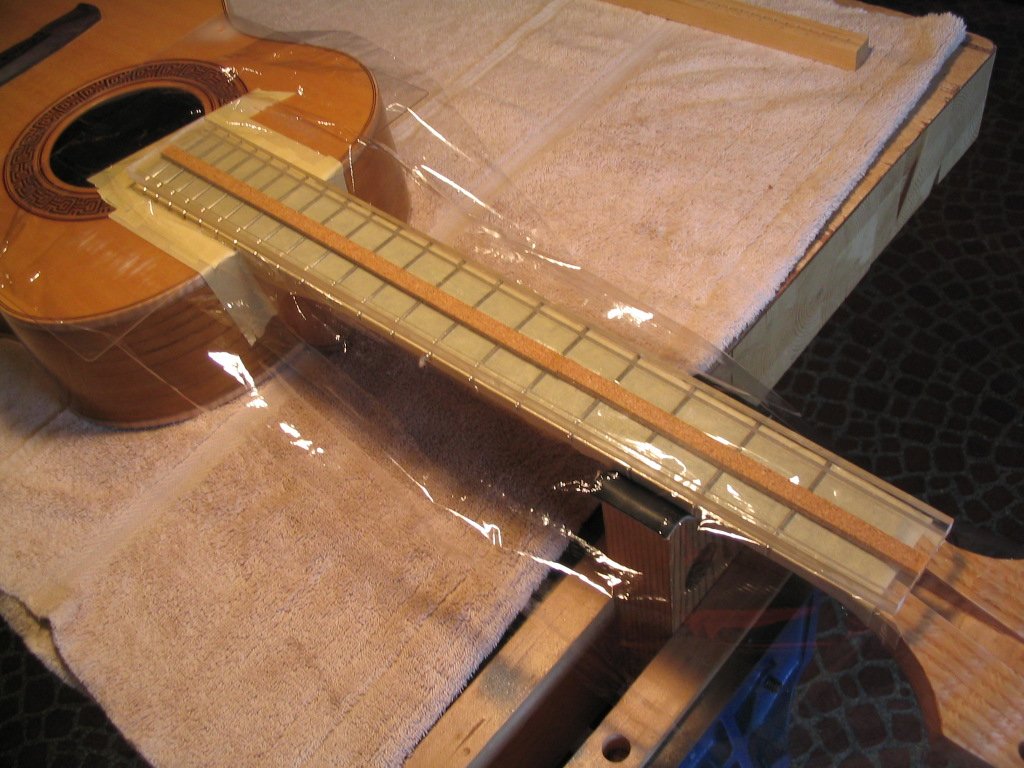
The edges of the fretboard are taped to catch any epoxy squeeze-out from the ends of the frets.
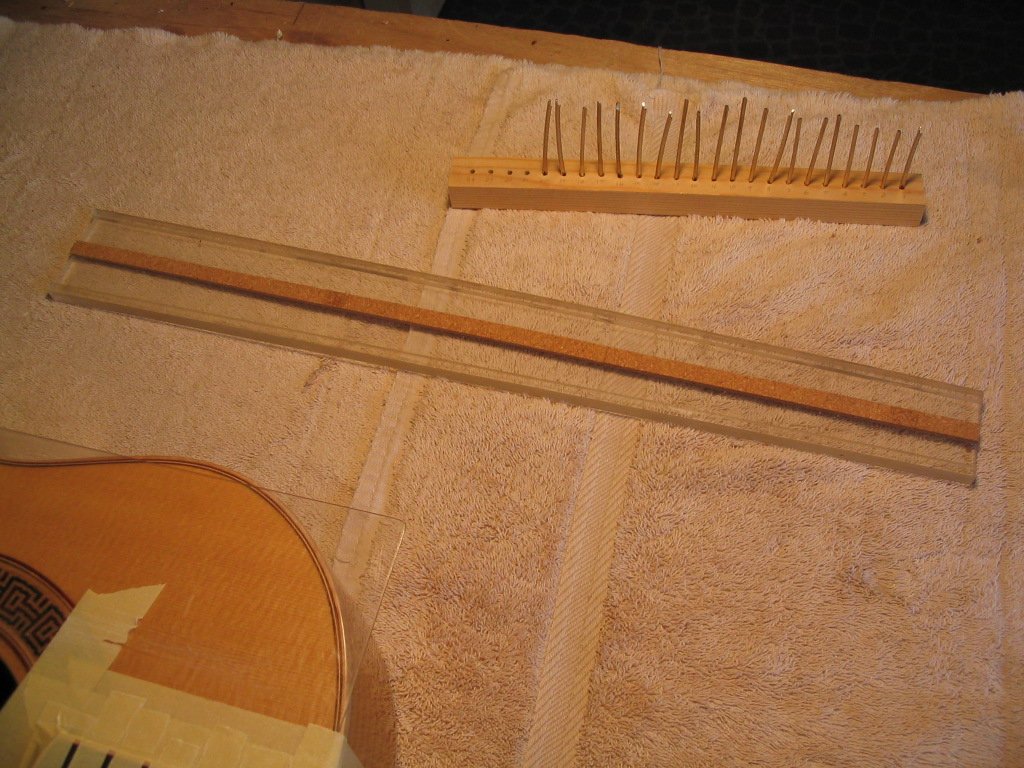
The frets are clamped into place when glued using a special clamping caul. The caul is consists of 1/4″ Plexiglass tapered in width to match the fretboard, with Plexiglass strips along the edges and a cork strip in the middle. The caul thus applies pressure at the outer edges of each fret where the Plexiglass edge strips contact, and at the middle from the pressure of the cork. The cork gives to allow for the arch across the fretboard.
Epoxy is mixed and spread into the fret slots. The frets are then placed into their slots, and any squeeze-out is wiped off with a paper towel dampened with denatured alcohol. The photos below show tape placed to protect the fretboard from the epoxy. I no longer do this, instead spreading the epoxy directly on the fretboard surface and into the slots. After the frets are inserted, I clean the excess epoxy off using a paper towel dampened with denatured alcohol, which is a thinner for epoxy. This saves a great deal of time compared with meticulously taping the fretboard surface.

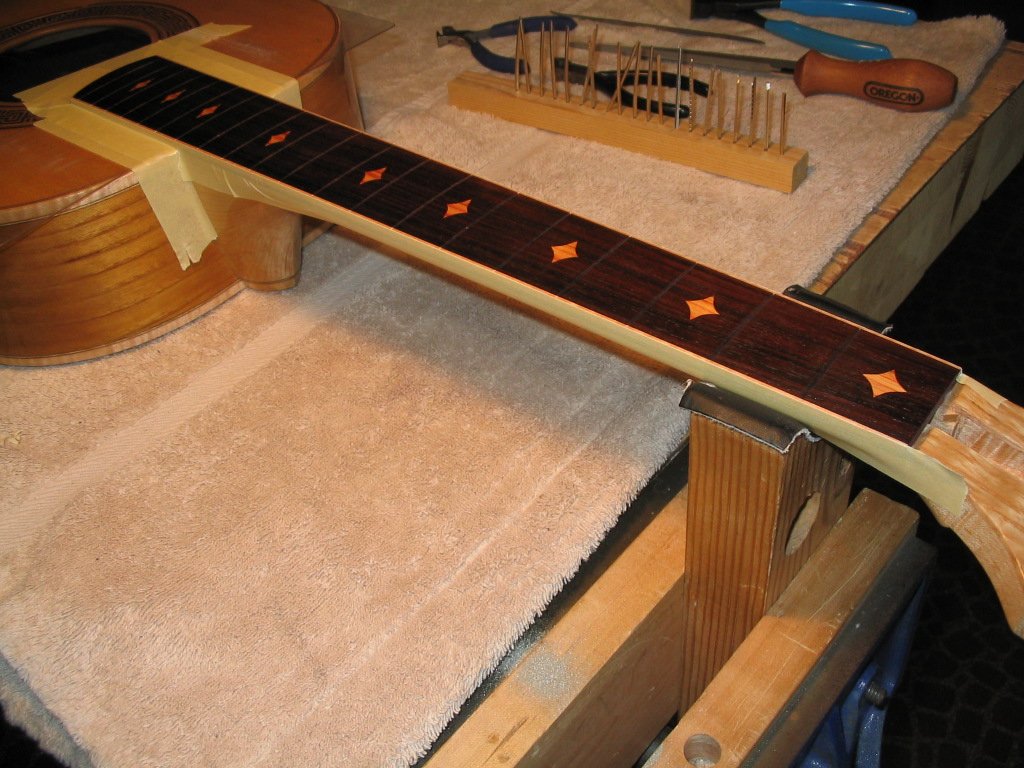
A sheet of plastic wrap is placed over the frets to keep the epoxy from contacting the clamping caul, and the caul is placed onto the frets.
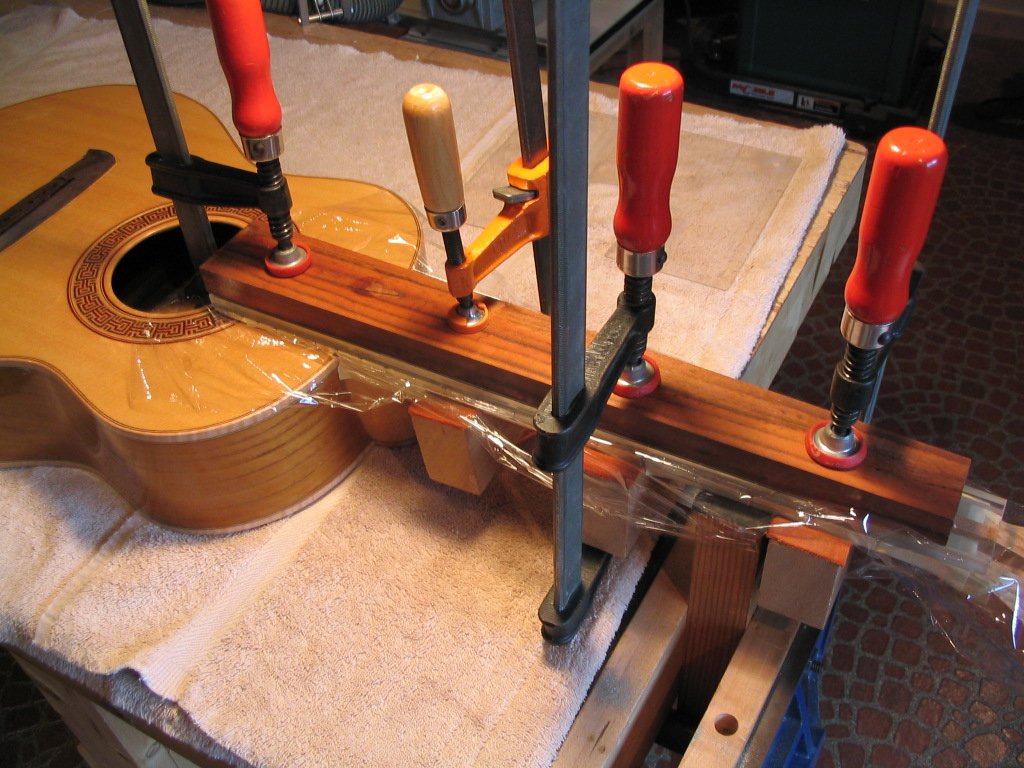
A solid caul is placed over the flexible Plexiglass caul, and the frets are clamped into the fretboard. Note that the protective mask has been removed from the top to allow access to the soundhole for clamping.
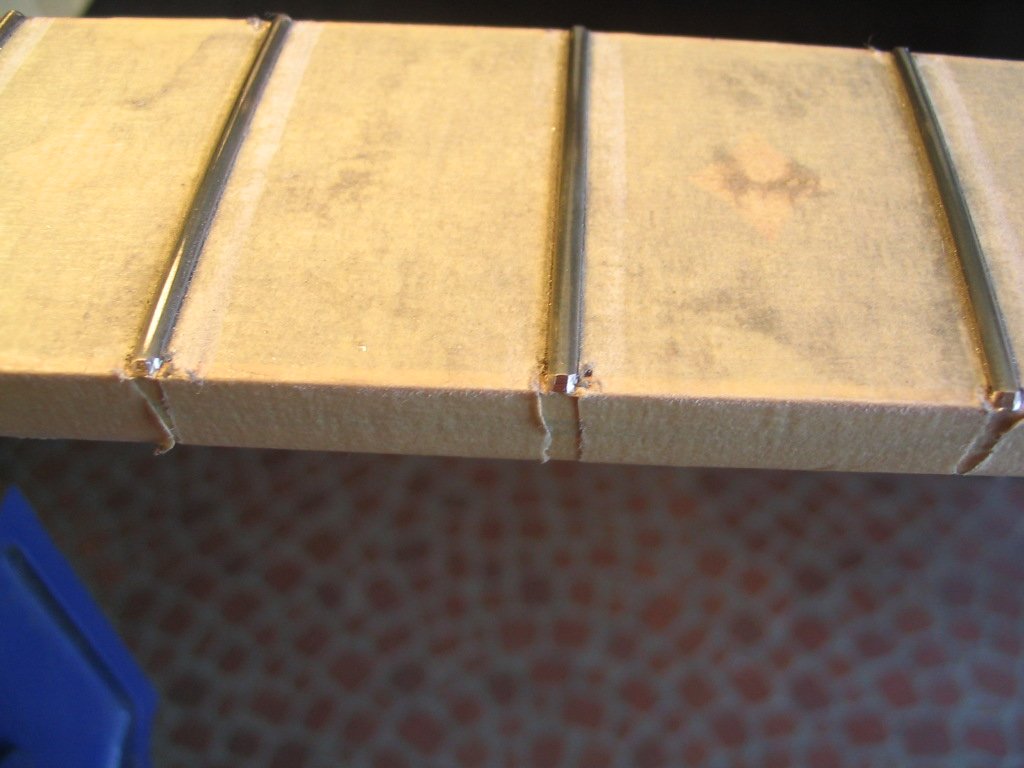
When the epoxy has set, the clamps and cauls are removed, and the fret ends are trimmed to the width of the fretboard. The ends of the frets are trimmed flush and angled with a file.

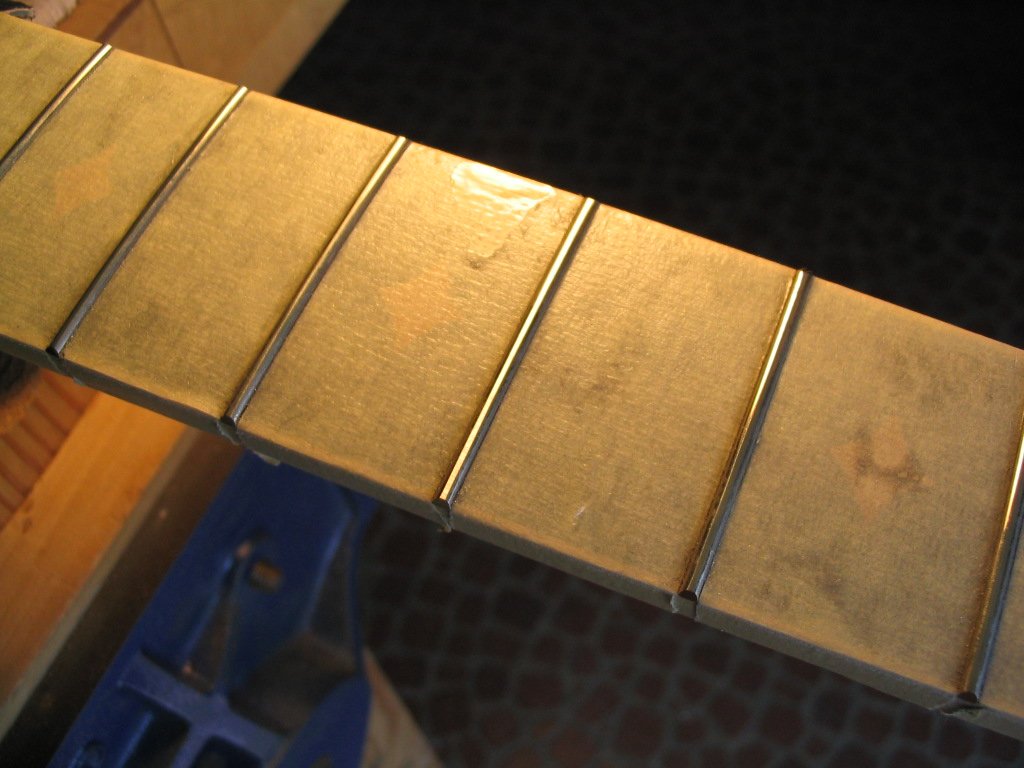
The fret tops are leveled with a sanding block with 320-grit sandpaper glued to the face with spray adhesive. Leveling starts at the body end of the fretboard, and continues to the nut. The frets are surfaced until each shows a flat on its top, which indicates that the the frets are all at the same level. The flat appears as the shiny stripe on the fret in the picture below. It’s important to be sure that there aren’t any frets that are lower than their immediate neighbors, i.e., that don’t show a flat when their neighbors do, as this will likely lead to buzzing when the string is fretted at that position. In general, you want to remove the least material possible while showing a flat on each fret.
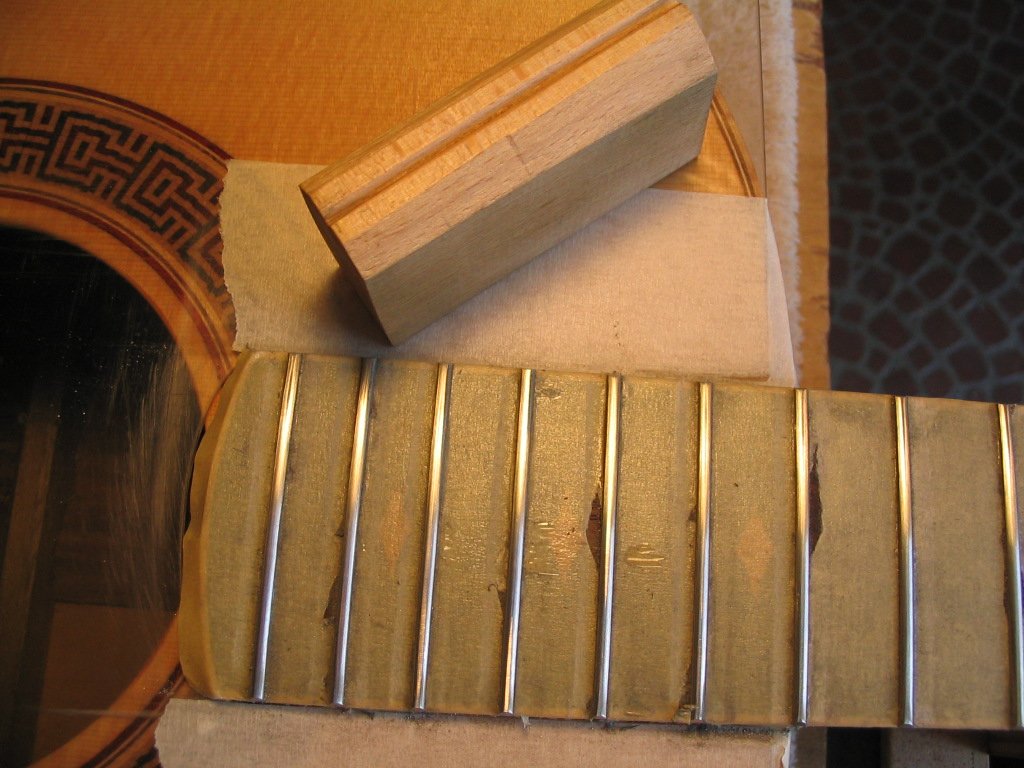
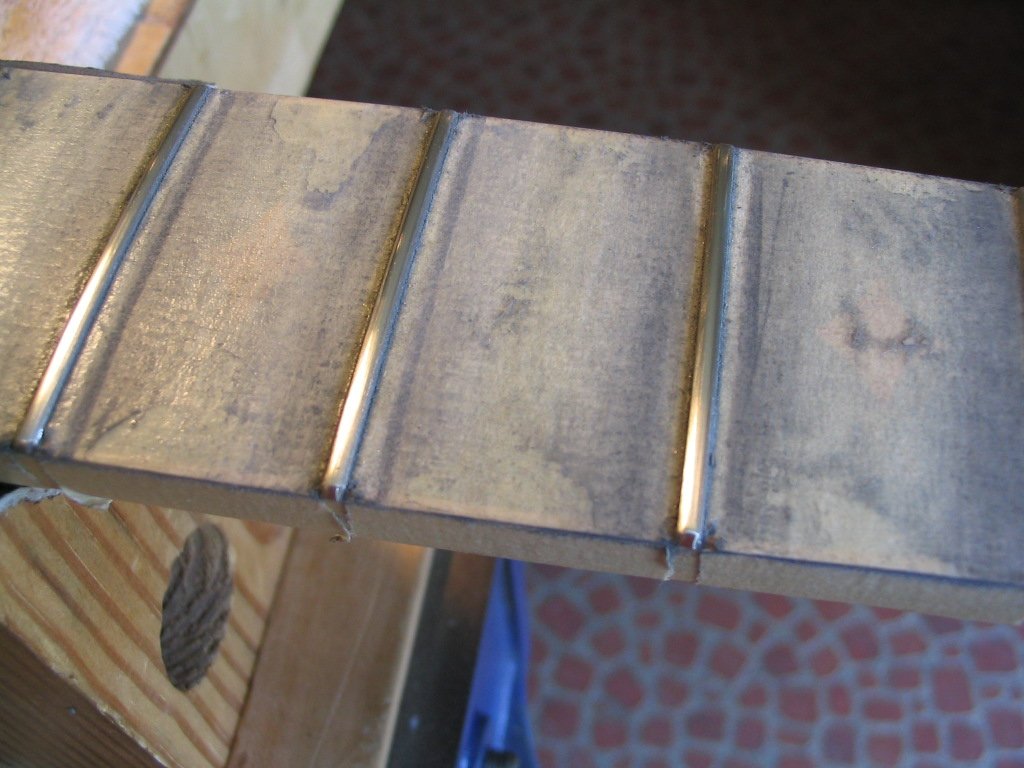
If the flats are wide enough to have an edge, the edges are taken off and the rounded top profile restored on each fret using a block with a V-groove cut in it. Sandpaper is held over the groove, and the groove is run along the top of each fret, which rounds off the sharp edge of each flat without taking material off of the top of the fret. In the photo below, a narrow flat can still be seen on the crest of each fret after this operation. This isn’t always necessary if relatively little material has been removed from the top of the frets and their profiles are still mostly rounded.
The fret ends are mitered with a file to remove the sharp points at the corners.
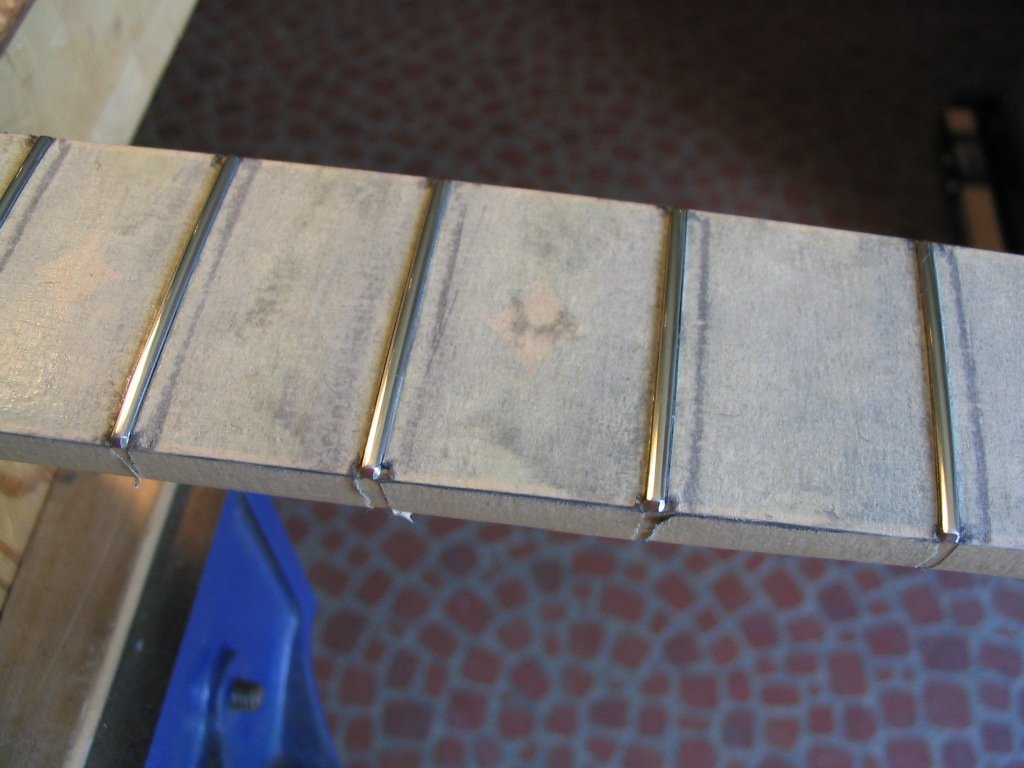
The frets are then polished with successively finer sandpaper, starting with 320-grit and going to 600-grit. The same number of strokes are used on each fret to ensure they stay at the same height. Since I no longer tape the surface of the fretboard, it’s necessary to protect the surface during this operation using a piece of thin plastic with a slot that’s the exact width of the fret. The plastic protector is placed over each fret as it’s sanded.
The frets are finally polished with fine steel wool.
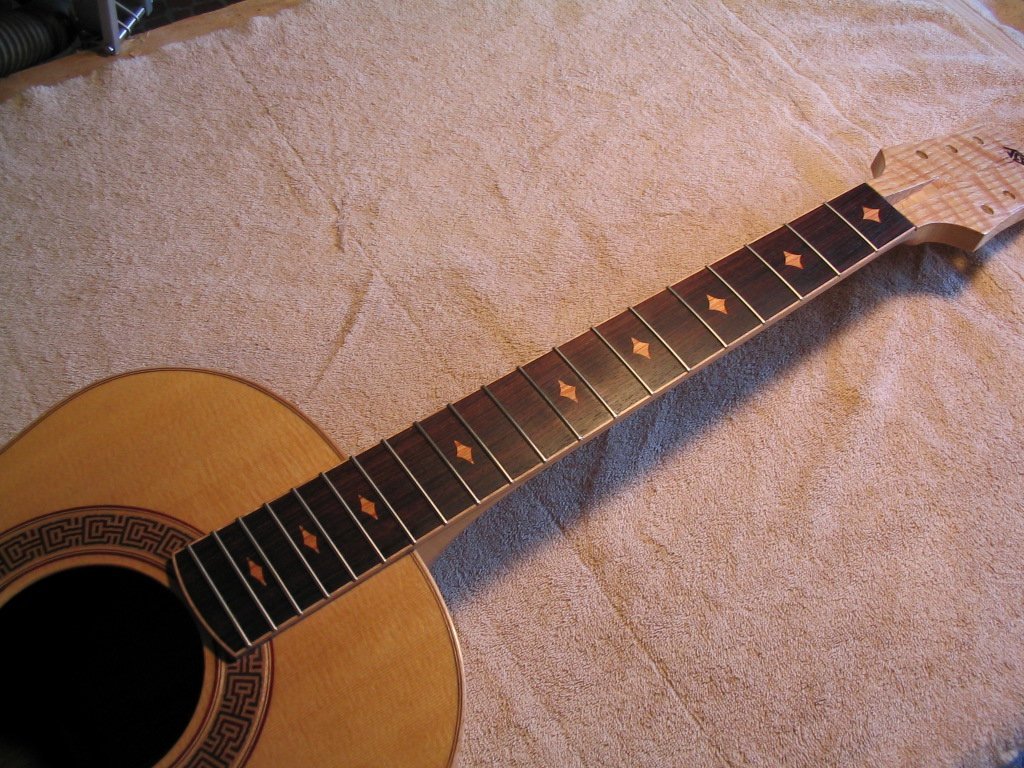
The masking tape is removed, and any remaining epoxy squeeze-out is removed from along the frets edges with a sharp chisel. The fretboard and frets are then polished with fine steel wool, and a coat of lemon oil is rubbed into the fretboard.
Previous: Fabricating and attaching the bridge |
Next: Final assembly |