Carving the neck is one of the most enjoyable parts of building a guitar. The blocky, chunky neck blank is turned into a sleek, smooth guitar neck.
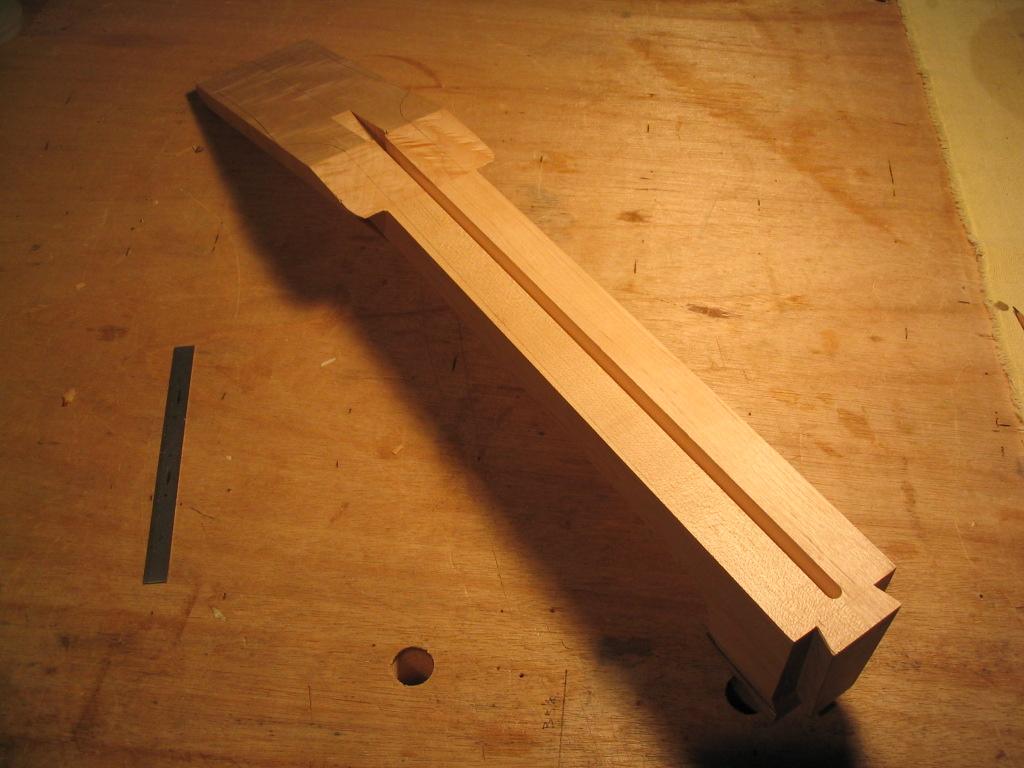
The neck stock is first tapered. I use a neck width of 1.7″ at the nut, and 2.1″ at the 14th fret, where the neck joins the body. The neck taper is marked, and the peghead outline is drawn on the peghead stock.
Neck and peghead outline marked
The lower portion of the taper is sawn first.
Initial neck taper cut
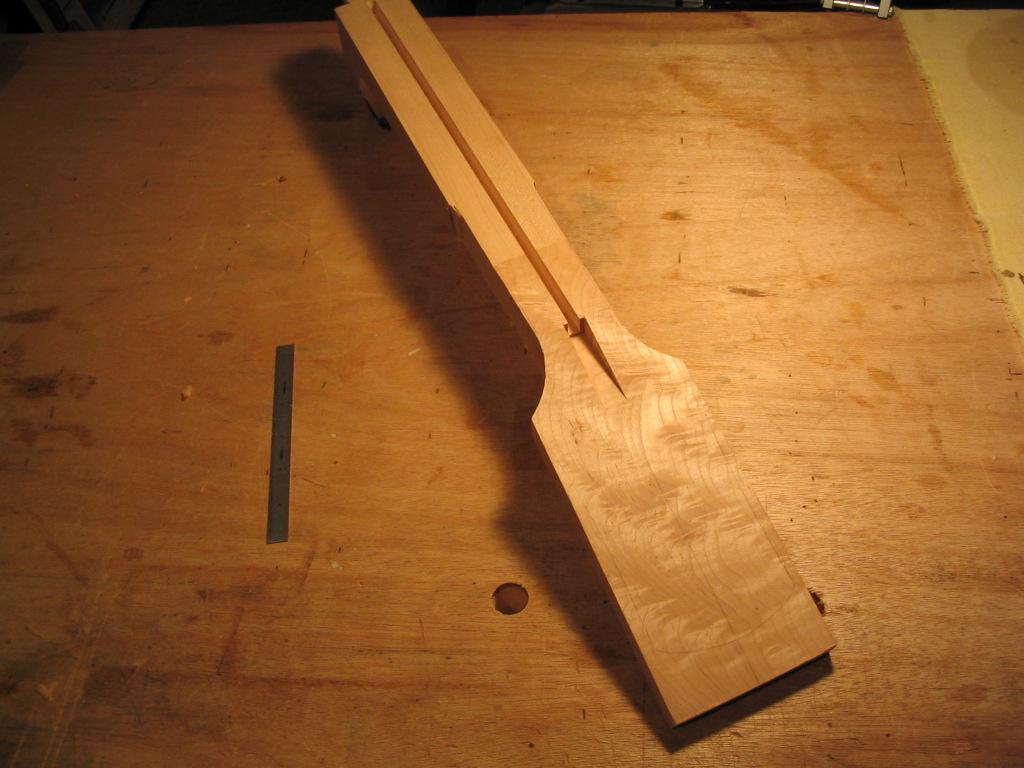
Then the peghead outline is cut, and smoothed with a spokeshave and rasp.
Peghead outline cut and smoothed
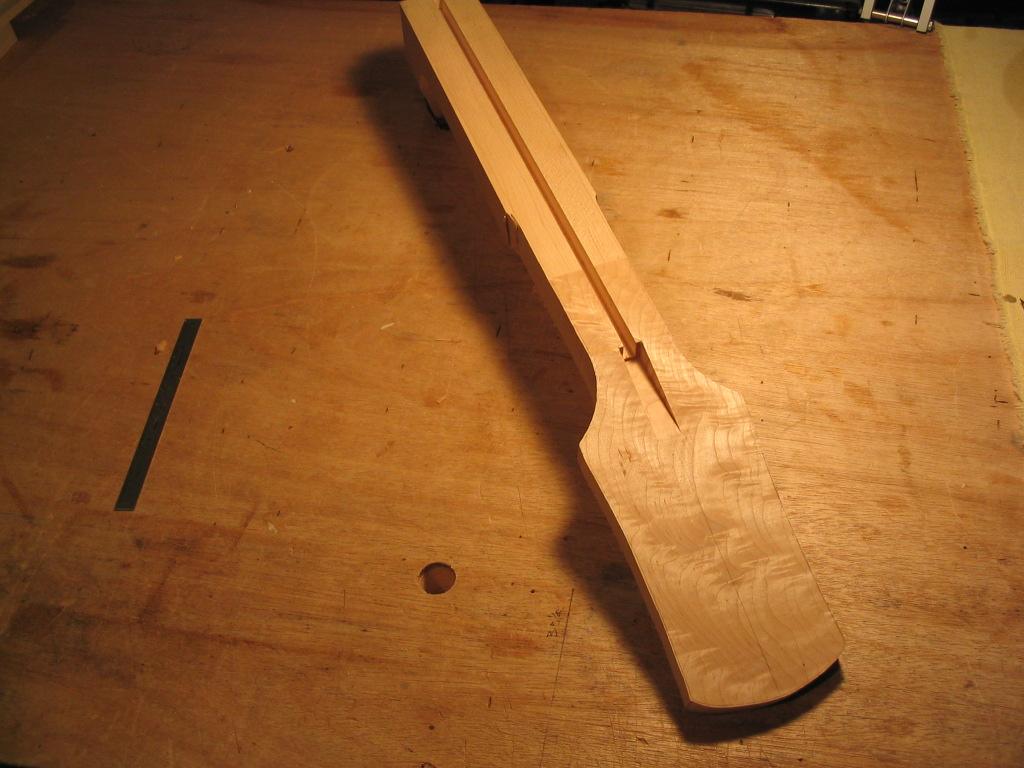
The taper on the neck is now finished with a plane and files; the file is needed since the curve of the peghead will prevent the plane from reaching that end of the fretboard. The sides of the taper should be made absolutely straight.
Planing and filing the neck side taper
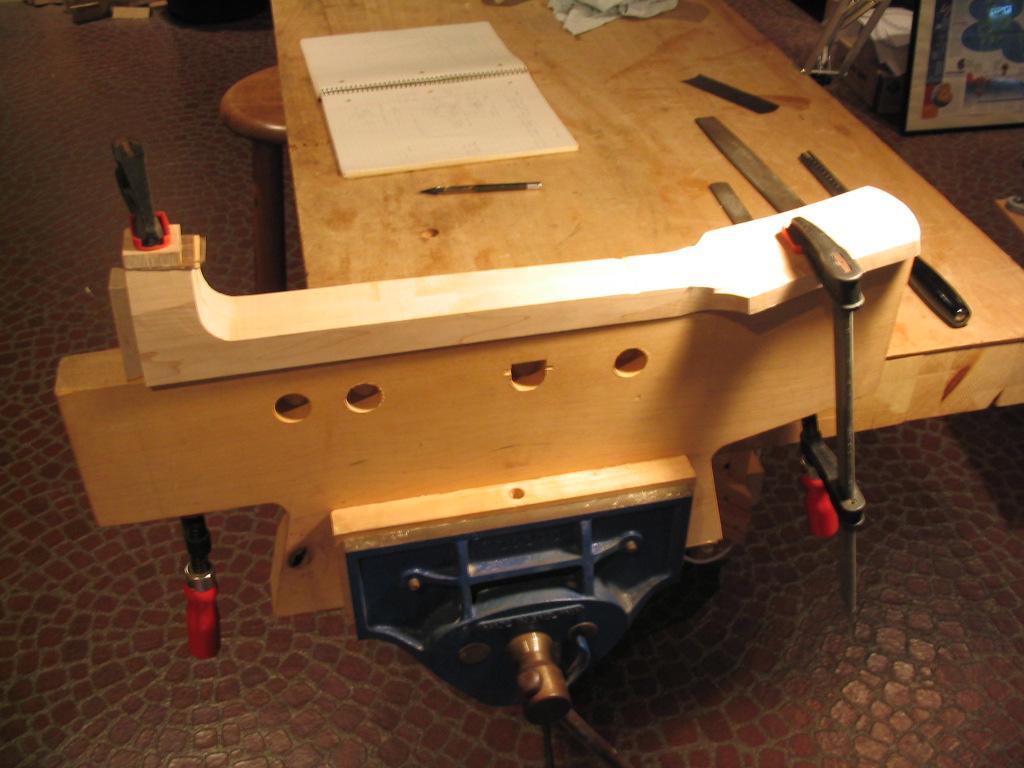
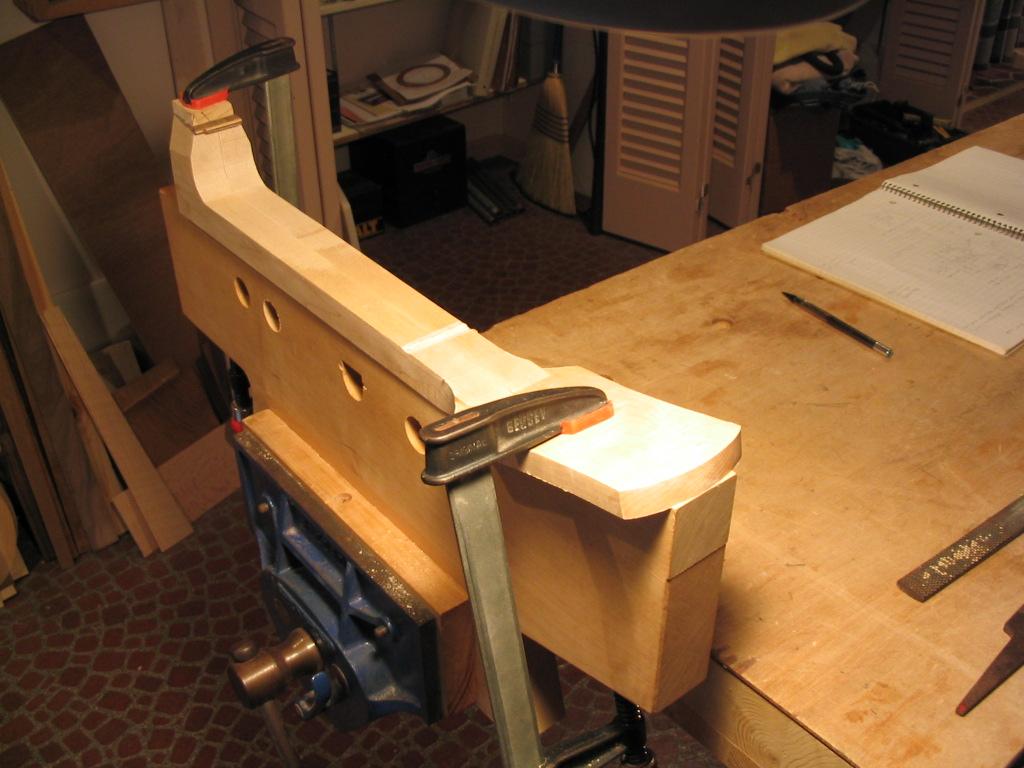
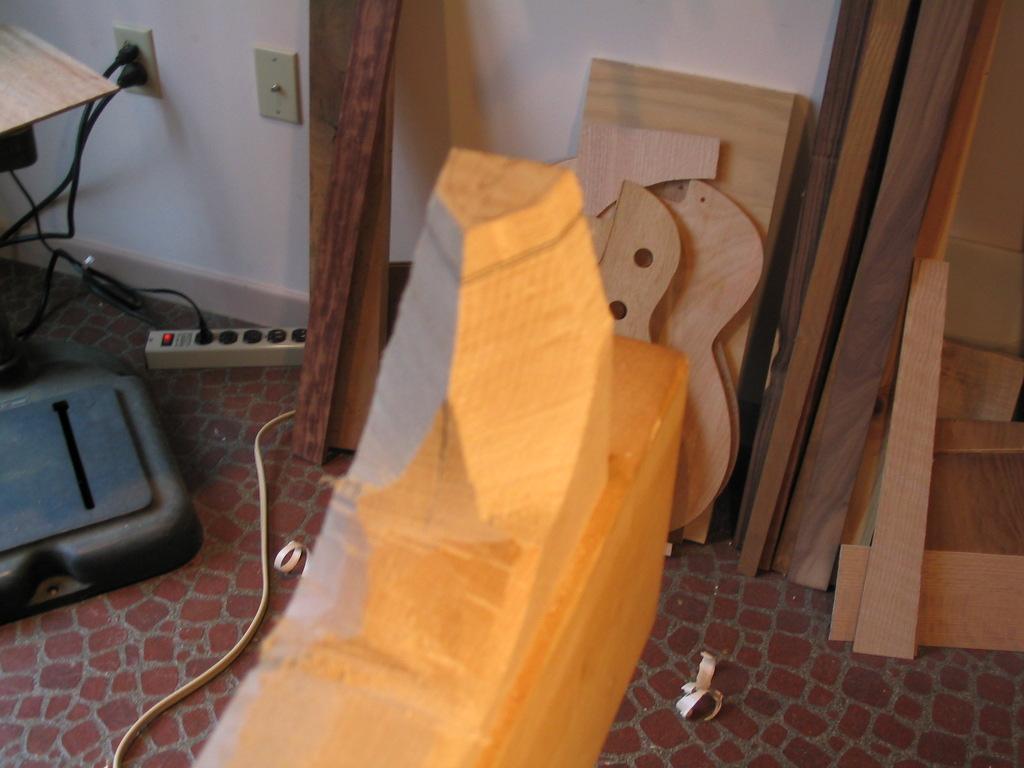
For carving, the neck is clamped to a carving jig. There’s a wedge underneath the peghead to support it.
Neck blank clamped in carving jig
The neck thickness is first established at the 2nd and 10th frets by cutting grooves at these positions to the correct depth. For this neck, I’m using thicknesses of .550″ at the 2nd fret and .600″ at the 10th fret.
Cutting groves for neck thickness at 2nd and 10th frets
The neck thickness is measured as the groove is deepened. The hole underneath the groove position is exactly 1″ from the top surface of the jig to make measurement easier.
Measuring neck thickness at 2nd fret
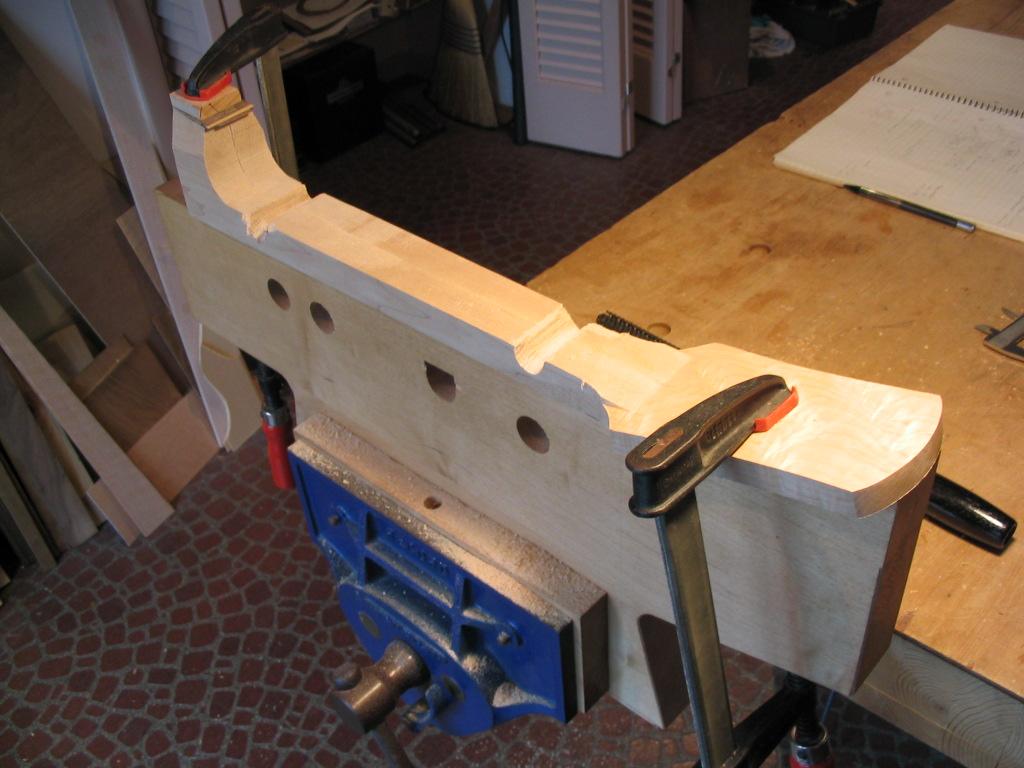
The neck after the grooves have been cut – ugly, but the depth references are important to ensure the neck is thinned to the correct thickness.
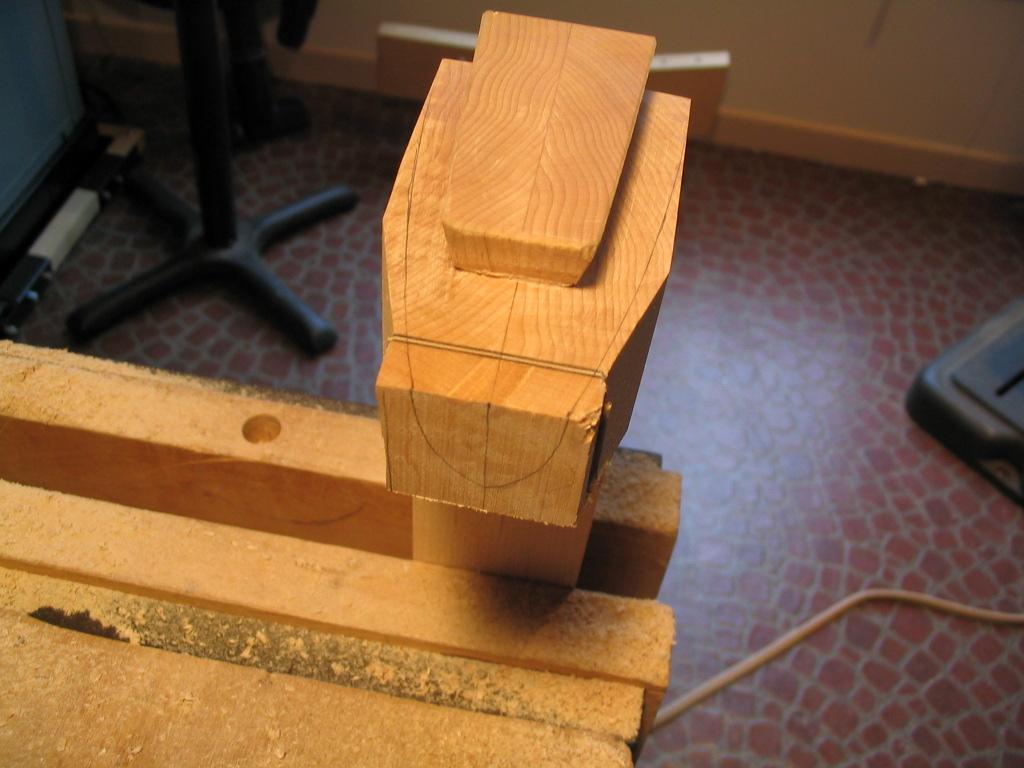
Neck with depth references at 2nd and 10th frets
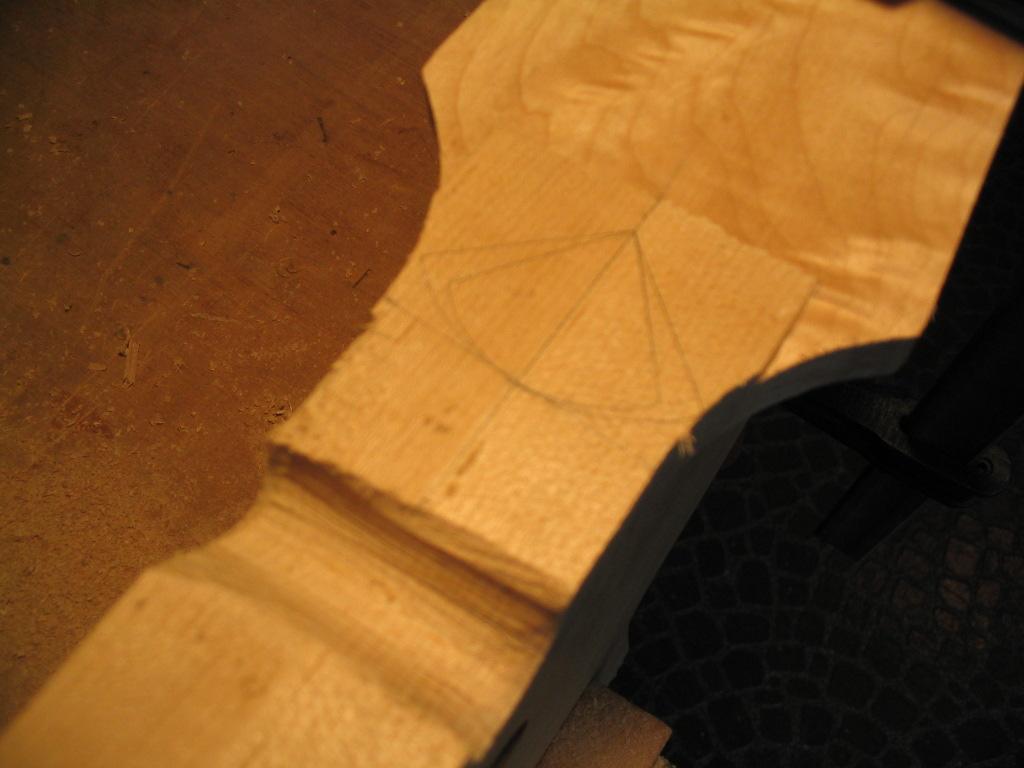
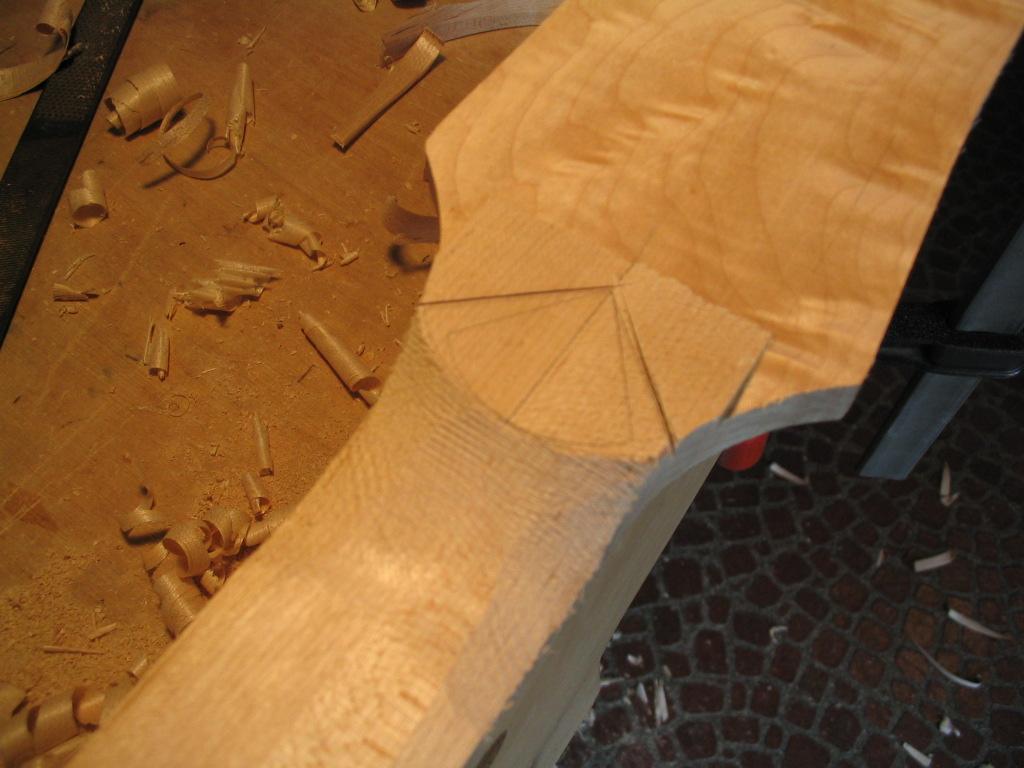
I then lay out a pattern for a curved-diamond detail on the underside of the neck-peghead joint, below where the trussrod end-block groove ends for the older style truss rods. This helped to strengthen the neck in this area, and provides a nice sculptural detail. However, it’s not really necessary when using newer-style trussrods that don’t have a larger end block, and I now usually omit the diamond in favor of a smooth neck-to-peghead transition.
Peghead diamond layout
The heel profile is marked on the heel of the neck blank.
Heel profile layout
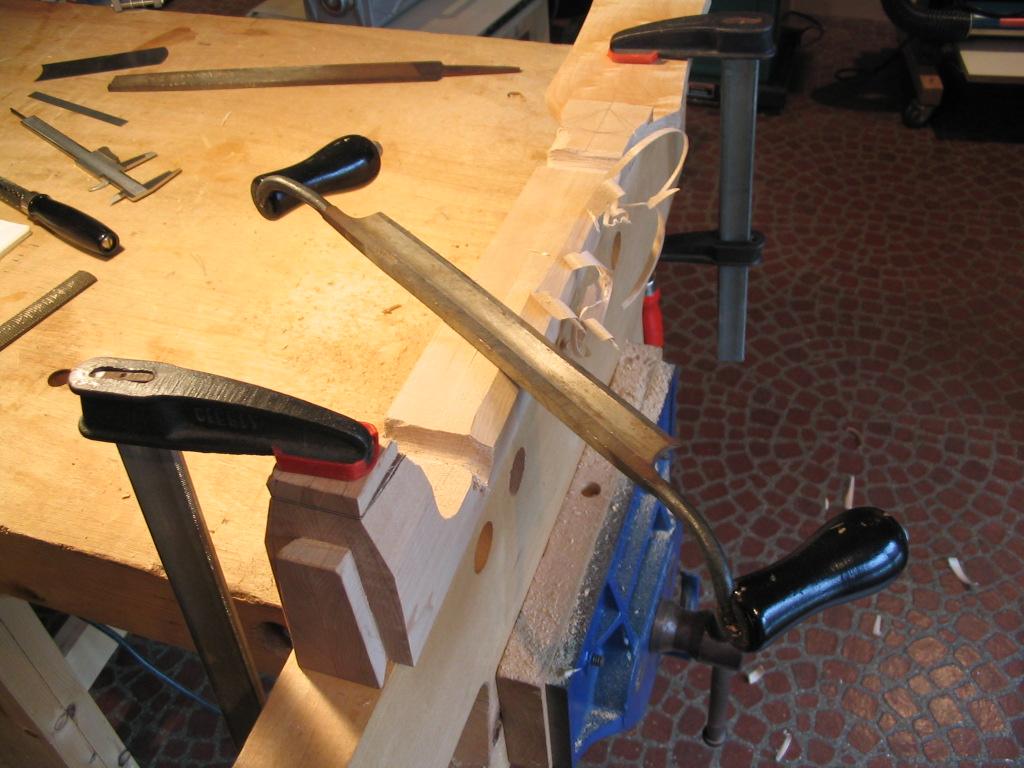
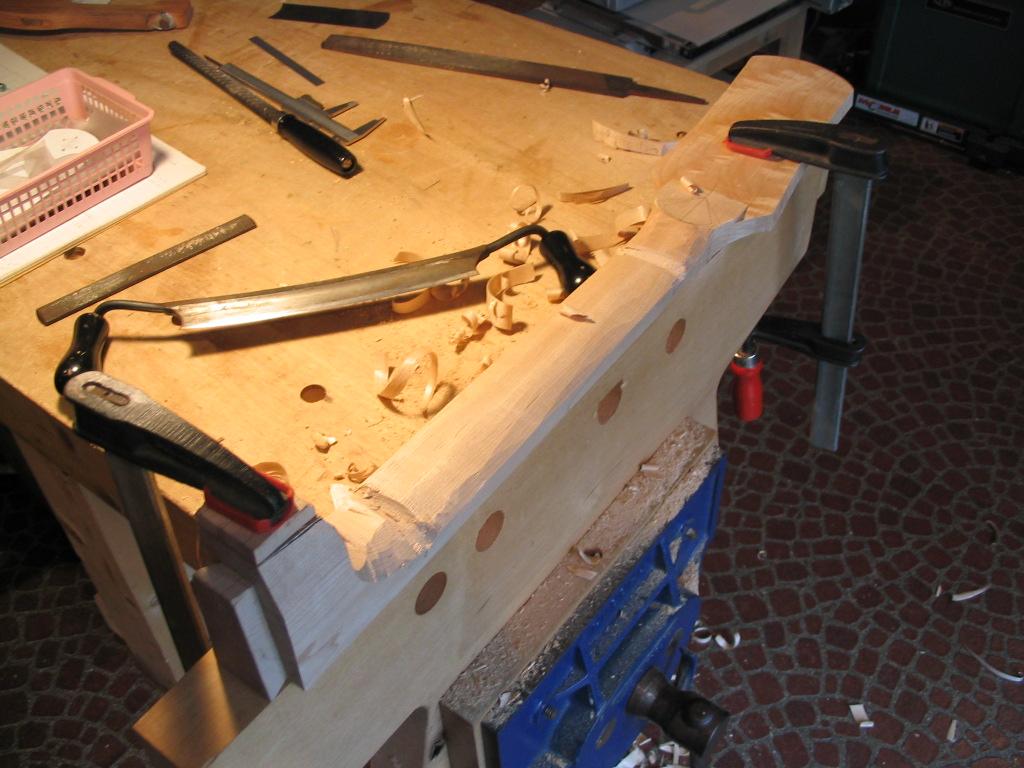
The neck is now thinned with a drawknife and spokeshave. The neck is thinned linearly between the two grooves.
Drawknife thinning the neck blank
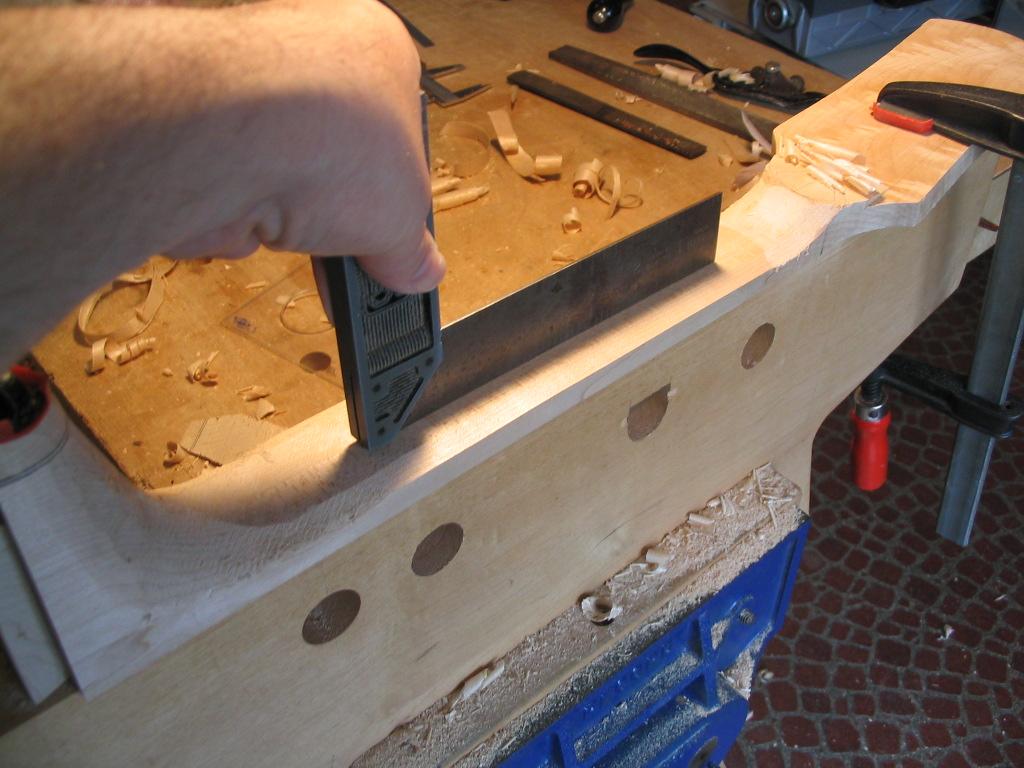
The neck taper is checked to make sure the surface is straight between the two grooves.
Checking the thinned neck blank for straightness between reference cuts
The heel is rough-shaped with a bow saw, then shaped with drawknife, chisels, rasps and scrapers.
Rough cuts on heel
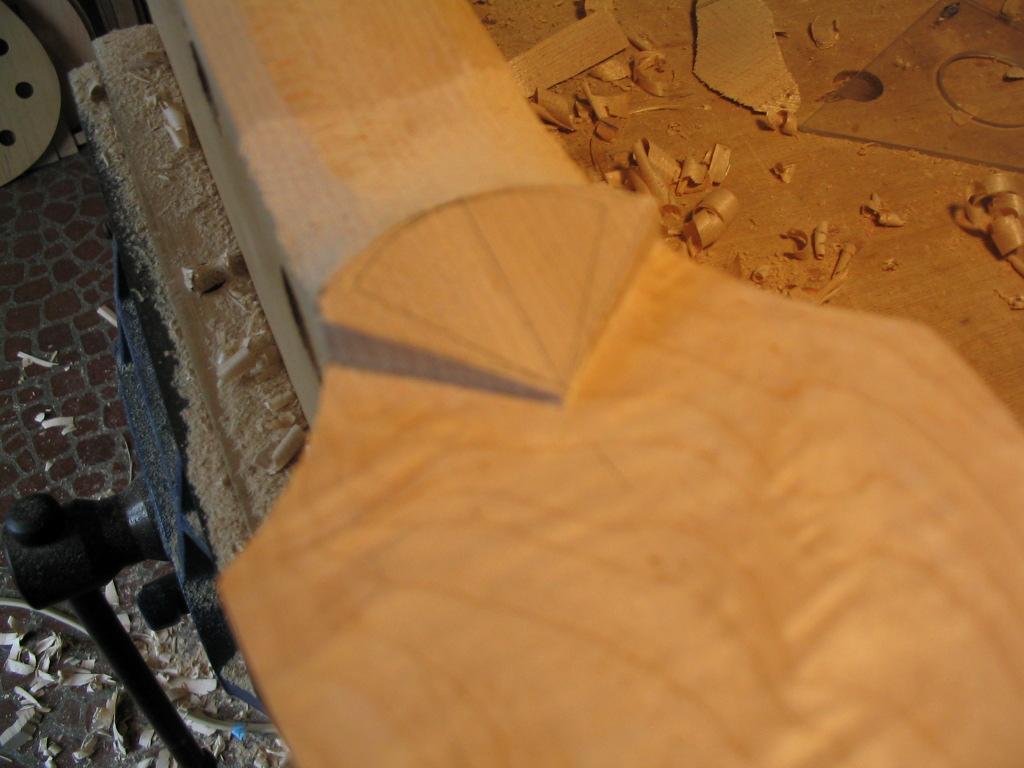
If incorporated, the peghead diamond detail is trimmed next.
Peghead diamond shaping
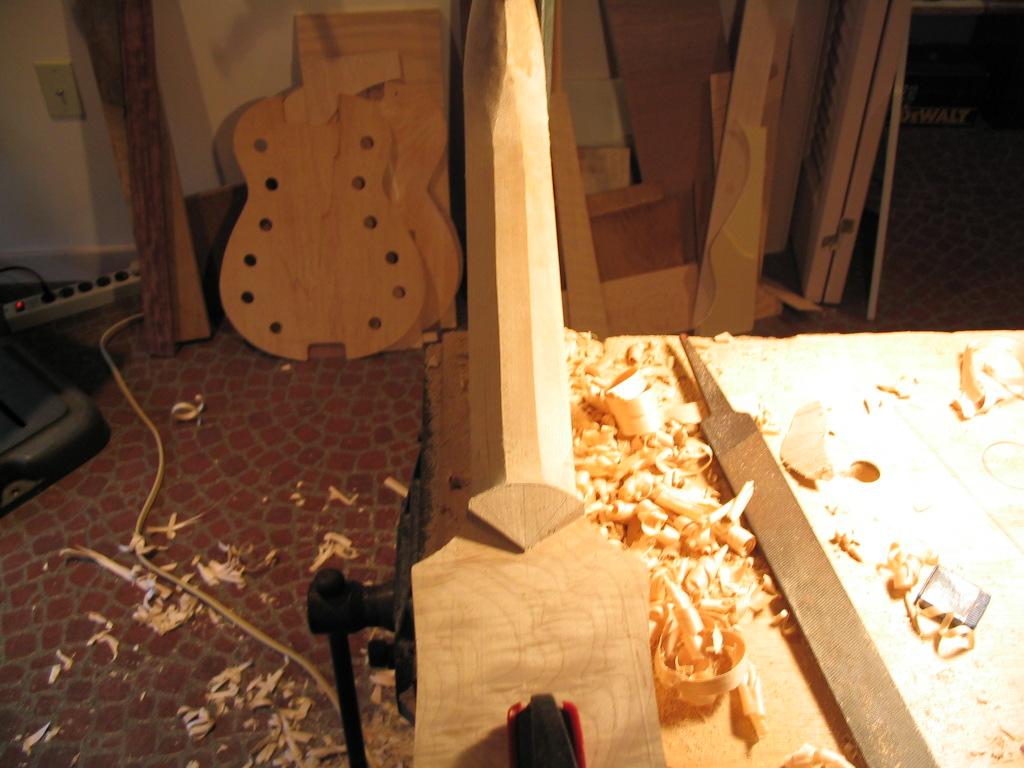
The neck is shaped further by carving facets on either side. This helps to ensure the rounded neck will have a consistent profile. The facets here are 11/16″ wide, and extend down to 3/16″ from the top surface (i.e., there’s a 3/16″ facet left on the sides of the neck).
Facets on sides of neck before rounding
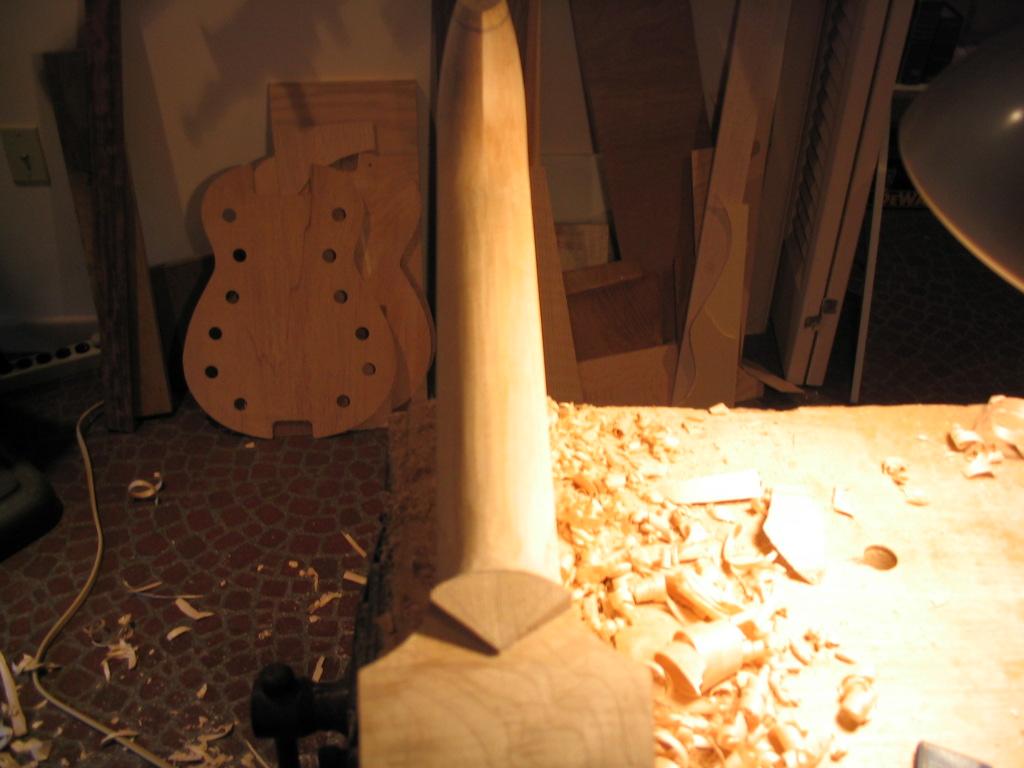
The neck is finally rounded between the facets with a spokeshave.
Neck rounded with spokeshave
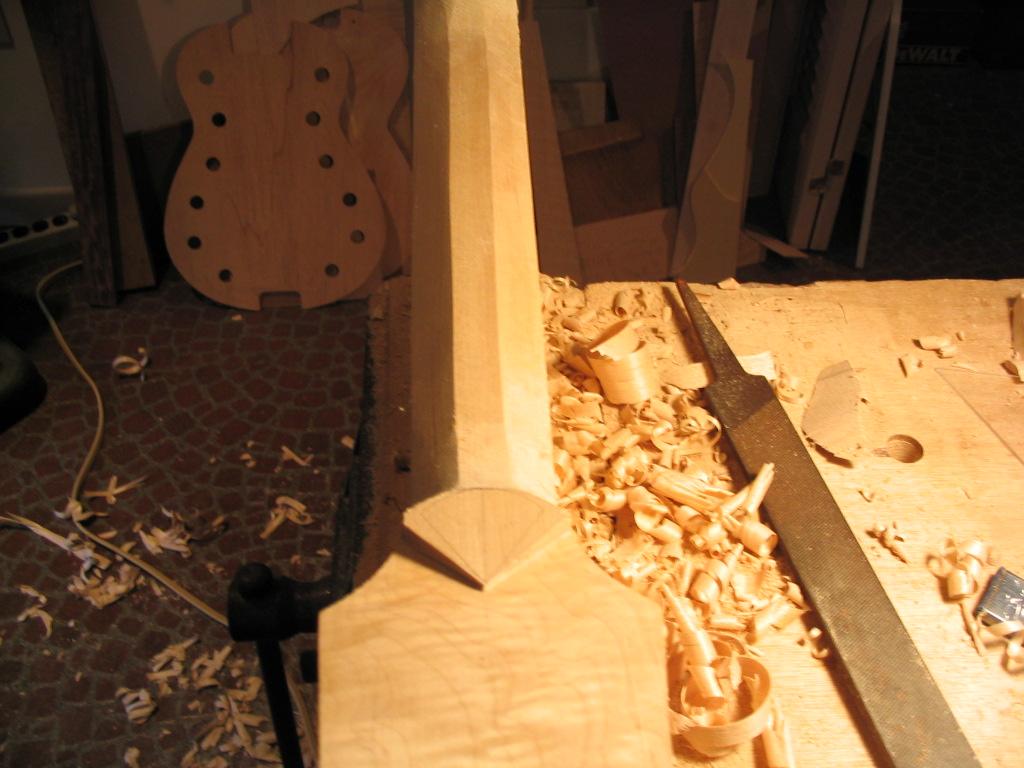
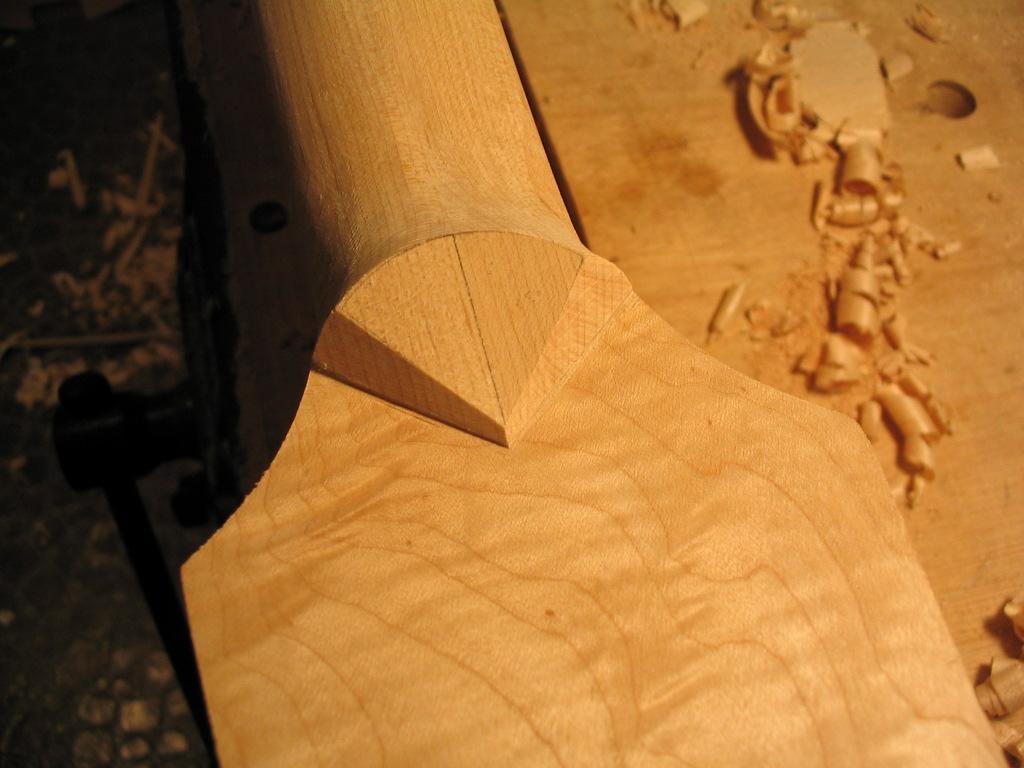
When included, the peghead diamond shaping is then completed, merging it with the neck.
Final peghead diamond shaping
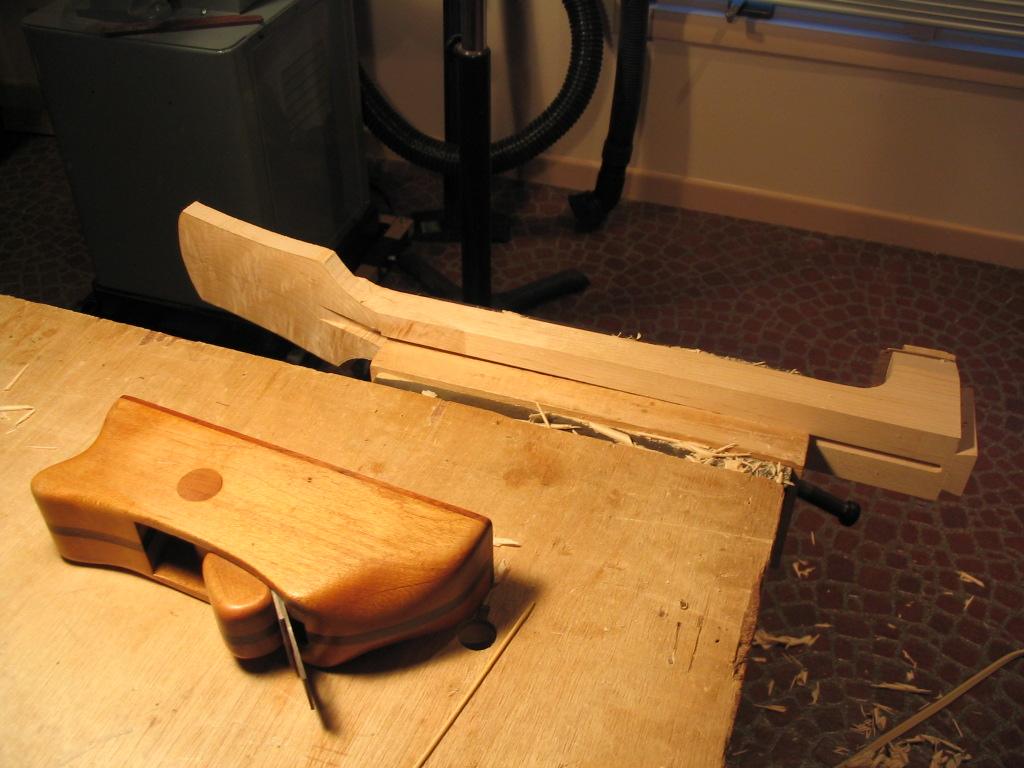
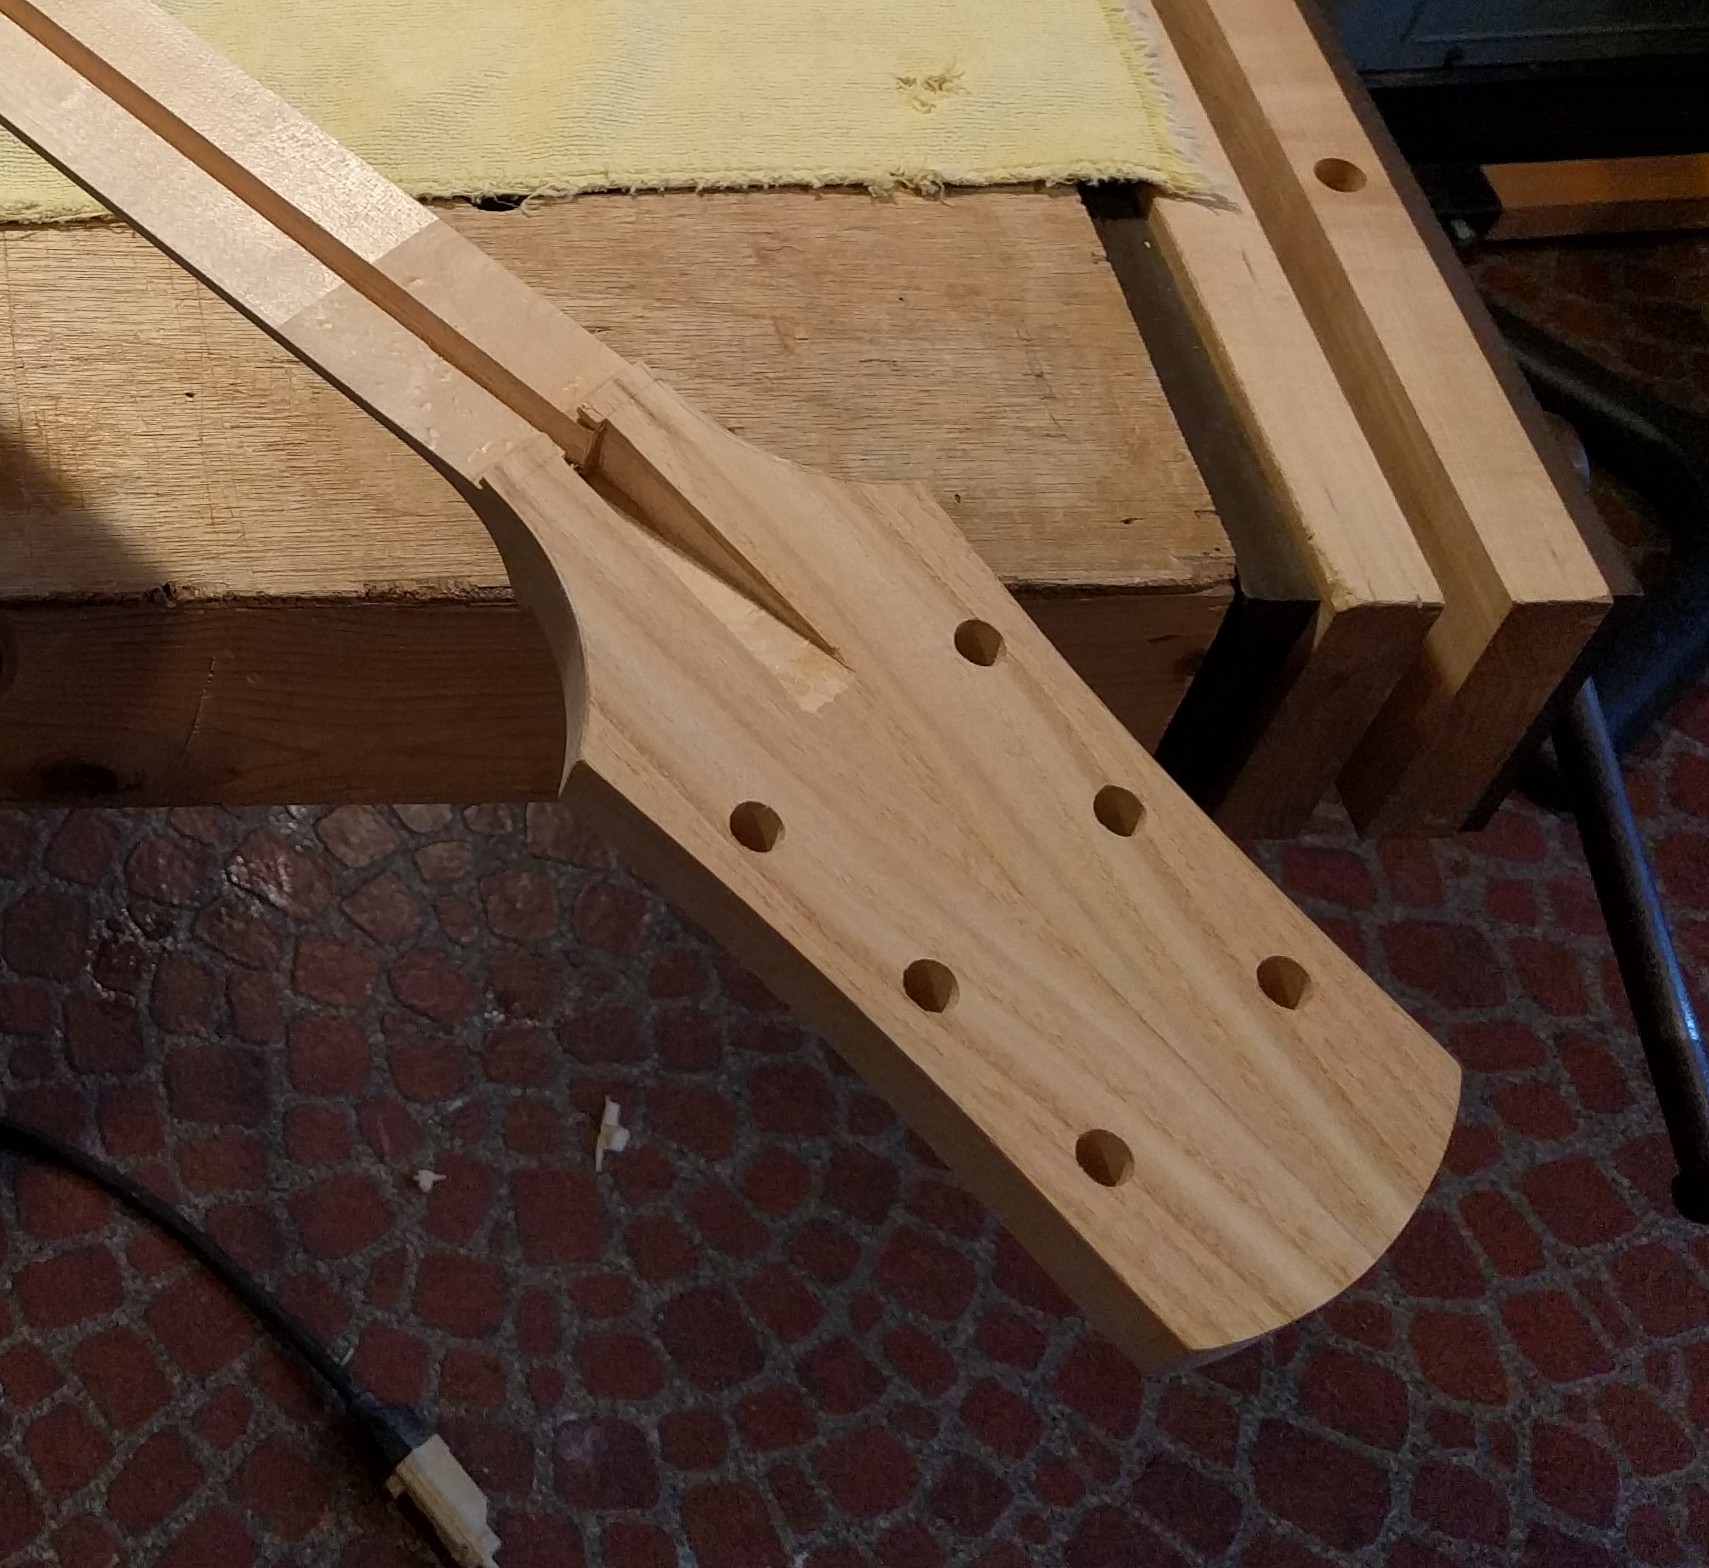
At this point I often glue on a decorative overlay on the peghead, using either the material used for the back and sides or some contrasting wood. The overlay is cut roughly to the peghead profile and the neck glued to it as shown. The overlay is trimmed flush to the peghead profile after gluing, and the truss rod slot is chiseled out. The final step in constructing the neck is drilling the holes for the tuning machines. Most have 10 mm diameter bodies, so a 10 mm diameter drill bit should be used.
Peghead overlay and tuning machine holes
The neck can now be sanded for final smoothing, using curved sanding blocks as needed to smooth and refine the shapes.