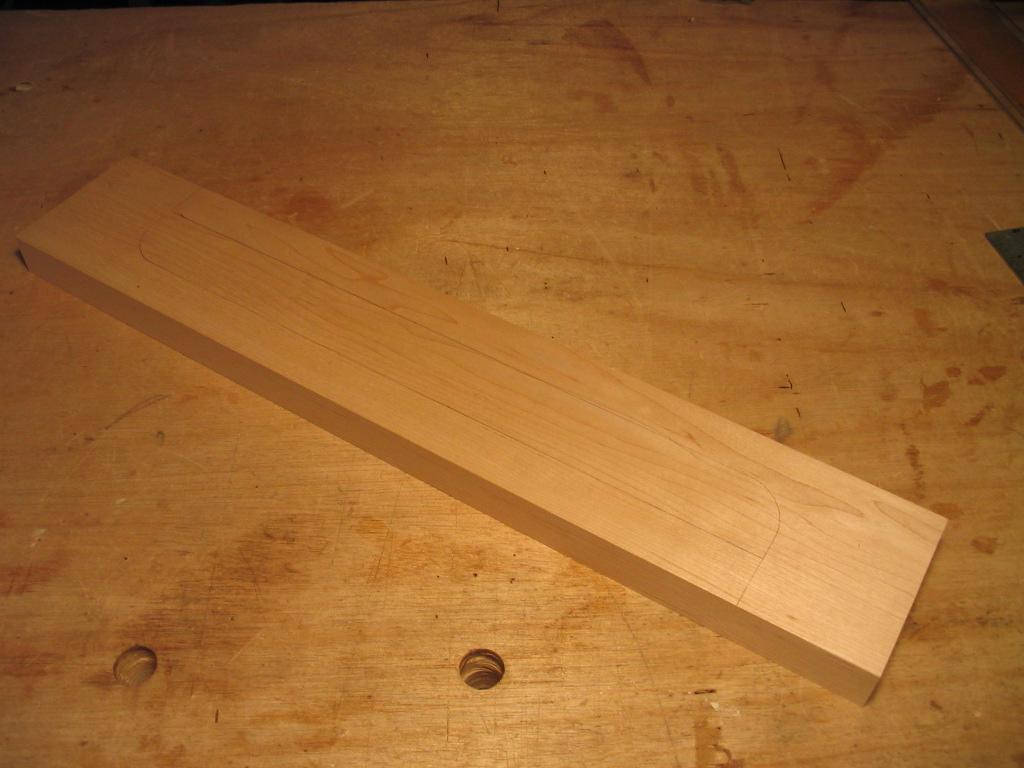
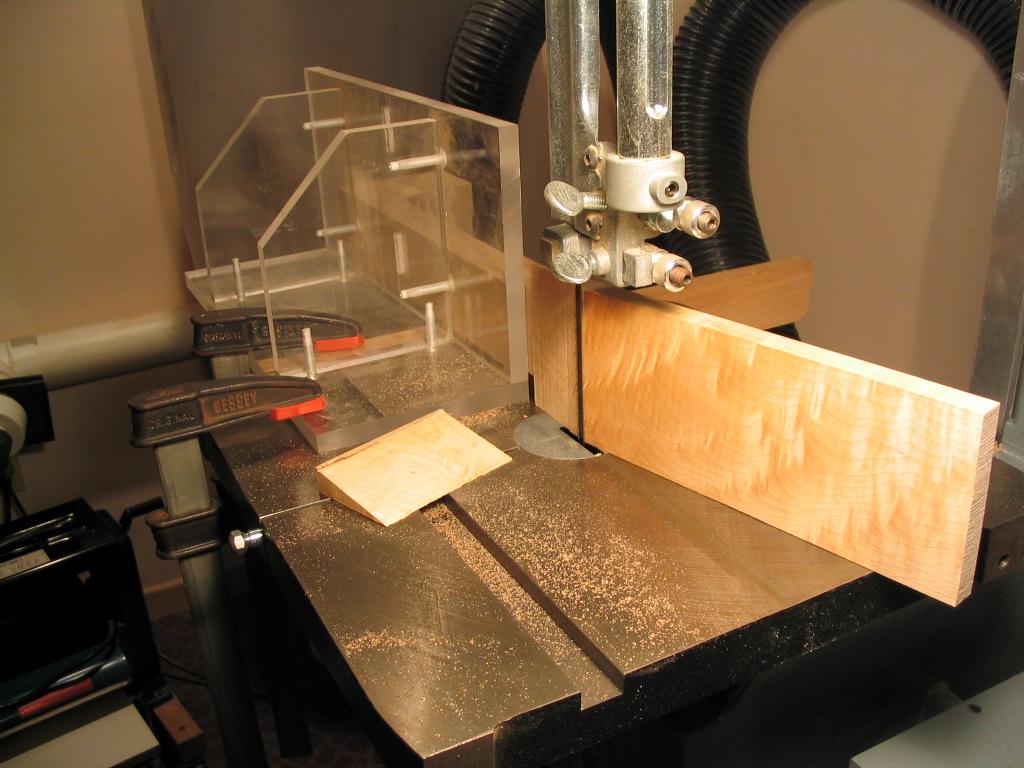
The neck is made from two halves glued together along the neck centerline, with the headstock glued on using a scarf joint. The photo below shows the neck halves laid out on a piece of 5/4 stock – maple, in this case. Other neck woods I’ve used are mahogany, walnut and ash.
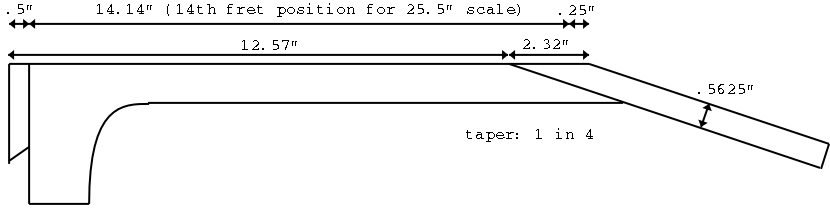
The halves are cut out and glued together, and the top surface is flattened. The angled joint for the peghead stock is then cut and smoothed. The taper on the peghead joint is 1″ in 4″.
The trick with this joint is to know where it should be placed on the neck so the end of the fretboard will be at the desired position once the peghead is glued and the top surface is flattened. This requires a bit of trigonometry. Using a thickness of 9/16″ (0.5625″) for the peghead stock, the length of the top surface of the neck that will be on the peghead stock is 2.32 inches:
0.5625 / L = sin(t), where tan(t) = 1/4,
so t = arctan(1/4) = 14.04 degrees
so L = 0.5625 / sin(14.04 degrees) = 0.5625 / 0.2425 = 2.319
Assuming the scale length for the guitar is 25.5″, the 14th fret, where the neck will attach to the body, is 14.14 inches from the nut. Using a 1/2″ depth for the dovetail joint and a 1/4″ thick nut, the total distance from the end of the dovetail to the end of the nut is 14.89 inches. Subtracting 2.32 from this gives 12.57 inches; thus the taper should begin at a distance of 12.57 inches from the end of the dovetail.
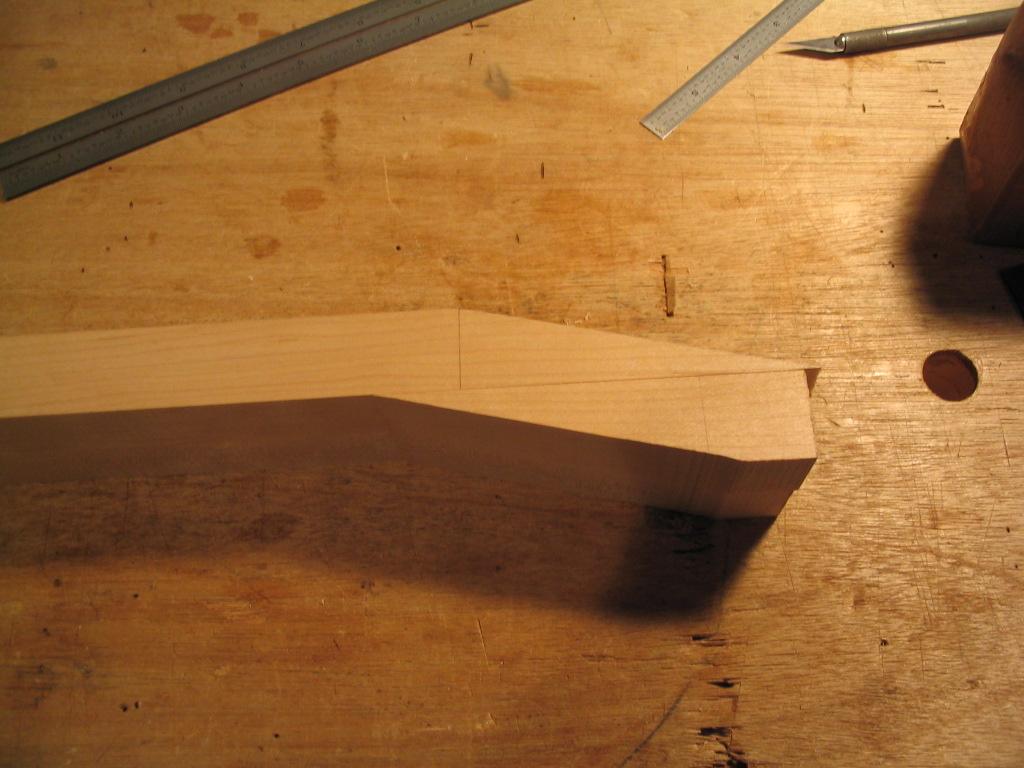
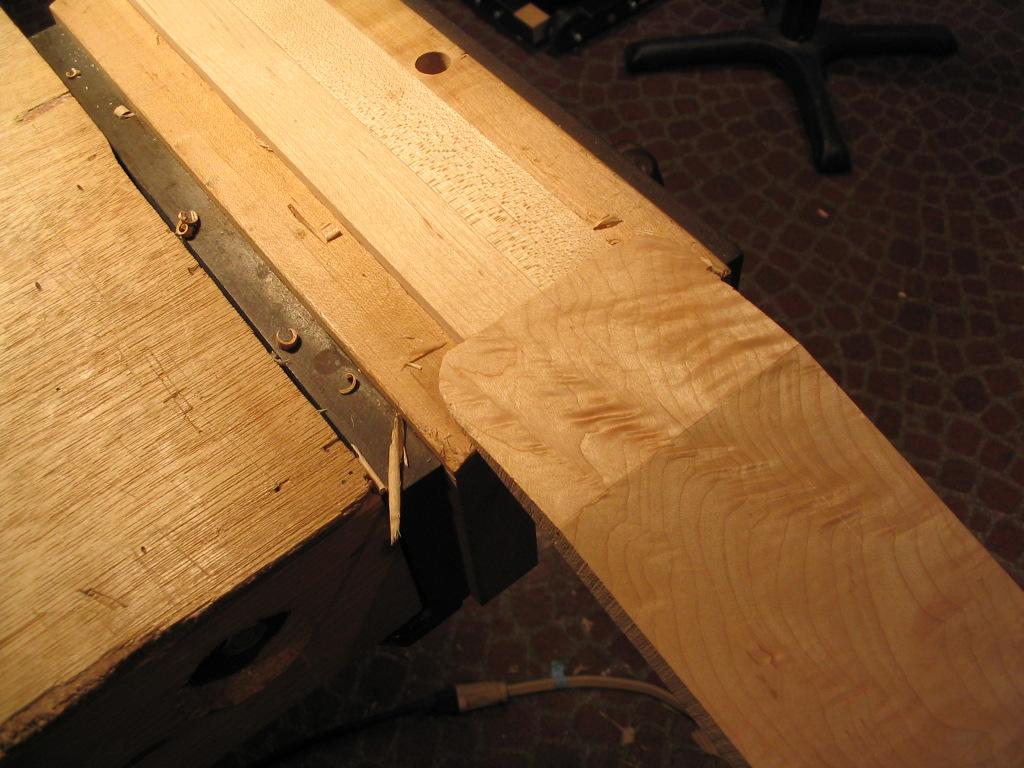
The angle for the headstock joint is cut with the bandsaw, and then smoothed with a handplane. The photograph shows the angled cut, with the cutoff piece attached to the bottom surface of the neck with double-faced tape. This helps to support the neck while planing the angled joint, and is used as a clamping caul when the neck and peghead are glued.

The headstock is 9/16″ thick, and alignment lines are drawn to align the neck stock for gluing.
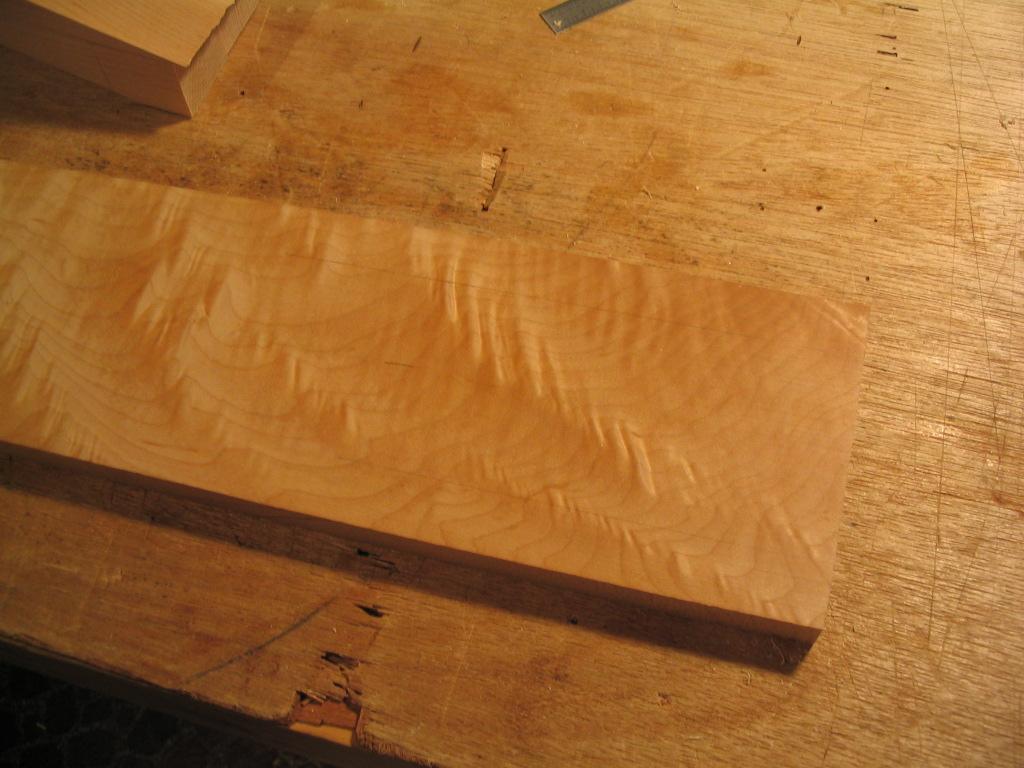


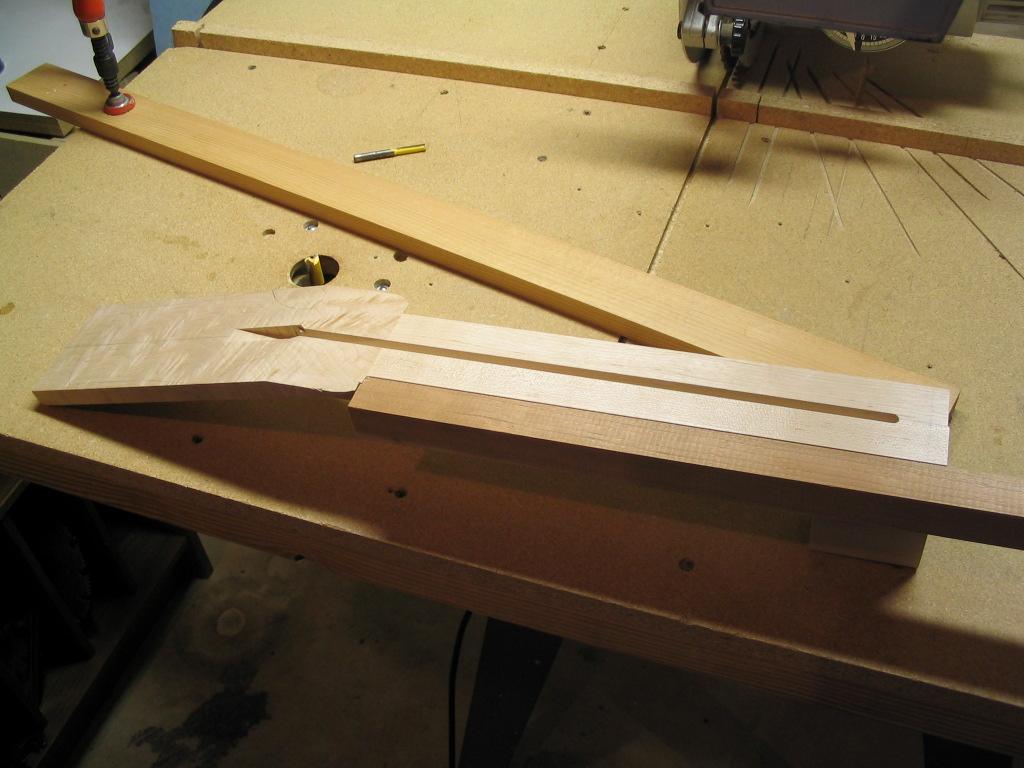
The cutoff portion of the peghead is then planed flat with the surface of the neck.
The groove for the truss rod is now cut down the center of the neck. This is done on a router table, with the table’s fence set so the groove will be on the exact centerline of the neck. Because the peghead protrudes beyond the edges of the neck blank, a rectangular spacer is attached to the side of the neck with double-faced tape. A 1/4″ wide groove is cut first, to a depth of 7/16″ (in several passes). A 1/2″ wide groove 1/2″ deep is then made just to the position of the nut, to provide space for the end block of the truss rod. The end of this groove is then squared with a chisel. Note that on more recent instruments I use a different truss rod design that doesn’t require the additional 1/2″ groove, simplifying the operation.
Previous: Binding the body |
Next: Cutting the dovetail joint |