User Guide
Initial
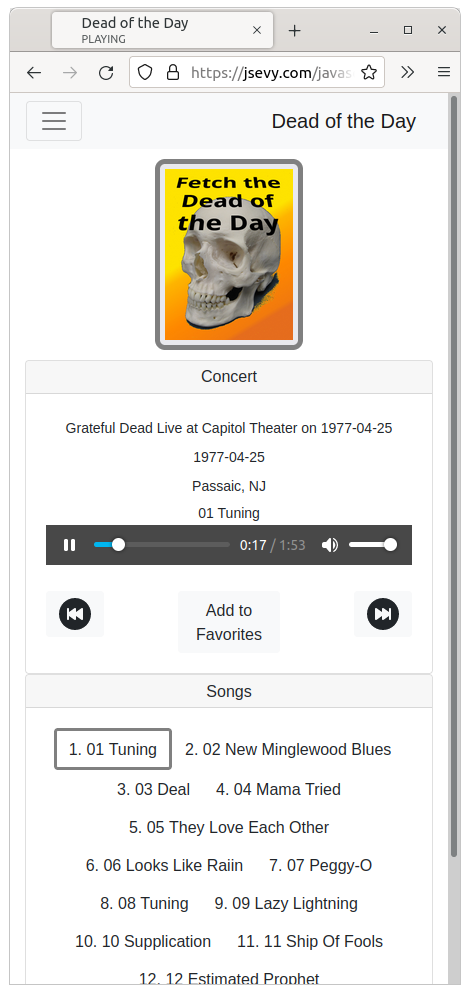
On loading, you’ll see the main screen as below. The size will of course depend on your browser (desktop or mobile).


In either case, clicking on the “Fetch the Dead of the Day” icon will search the archives for a concert to play. When found, the concert information and song list will be displayed, and the first song will start playing.
Music Control
The standard audio control allows you to play and pause and adjust volume. The skip buttons allow you to skip to the next or previous songs. And the song list allows you to select a specific song from the playlist. The “Add to Favorites” button adds the concert to your list of personal favorites (accessed through the Favorites menu, discussed below).
Menu Selections
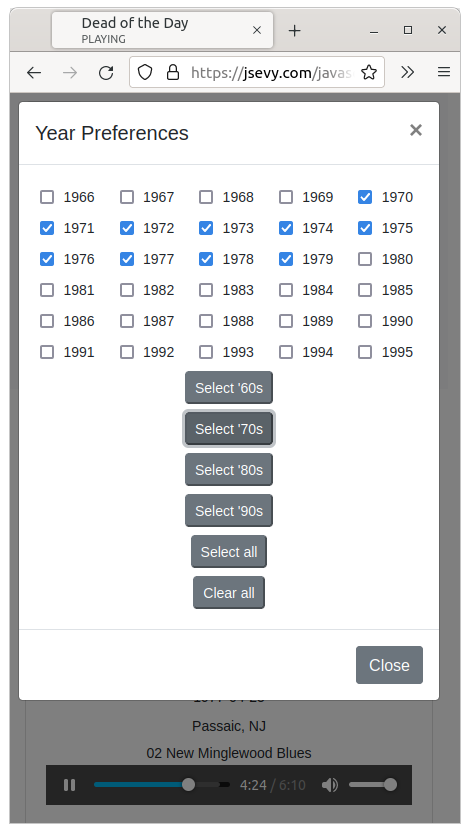
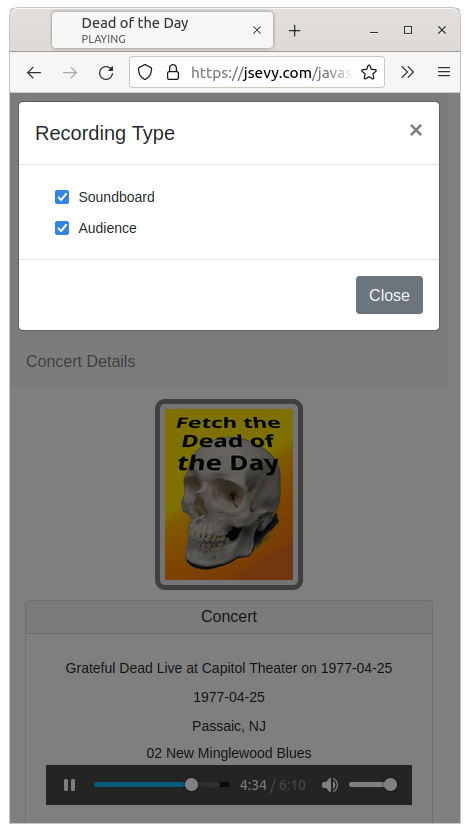
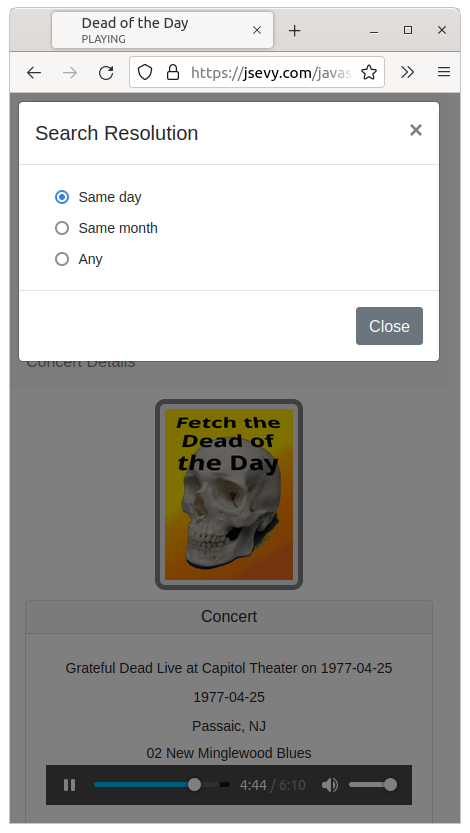
Year, Recording Type, and Search Resolution
These menus allows you to specify constraints on the search for a concert. You can specify the years to be searched for concerts, from 1966 through 1995, whether to search for soundboard or audience recordings, and whether to try to find a concert from the exact current day of the year, month, or any date.
History and Favorites
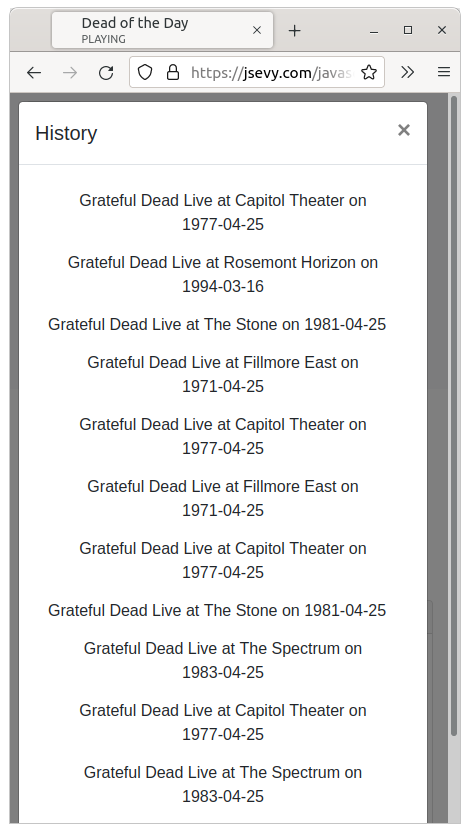
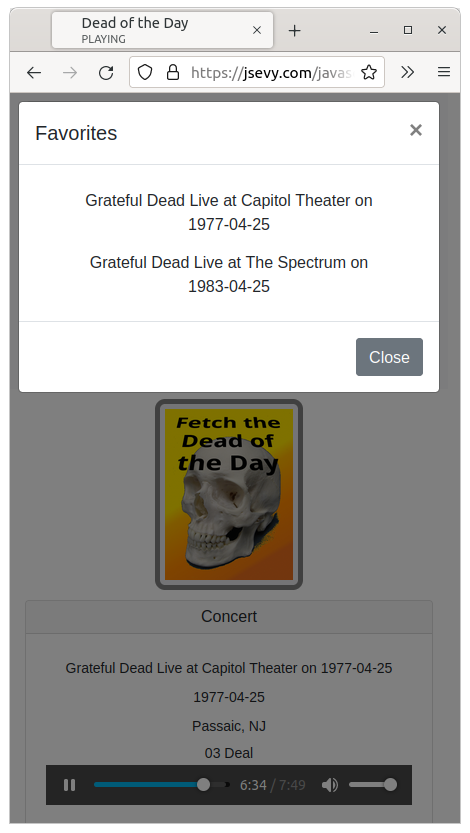
The History menu brings up a list of the last 20 concerts that you have previously fetched from the archive. Clicking on one of the concerts will load that concert into the player. The Favorites menu similarly brings up a list of concerts you’ve saved as favorites, using the “Add to Favorites” button.
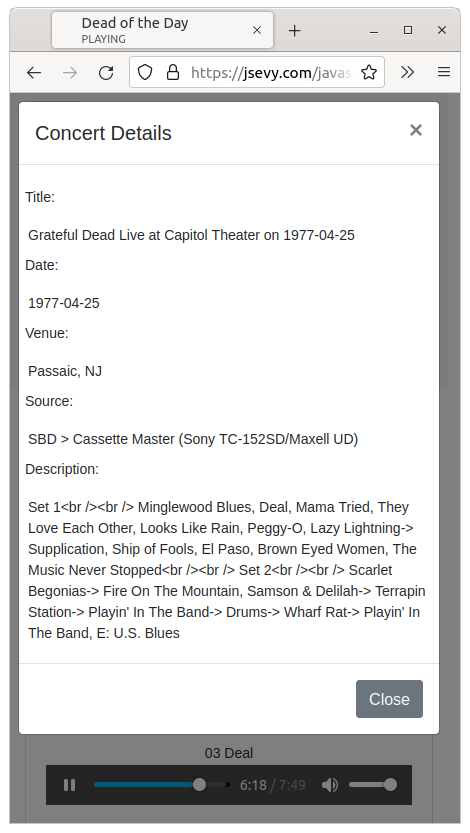
Concert Details
Brings up additional information about the concert (recording equipment, set information, and the like).