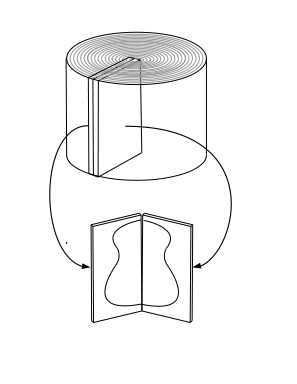
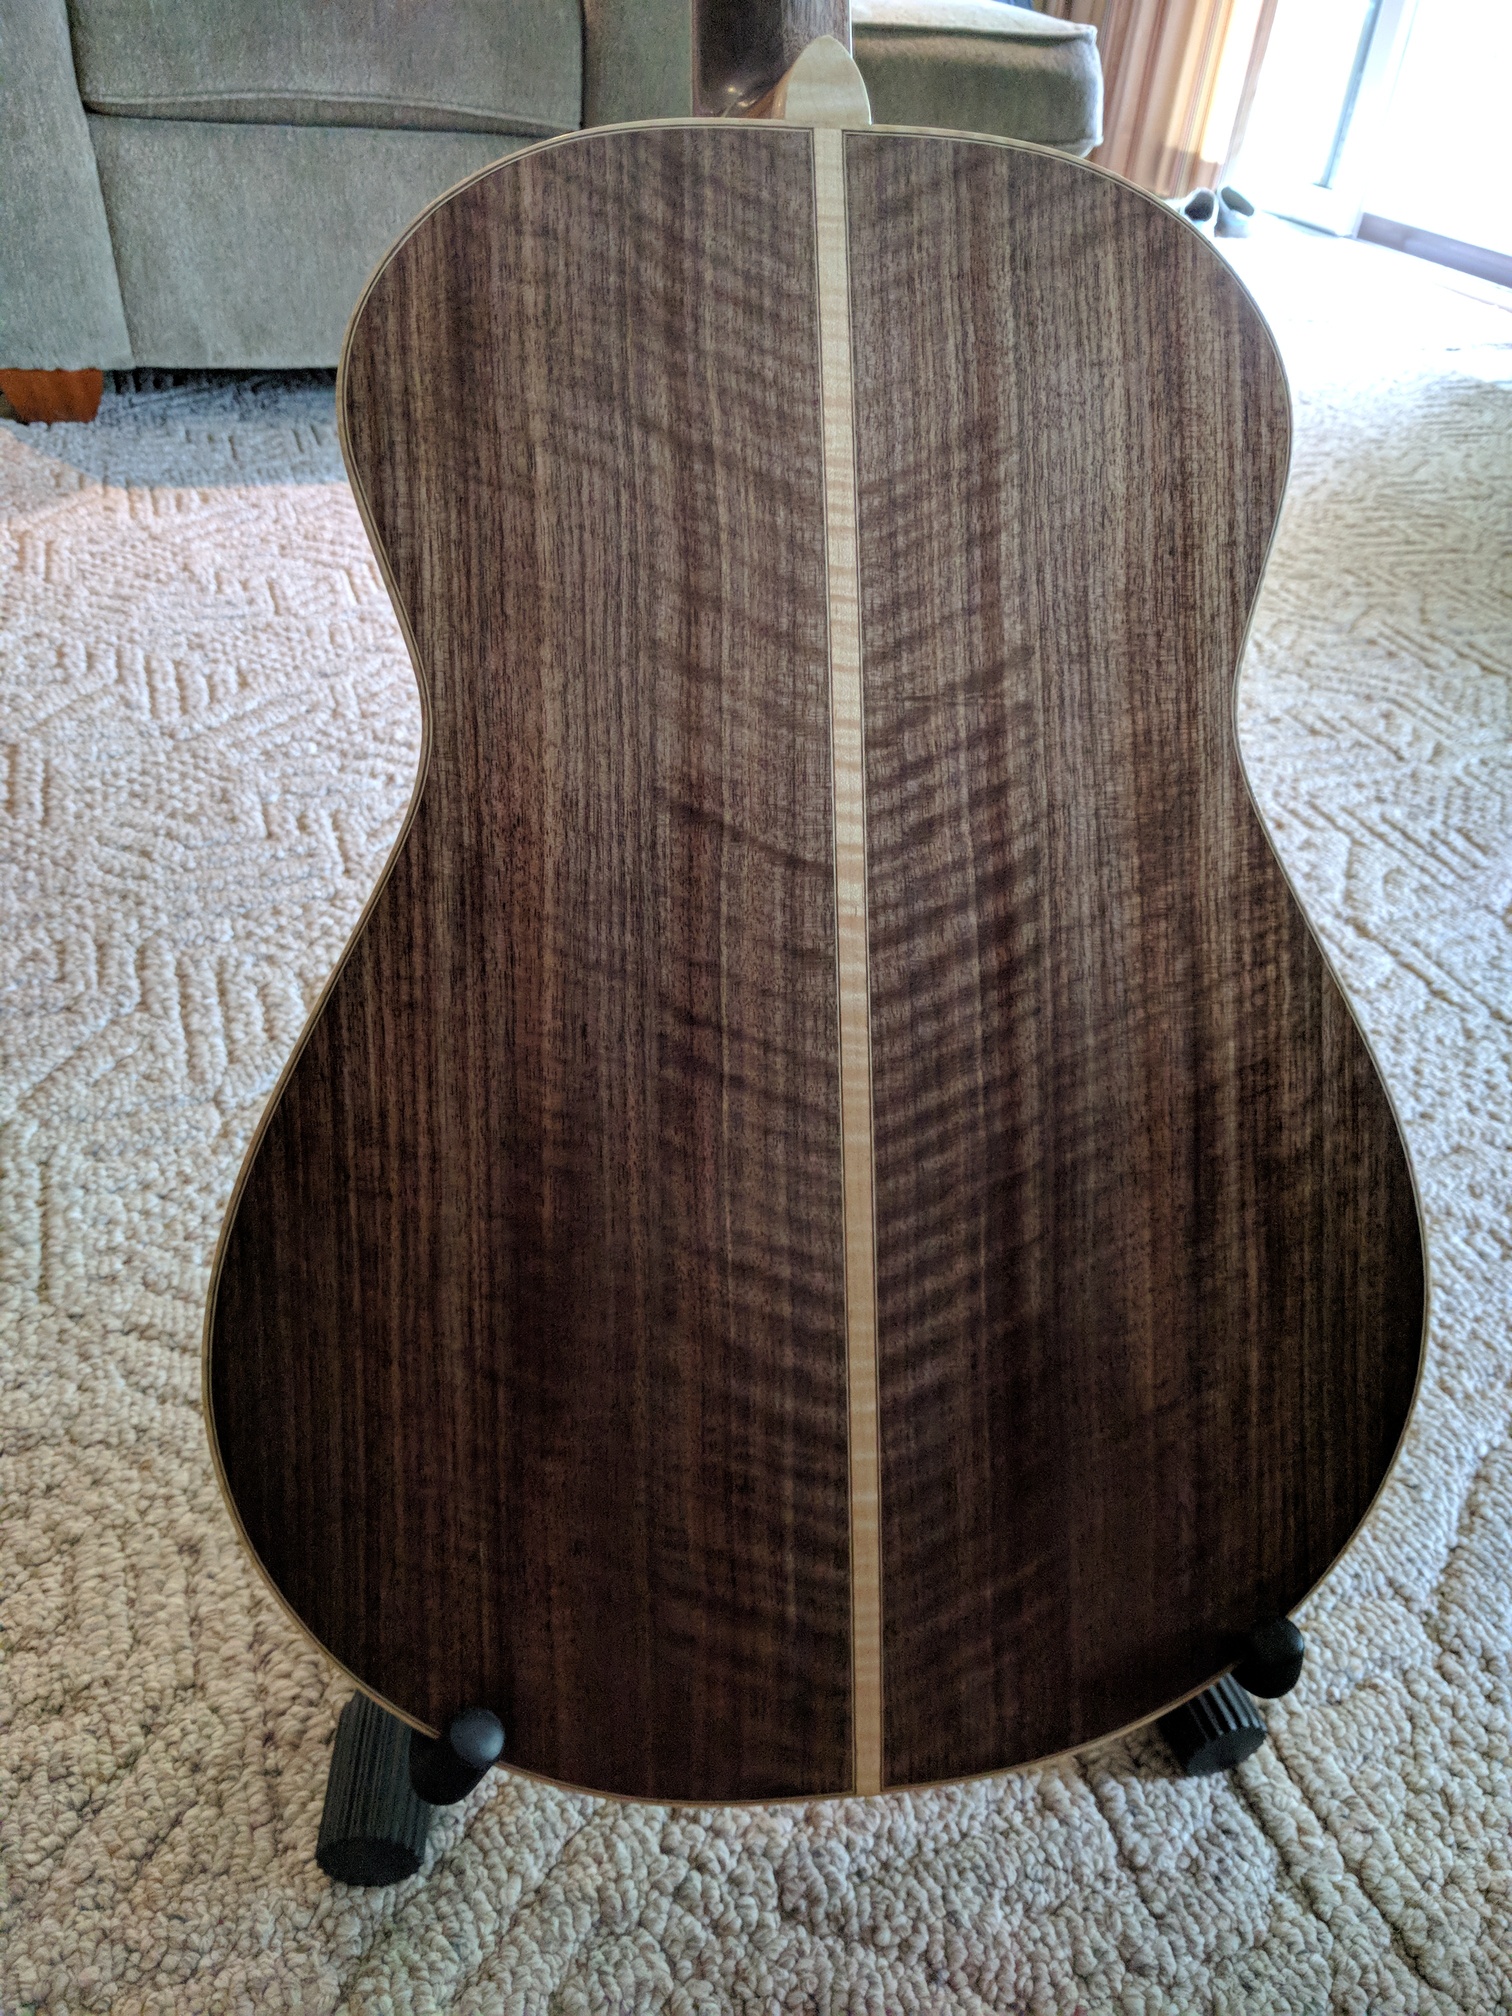
The first step in building a guitar is to glue together the halves of the top and back plates. These are traditionally made in two pieces, as a quartersawn bookmatched pair, so that the pattern of the grain is symmetric across the centerline. However, it’s possible to do the tops and backs as four-piece plates, or even three pieces for the back with the center piece providing a contrast to the outer plates.


Top plate
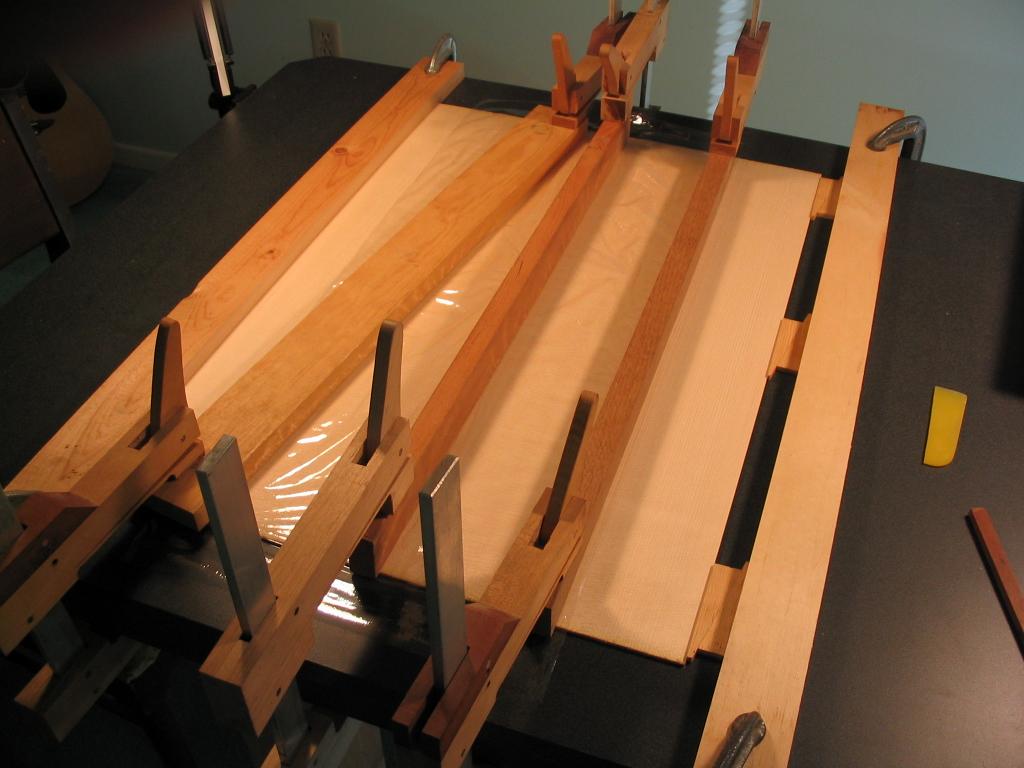
The top plate halves are first surfaced to an even thickness; I generally thickness them to between .110″ and .115″. I use a thickness sander for this, though it can be done with a fair amount of effort using just a handplane and a very flat workbench. After the halves are thicknessed, the edges are run over a jointer and finished with a handplane to form a perfect joint. Glue is applied to the joining edge, and the halves are then glued together. Clamping is accomplished with pairs of wedges and two parallel boards clamped to a formica tabletop. The halves are placed together, and the wedges are squeezed together by hand to bring the halves together. Plastic wrap is placed over the joint, and a caul is clamped lightly over the joint to keep the faces aligned – this is the middle caul seen in the photo below. The wedge pairs are then tapped together to tighten the joint. The wedges can exert a huge amount of force, so don’t tap them too much or the joint may become glue-starved. A couple of additional cauls are seen below, to keep the halves from bowing.
After the halves have been glued together, the top is cut to the shape of the guitar body on a bandsaw.
Back plate
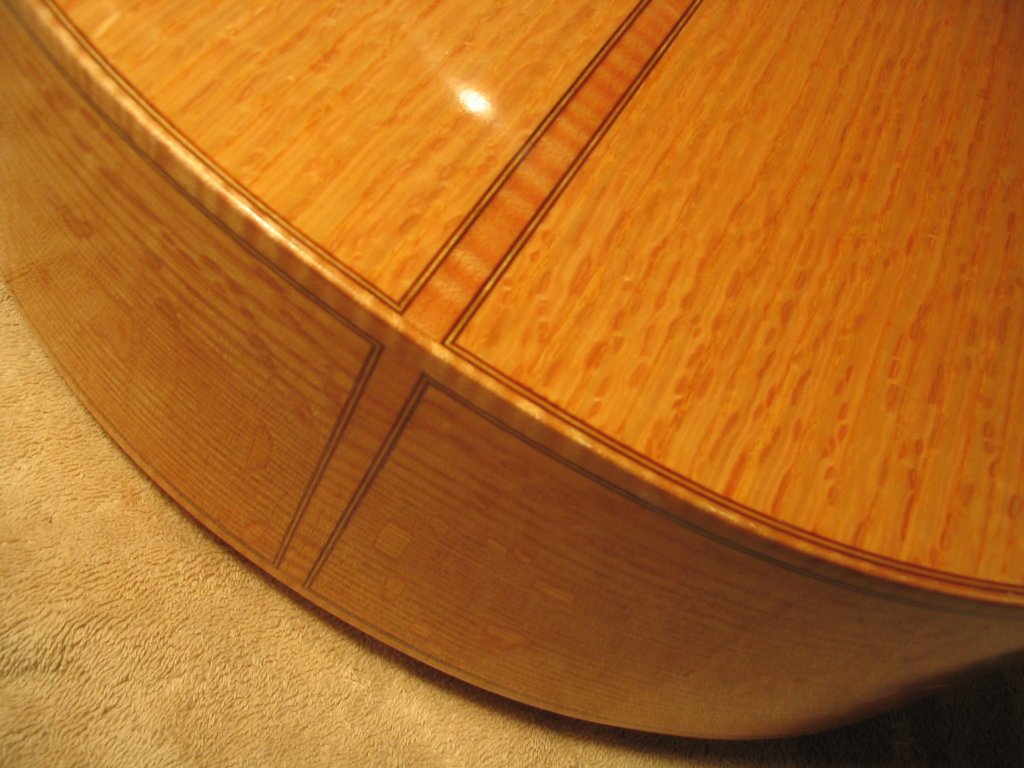
The back plate is fashioned in the same way as the top plate. The only difference is that a binding and purfling strip is glued between the halves. The binding is a strip of contrasting wood used to outline the guitar body. Purfling refers to narrow strips of veneer used as accents next to the binding. The binding is functional, in that it both hides the glue joints between the top and back and sides and provides protection for the edges of the guitar. The purfling is purely decorative, and is often omitted on simpler instruments.

When the glue has dried, the back plate is also cut to the profile of the guitar body. However, it is cut about 1/8″ larger all around to accommodate the fact that there will be greater arching on the back. The expanded outline can be drawn by putting a small washer against the body profile template and putting the pencil inside it to trace the outline.
Next: Mosaic rosette construction |
