The tops of most high-quality “flat-top” steel-string acoustic guitars built today are not really flat. The top is arched slightly, bulging outward. This arching serves a number of purposes; the rationale and benefit are discussed in the article Arched Workboards for Steel String Guitar Construction, as well as techniques to make the arched workboard needed to construct the top (and back) of the guitar.
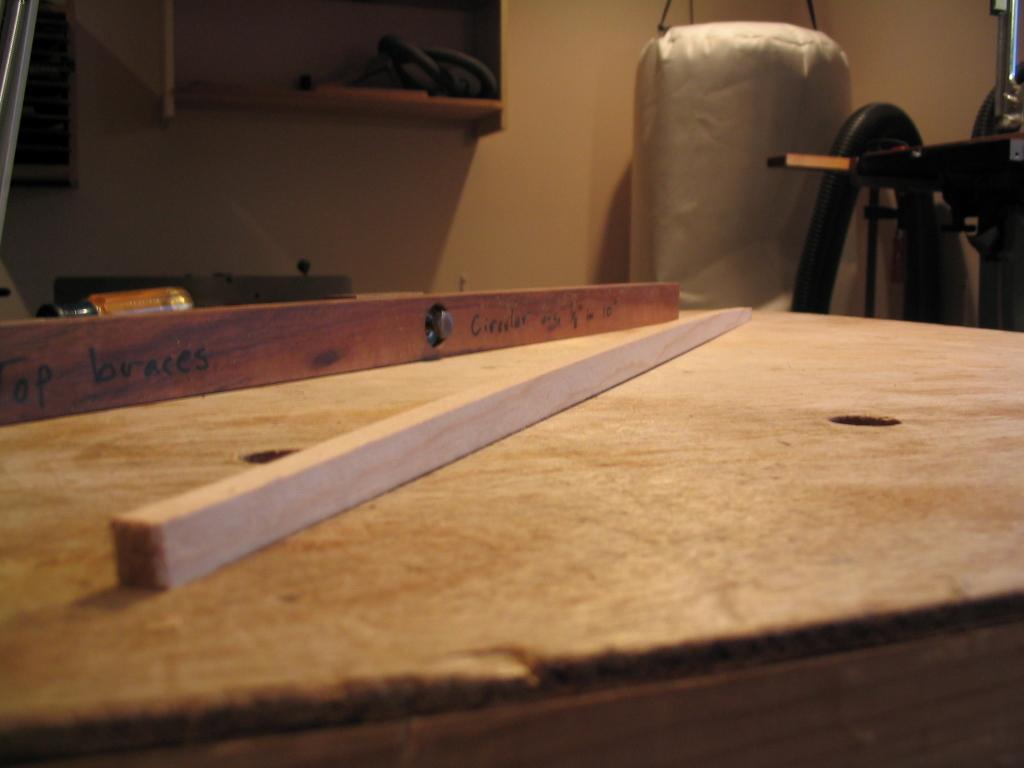
I like to characterize an arch by its “rise” for a given “(half-)span”, as shown in the illustration below. This is an alternative to specifying the radius of the arc; the article Calculating Arc Parameters provides formulas for determining the relationship between arc radii and rises and spans. For my guitar tops, I use an arching of 1/8″ rise in a 10″ (half-)span; for the cross braces on the back, I use a 1/4″ rise in an 8″ (half-)span.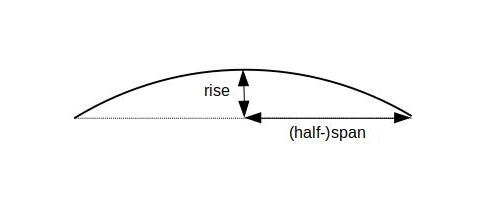 To give a guitar a slightly arched top, we need to arch the braces that are glued to the underside of the top. This is easily done with the nifty jig pictured below. The jig clamps a brace into a desired arch, but in reverse – it clamps the brace into a concave arch, with the ends higher than the middle. The concave top surface of the brace is then planed flat; when the brace is released from the jig, the brace springs back so the bottom surface becomes flat again, and the top surface, which was planed flat while the brace was bent, becomes a smooth convex arch.

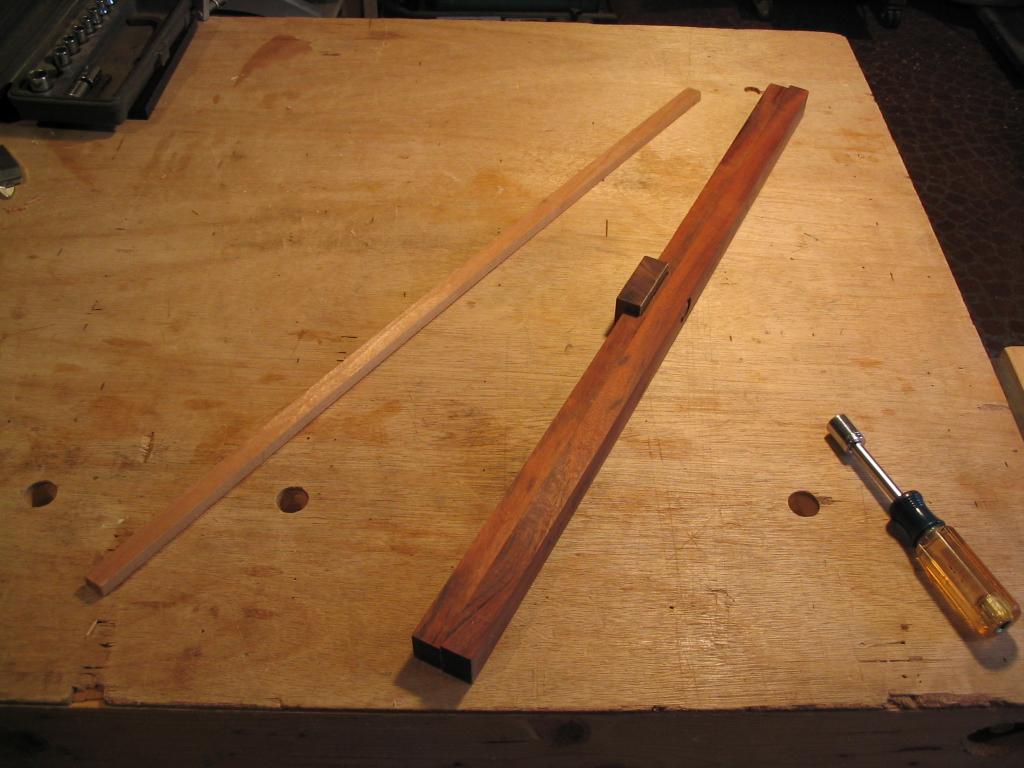
The jig consists of a movable jaw that clamps the brace in position by squeezing its sides – this way, the top surface is open for planing. The jaw has sandpaper glued to the face to provide extra gripping power.
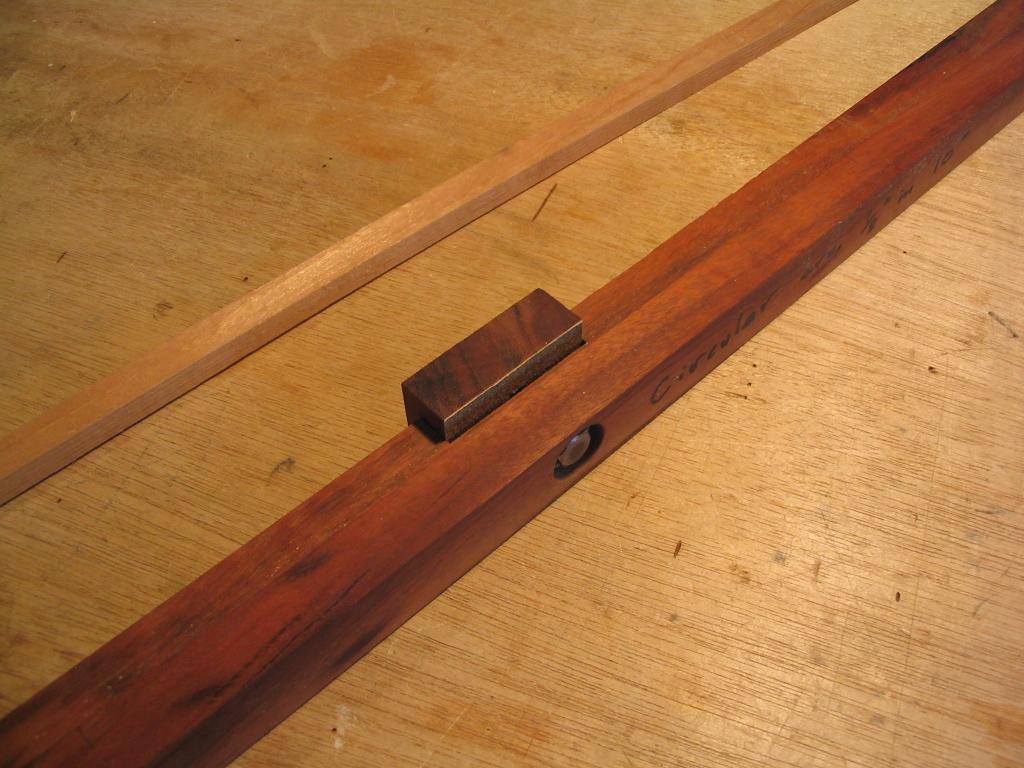
In the photo below, a spruce brace is shown clamped in the jig. The brace is pressed down so it contacts the curved bottom surface of the jig, and then the jaw is tightened to hold it down. This forces the brace into a curve.

The photo below shows an end view with the brace clamped in position. This shows the concave top surface of the brace.
The top surface of the brace is now flattened. The brace clamped to the jig is first run through the bandsaw, to saw the top of the brace flat…
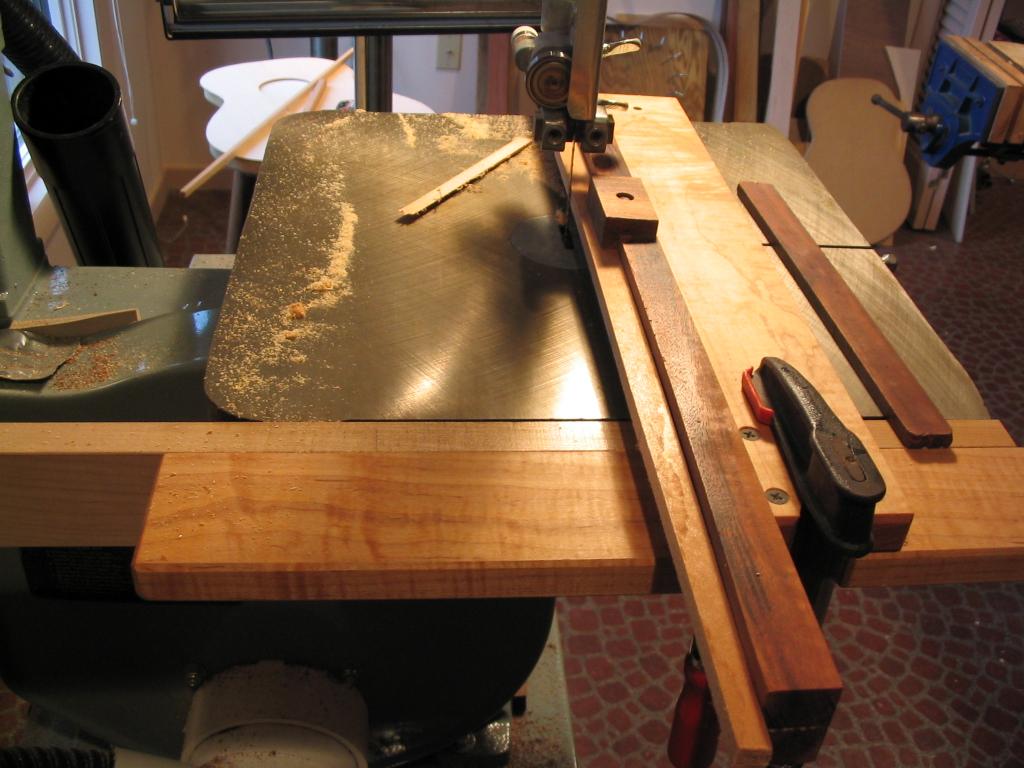
… and the jig is then run through the planer to smooth the top surface of the brace.
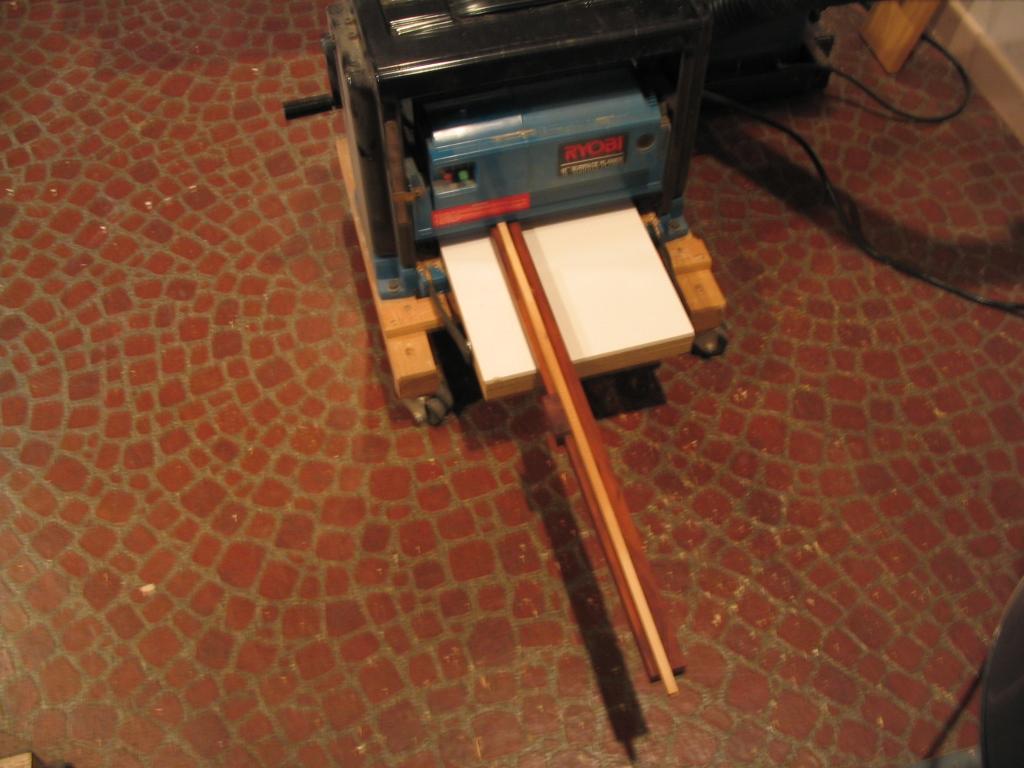
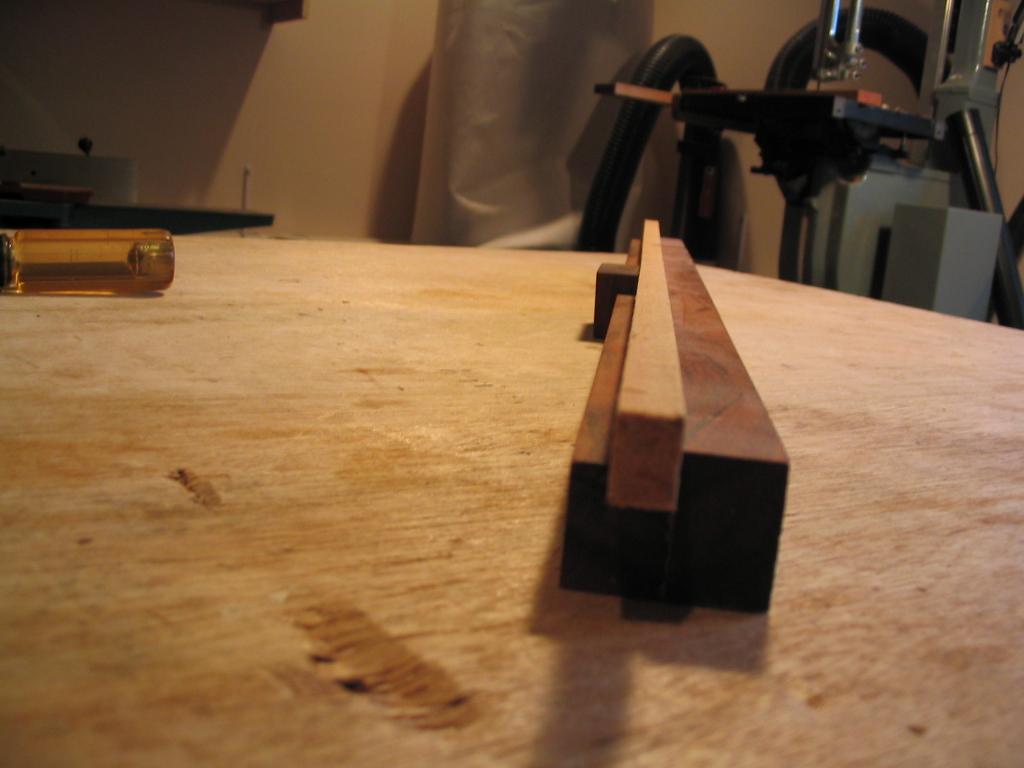
The photo below shows the jig after planing with the brace still clamped in position. Notice that the top surface of the brace is flat. This can also be accomplished without the bandsaw and planer by using a simple handplane to flatten the top surface of the brace clamped in the jig.
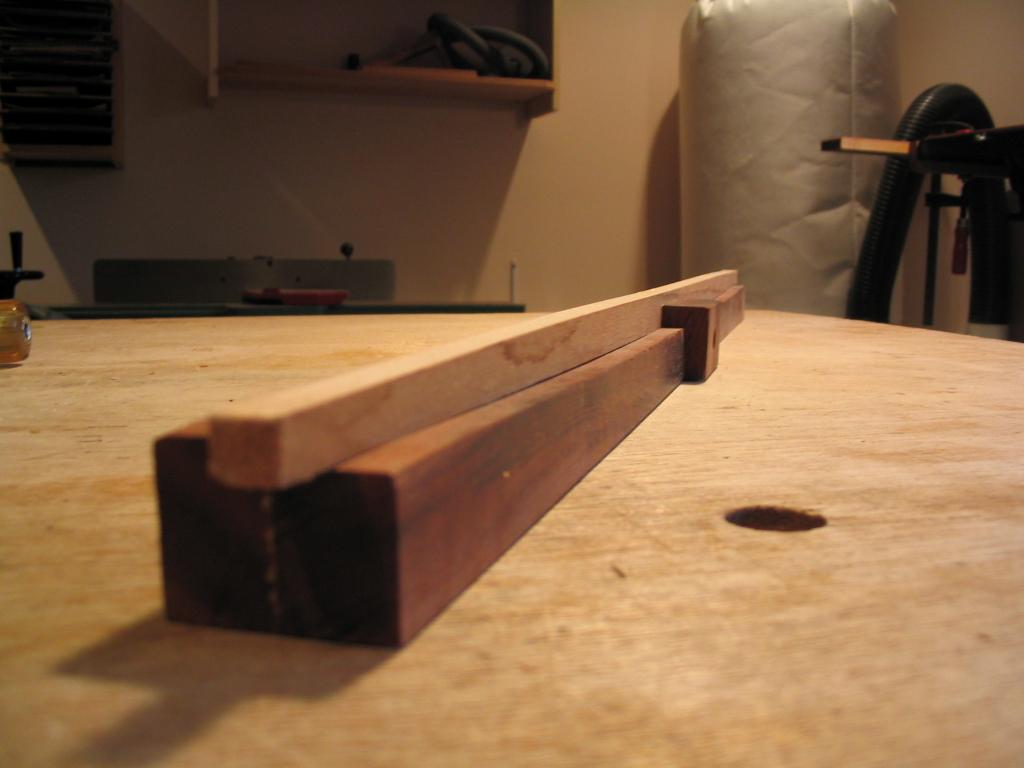
When the brace is removed from the jig, it springs back, and the top surface of the brace becomes the desired convex arch.
Previous: Inlaying the rosette |
Next: Bracing the top |