The rosette is inlayed around the soundhole by cutting a groove in the guitar top that exactly fits the assembled rosette, and then gluing the rosette into the groove with epoxy.
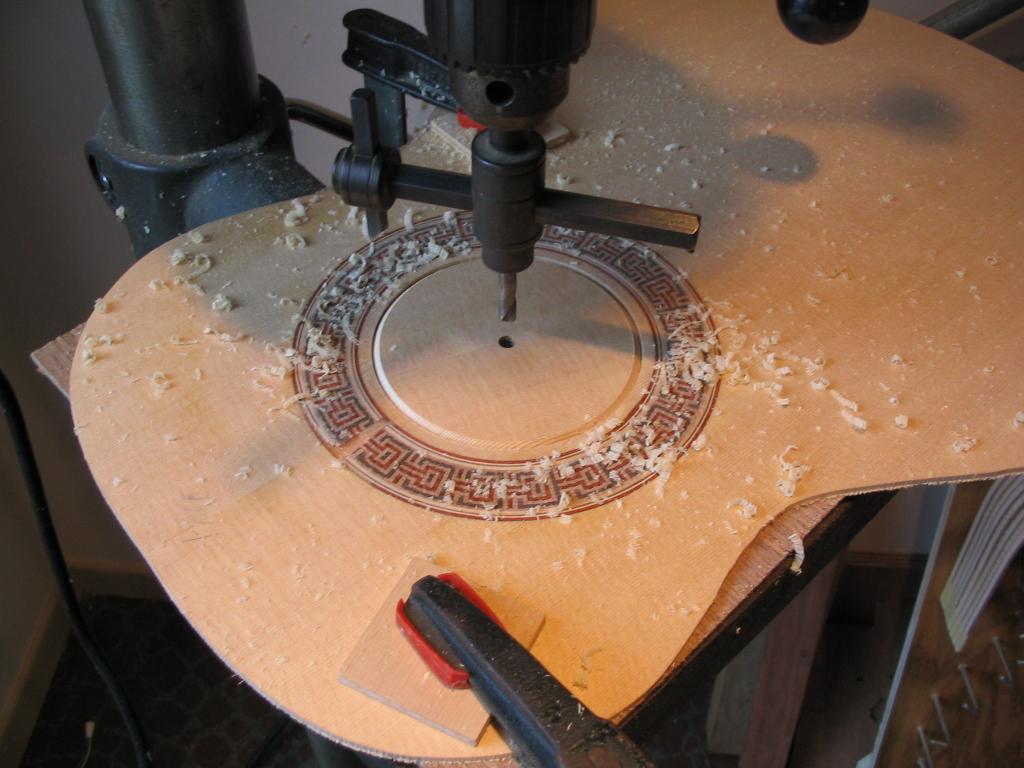
The principal trick is in getting the size of the groove so that the rossete fits perfectly. I use a flycutter on the drill press to create the outer and inner edges of the groove, setting the flycutter directly from the rosette. The rosette, still glued to its building board, is place on the drill press. Since the flycutter was used to cut the inner and outer edges of the rosette (before the rosette banding was glued on), the 1/4″ guide hole for the flycutter is used to center the rosette building board on the drill press. The flycutter diameter can then be set from the rosette, as illustrated.
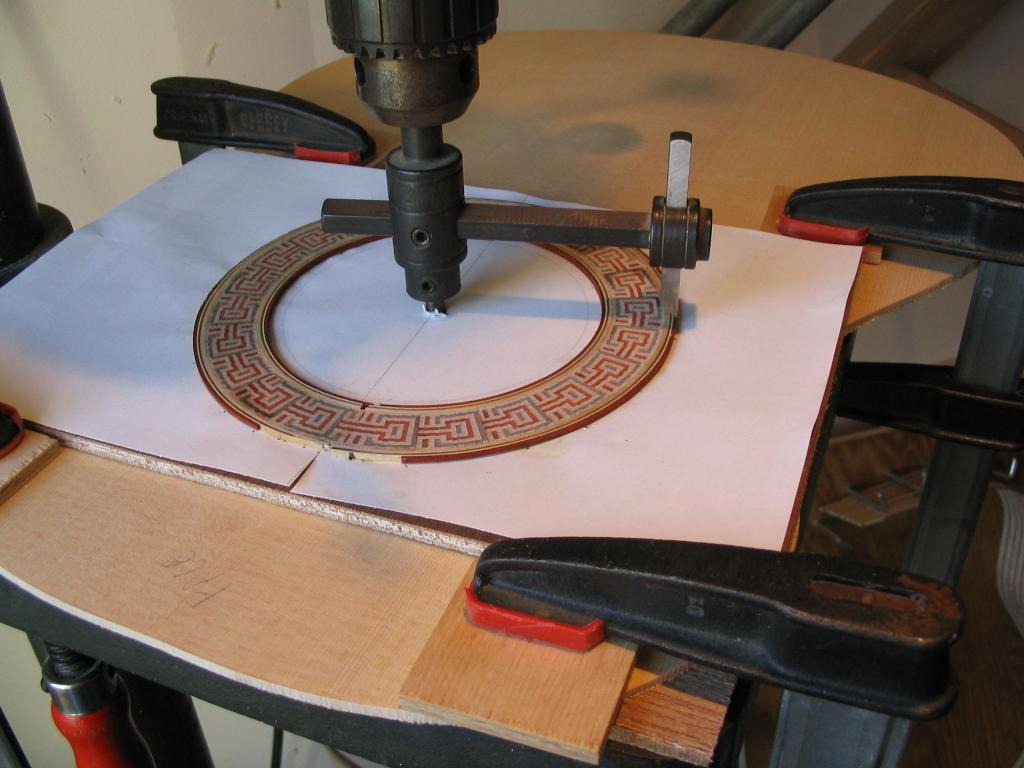
Note that in the photograph, the rosette building board is placed directly on the guitar top into which the groove will be cut, for convenience. The cutter diameter is set, and the rosette building board is removed. The depth of cut of the flycutter is set to be a little less than the thickness of the rosette, so that the rosette will sit a little proud when glued. I generally inlay the rosette to a depth of about .060″, or about half the thickness of the soundboard. The excess can then be scraped off, leaving the rosette flush with the top. The next photo shows the thin grooves that the flycutter has cut in the guitar top. Note that the soundhole is not cut until after the rosette has been glued and scraped.

After the inner and outer radii have been cut with the flycutter, the remainder of the material in the groove can be removed with a router, with the depth set appropriately. The groove can then be cleaned up with a chisel.
Note that a flycutter is an inherently dangerous tool – it’s a fairly heavy, unbalanced mass of rotating steel. Safety protection is absolutely necessary when using it. I wear a complete facemask protector; I’ve even heard of someone putting a phone book into his shirt as a chest protector. Always use the flycutter at the slowest speed available on the drill press, to minimize the centrifugal forces. And because it’s so unbalanced, don’t even think about using one in a hand drill! As an alternative, a router using a compass jig that allows it to cut perfect circles can be used, eliminating the need for the flycutter. This just requires a bit more trial and error to get the inner and outer edges of the groove to exactly the diameters of the edges of the rosette.
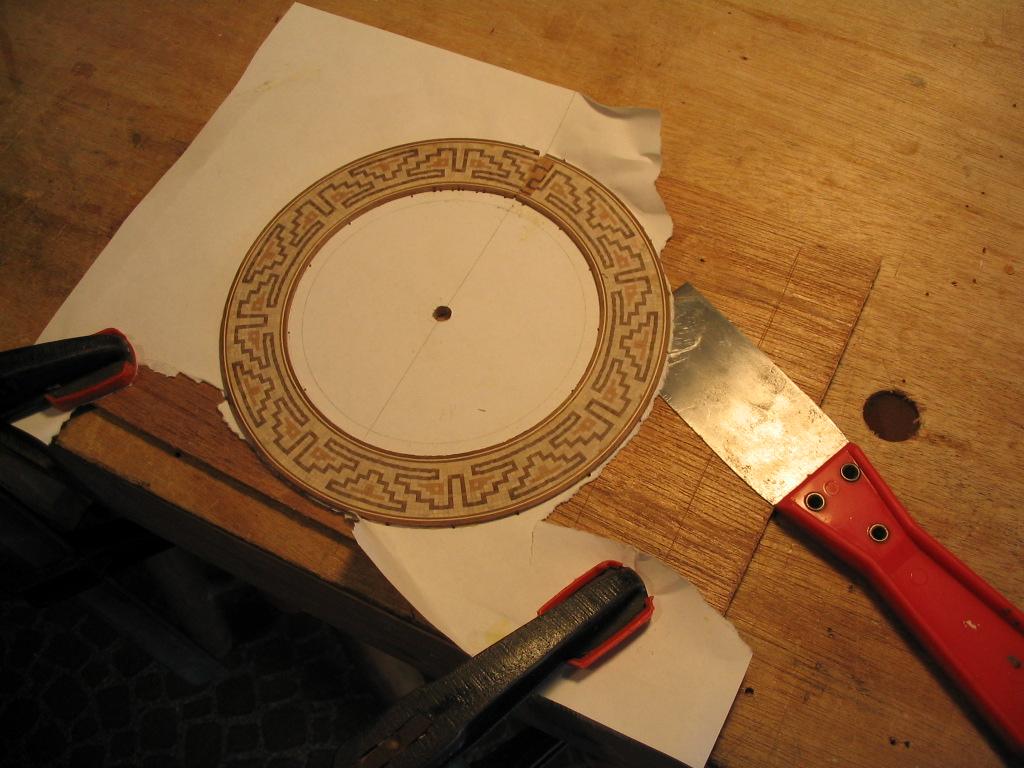
The rosette should now be removed from the building board. Since it was glued onto the board with a sheet of paper in between, the rosette can be relatively easily removed by sliding a thin blade between the rosette and board – the paper will split fairly easily.
The paper that remains on the rosette can be removed with a scraper.
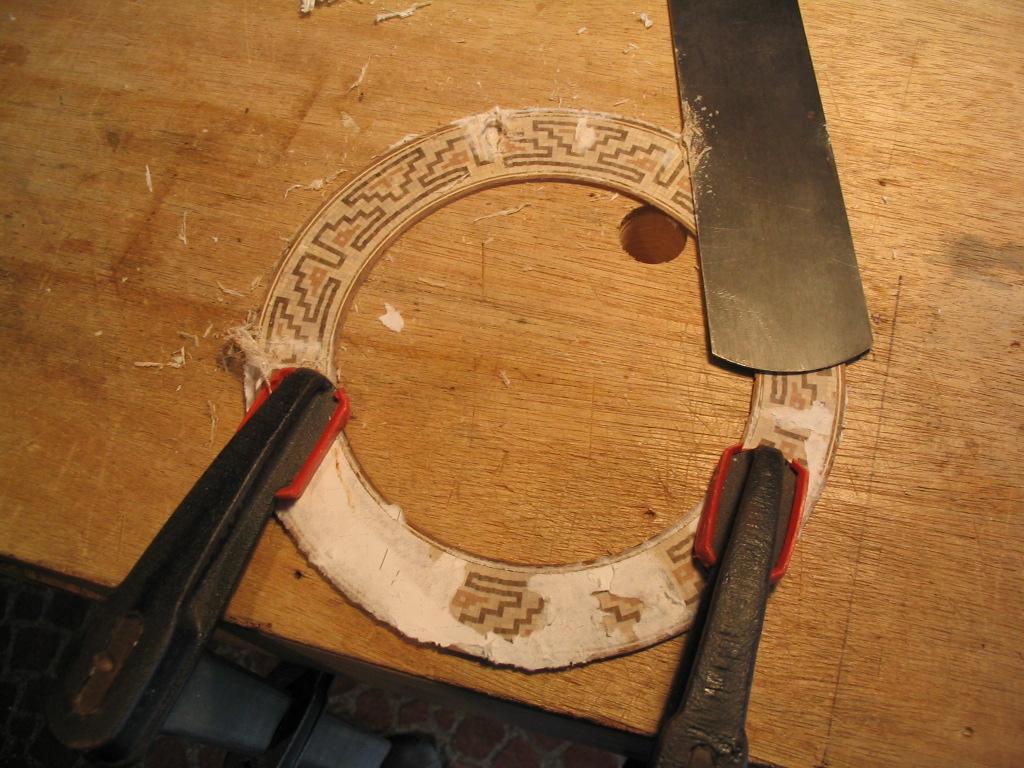
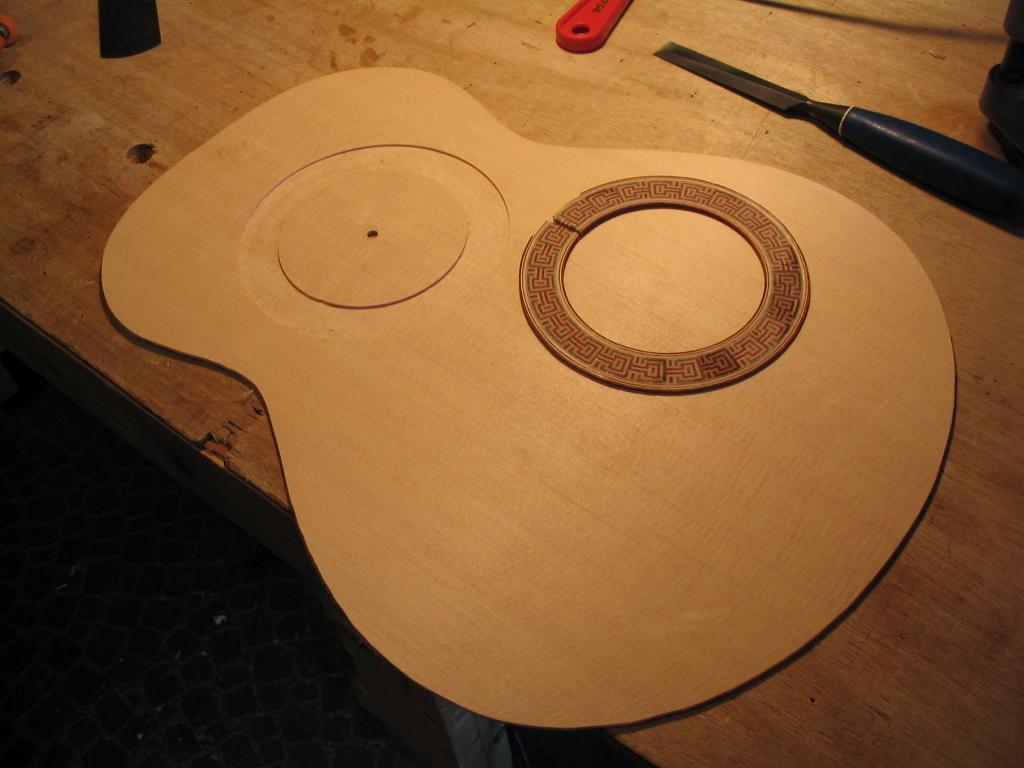
The inner and outer rosette bandings should have their edges chamfered (beveled) slightly so the rosette can be more easily pressed into the groove. The rosette ring should now be cut at the point where the pattern is discontinuous, to permit easier gluing into the groove in the top. This helps compensate for slight mismatch in the rosette and groove radii.
The groove in the guitar top and rosette are shown in the next photo.
In preparation for gluing, the groove is next sprayed with a couple of coats of shellac. The purpose of the shellac is to seal the end-grain on the edges of the groove near the centerline of the top. If this isn’y done, the epoxy used to glue the rosette will wick into the endgrain, discoloring the spruce near the soundhole. You don’t have to be careful when spraying the shellac, as the overspray on the top will disappear during finishing. (However, if you don’t use the shellac, the epoxy staining doesn’t disappear even under the finish – discovered this the hard way…)
Why not use Titebond instead of epoxy? Wouldn’t this eliminate the problem of the glue staining the top through the endgrain? Well, yes, but the problem is that the rosette is itself mostly endgrain. Yellow glue is water-based, and the tiles in the rosette will expand due to the moisture in the glue, warping the rosette and even the top.
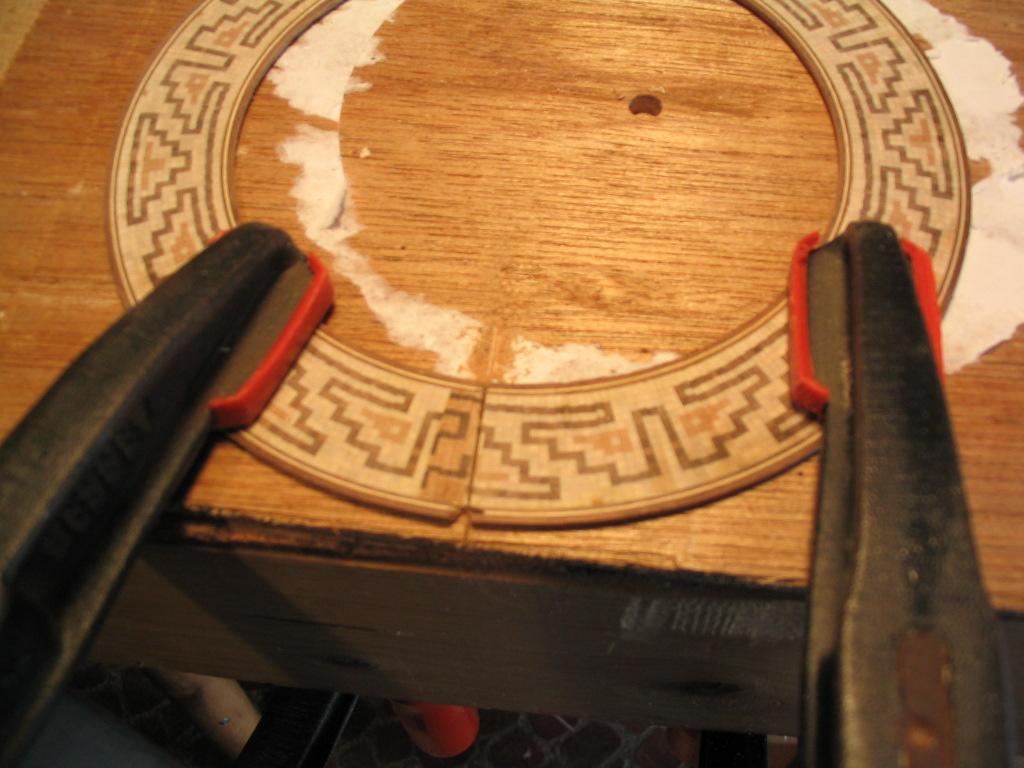
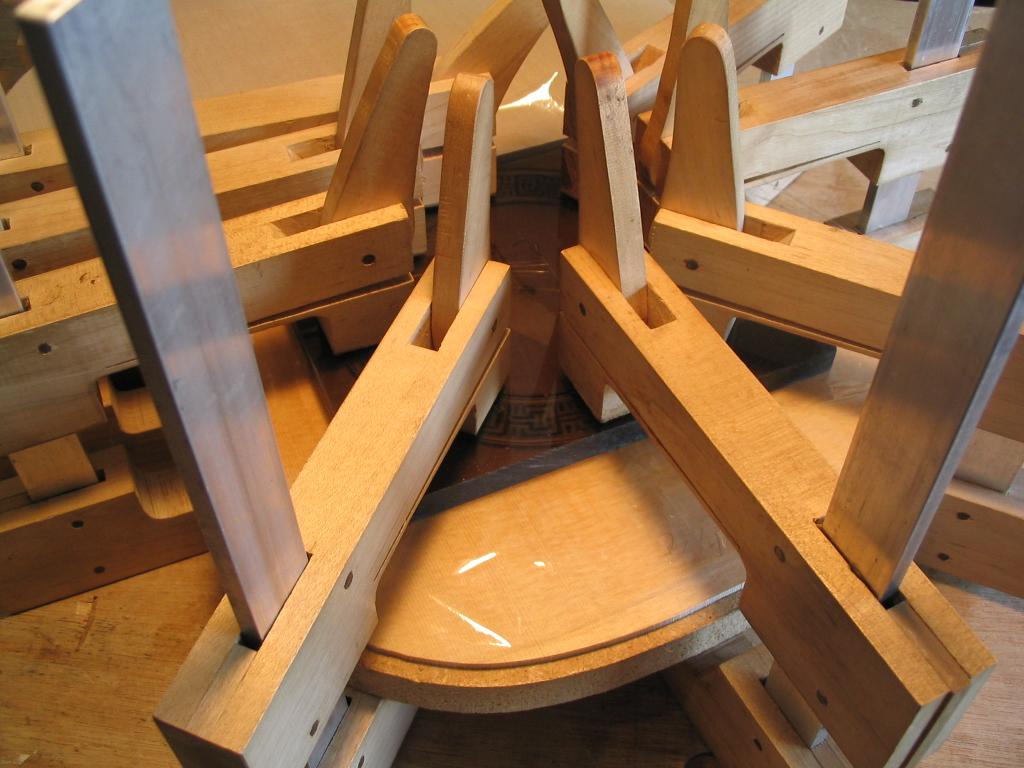
After the shellac has dried, the groove can be coated with epoxy – either 5 minute or longer cure time will work fine – and the rosette pressed into the groove. The top is placed on a flat workboard, a piece of plastic wrap is placed over the rosette, and a piece of 3/8″ or 1/2″ thick plexiglass is placed on this as a clamping caul. The rosette is then clamped and left for the glue to cure, as in the next photo. The plastic wrap keeps the epoxy from sticking to the plexiglass caul.
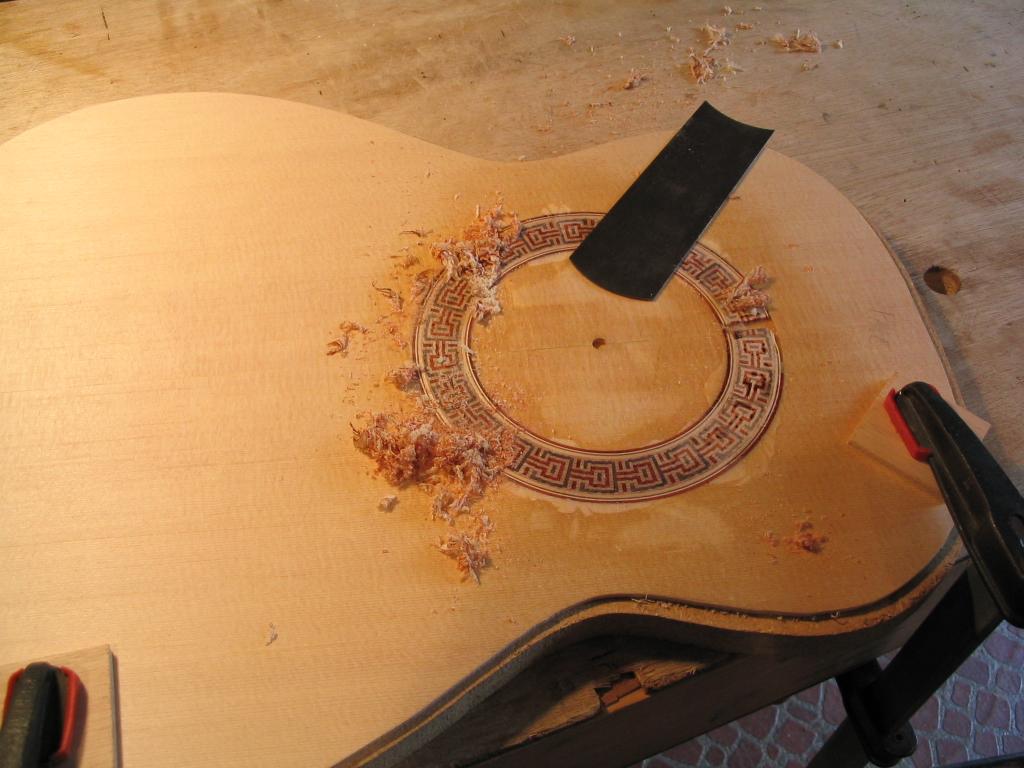
When the glue has cured, the clamps and caul can be removed. You can see in the photo below the shellac overspray and the epoxy squeeze-out.
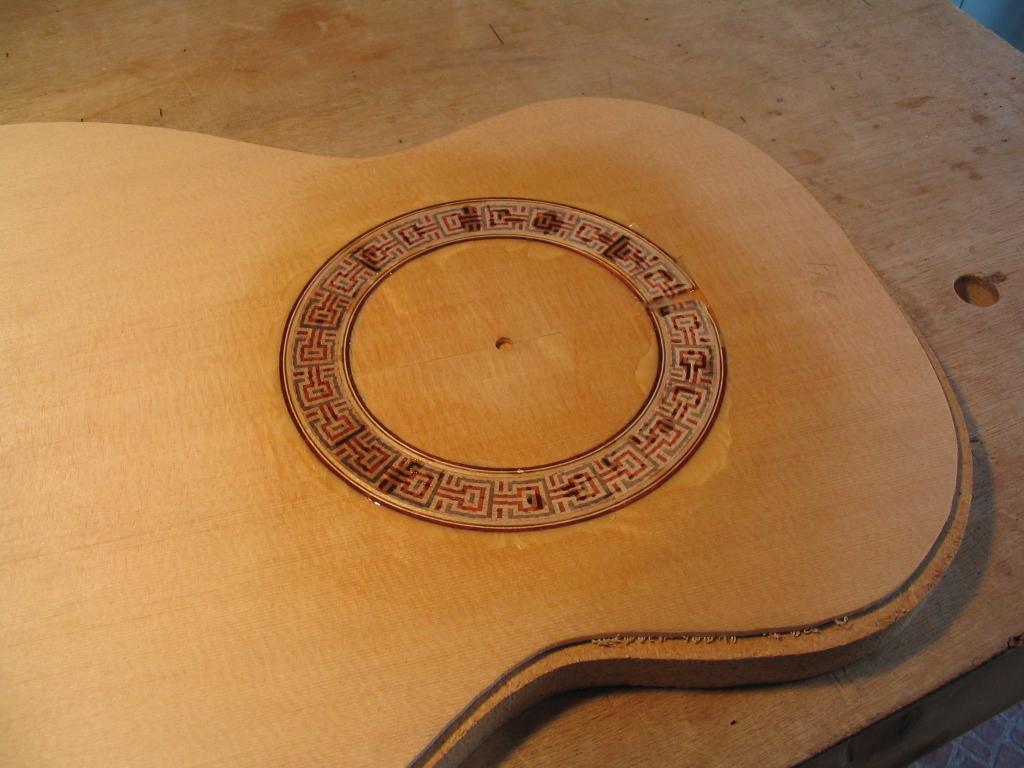
The rosette rises a little above the surface of the top; this is next scraped flush (along with the epoxy squeeze-out).
After the rosette has been scraped flush, the soundhole can be cut with the flycutter on the drill press. The edges of the soundhole can then be sanded and relieved (rounded).