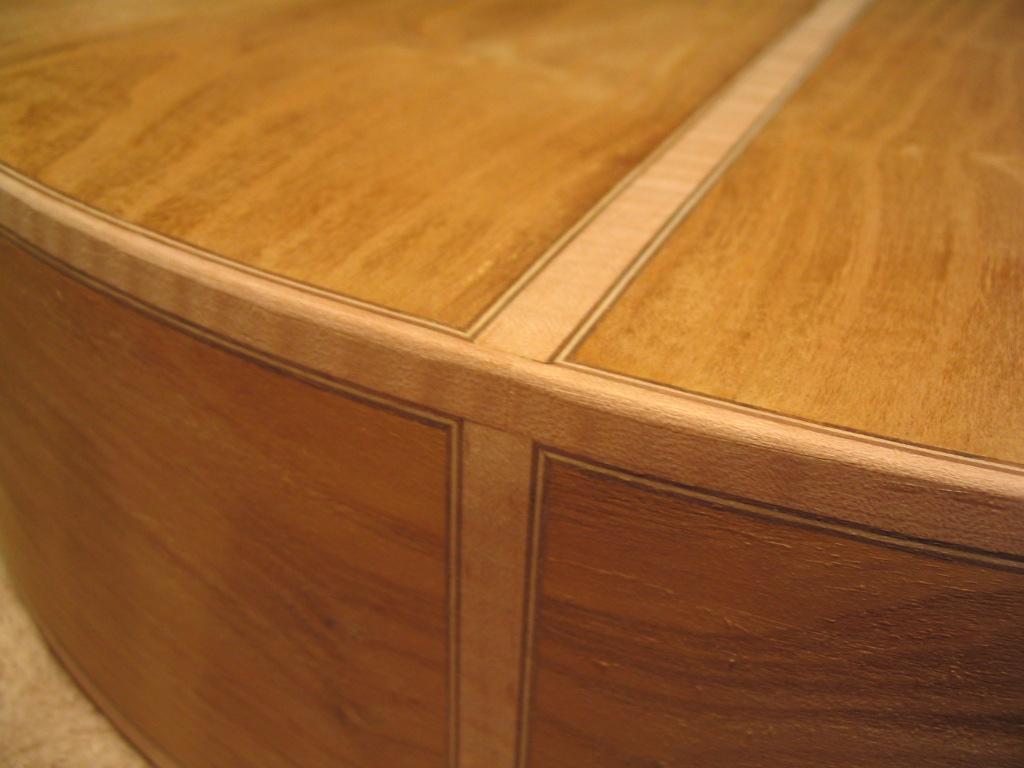
With the top and back glued to the sides, binding can be applied to the guitar body edges. The binding is wooden stripping that wraps around the edges of the body, providing both decoration and protection. Purfling consists of thin bands of wood adjacent to the binding, used primarily for decoration (though some have suggested that it “loosens” the joint between the top and sides, promoting vibration of the top).
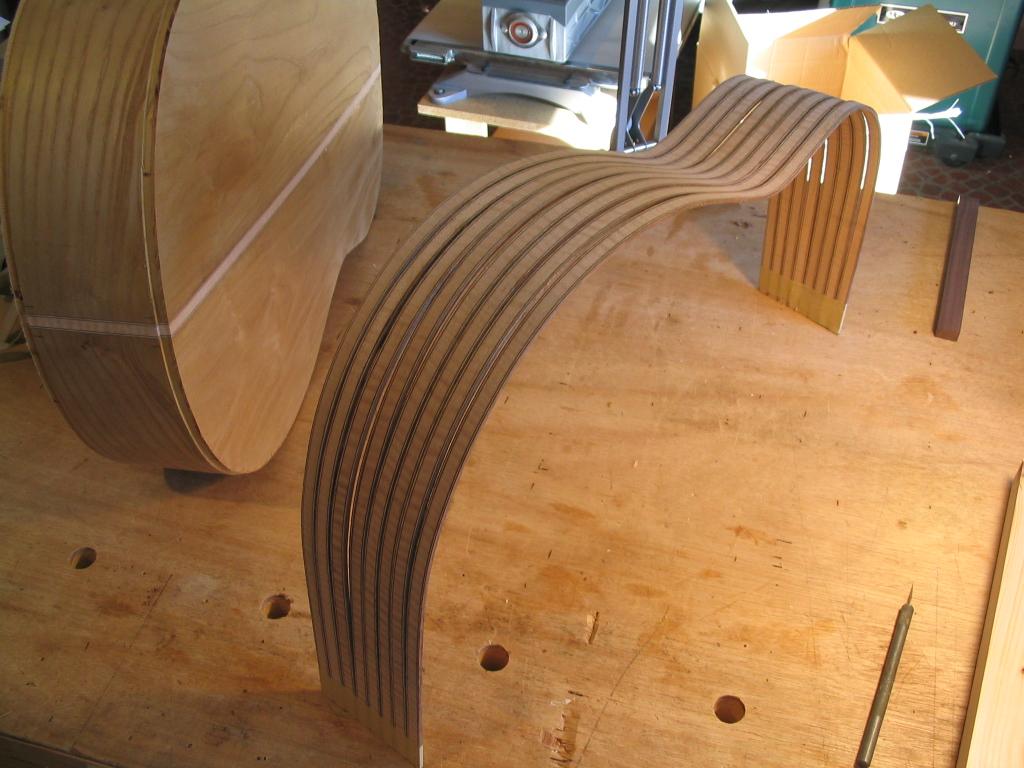
The binding strips are made with purfling glued to the edges by creating a “sandwich” of the binding material and purfling veneers and then slicing it into the binding strips. These strips are then taped together and pre-bent in the side bending jig so they’ll easily conform to the profile of the guitar body. Shown below are the binding strips for two guitars. I glue the purfling material to both edges of the binding so I don’t have to worry about left- and right-handedness. The unneeded purfling strips will be scraped away after gluing.
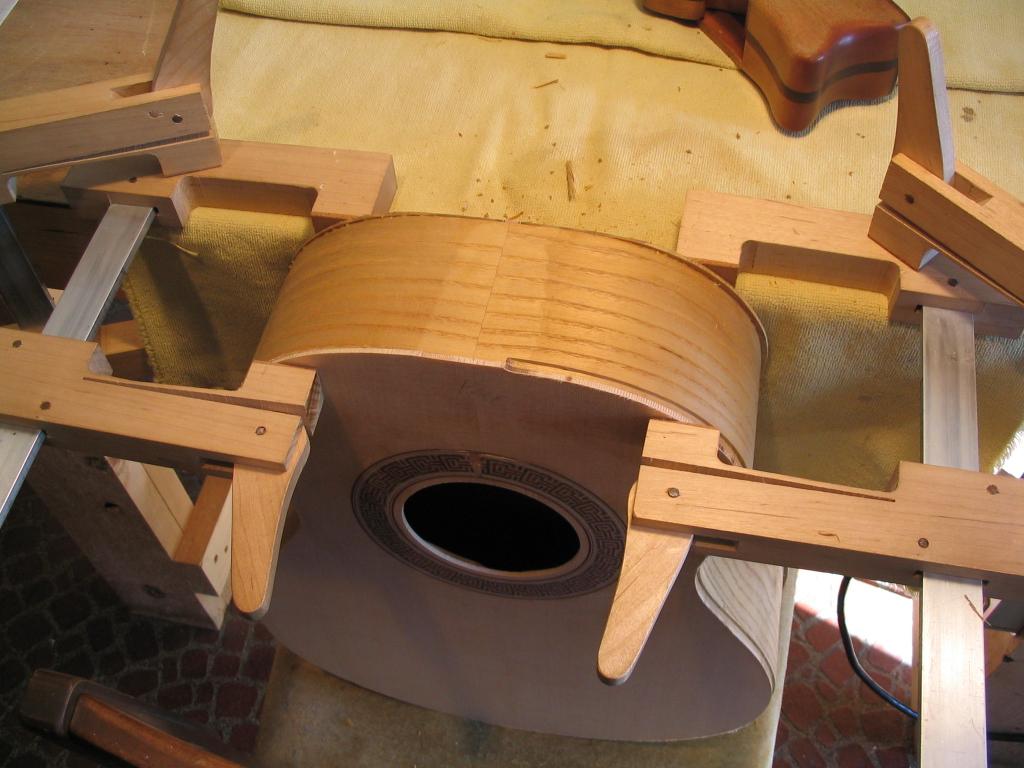
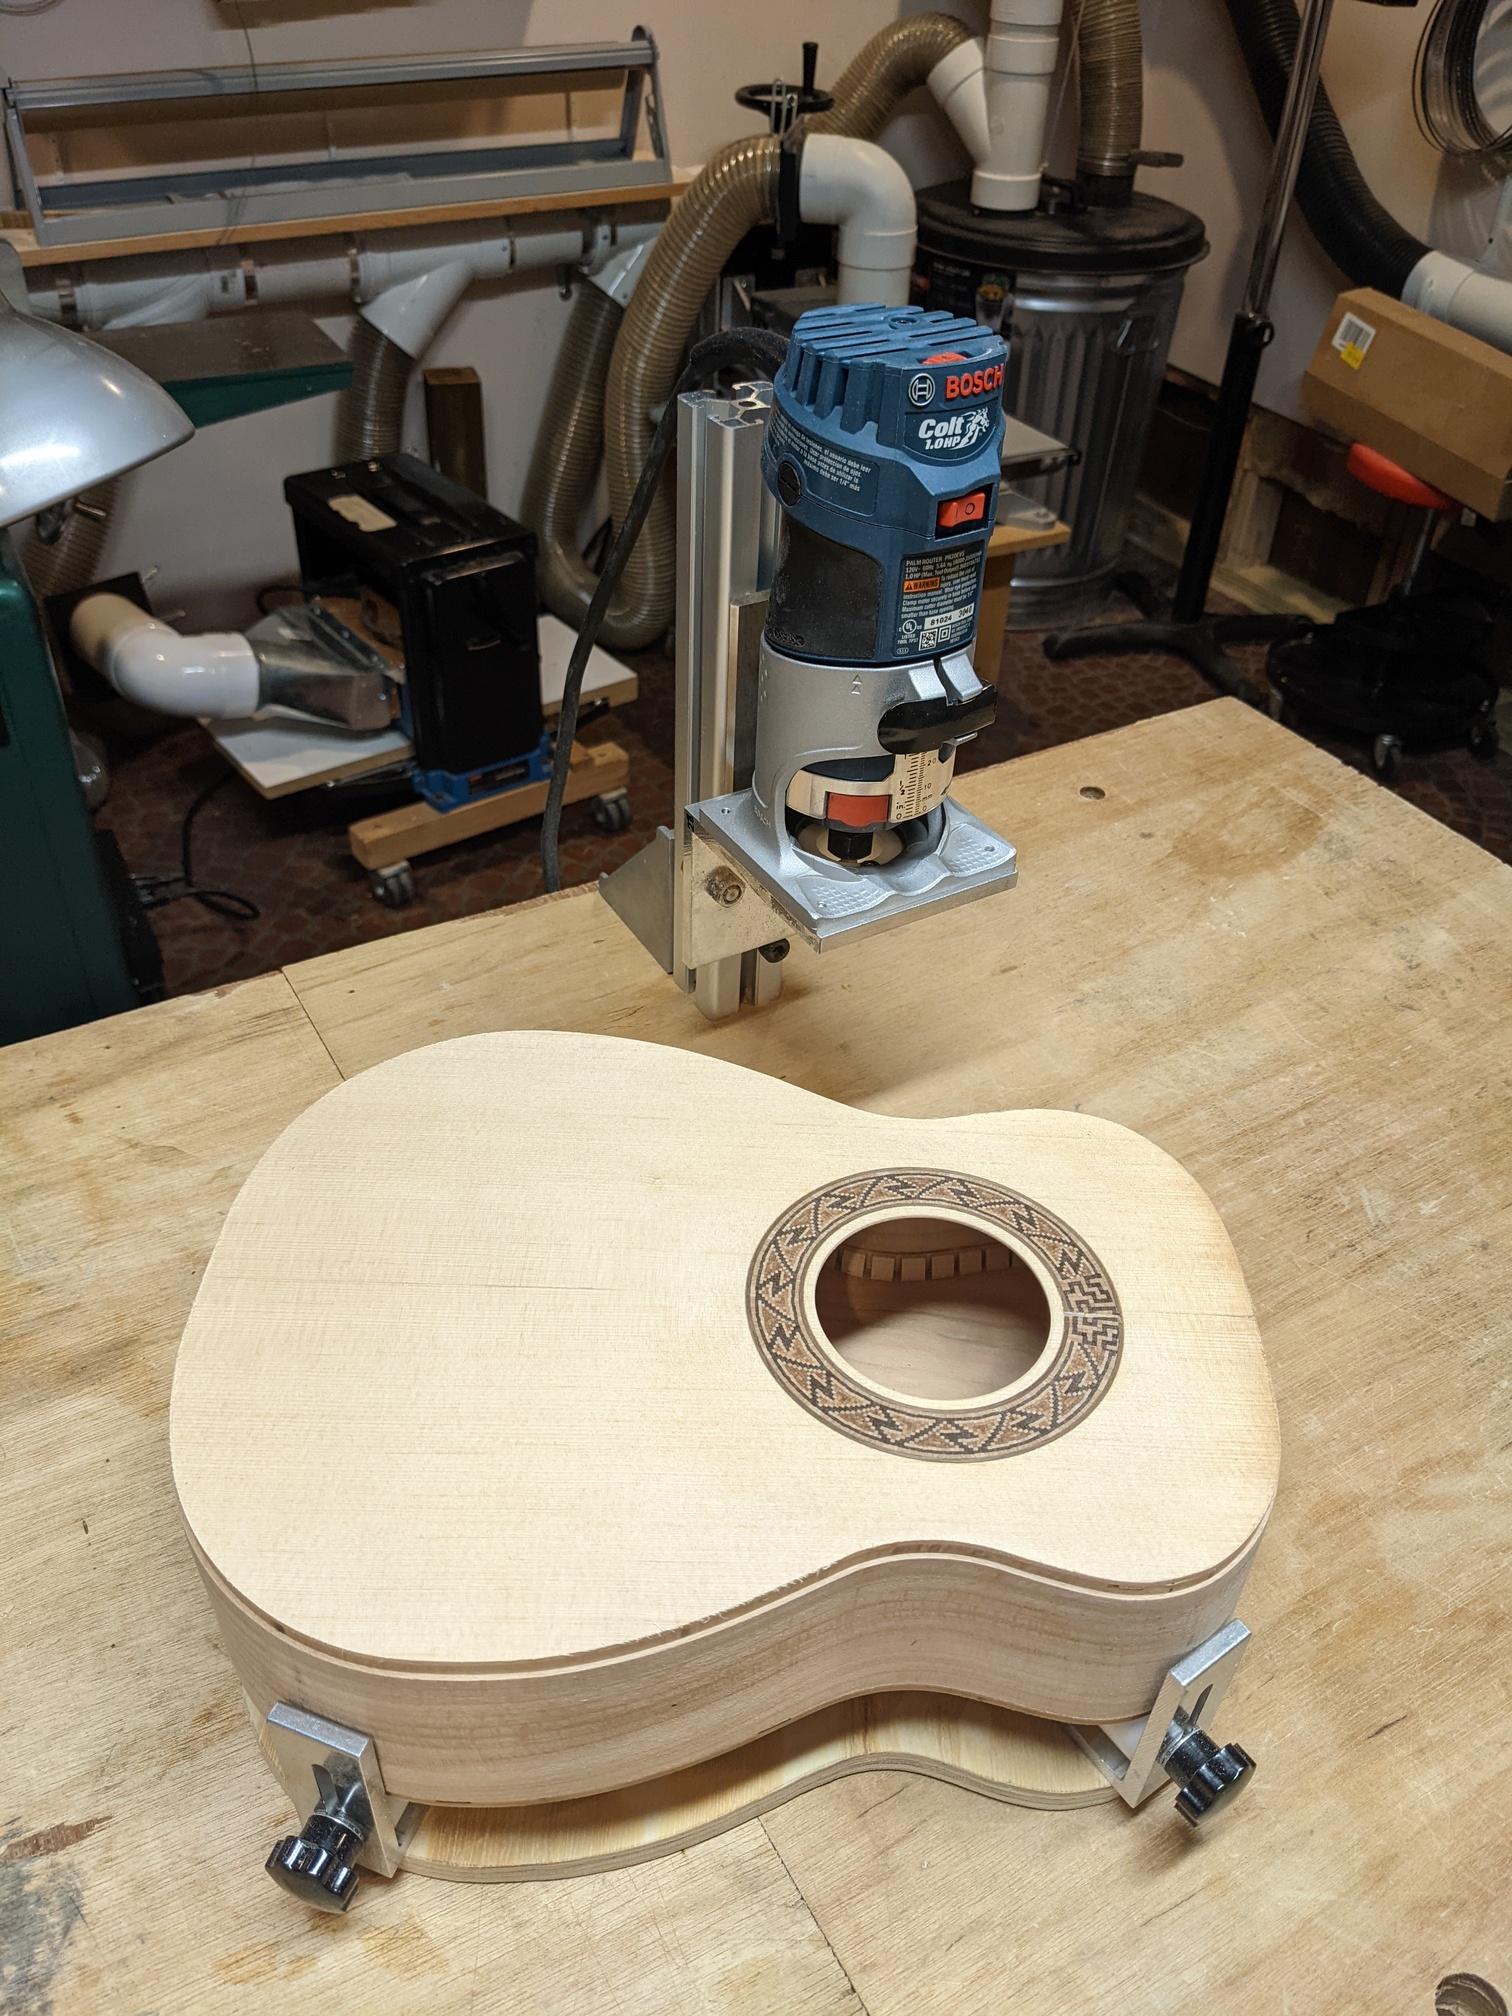
Before cutting the binding and purfling grooves, however, a flat is planed at the top of the guitar body where the neck will attach. The body is clamped to the workbench as shown (I also support it from below on a chair). (Note that in the photo below I began routing the binding groove before remembering to plane the flat…)
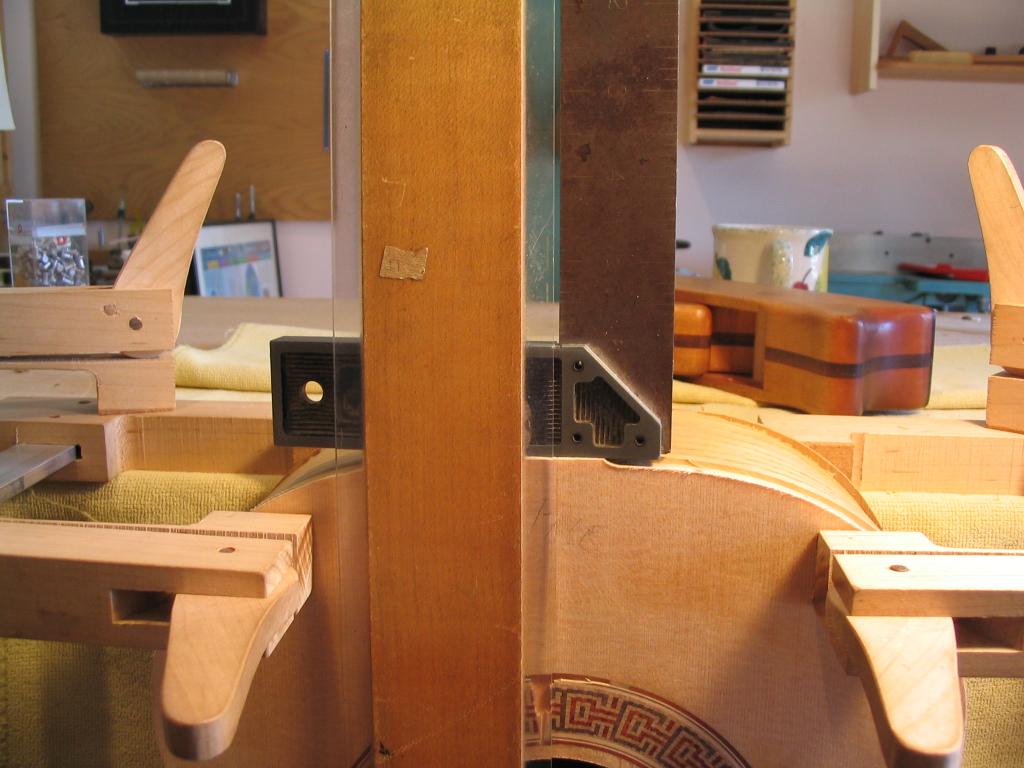
The flat is adjusted such that the centerline of the neck aligns with the centerline of the guitar body. This is measured using a square and a straightedge, with the square resting on the planed flat and the straightedge placed along the guitar body centerline.
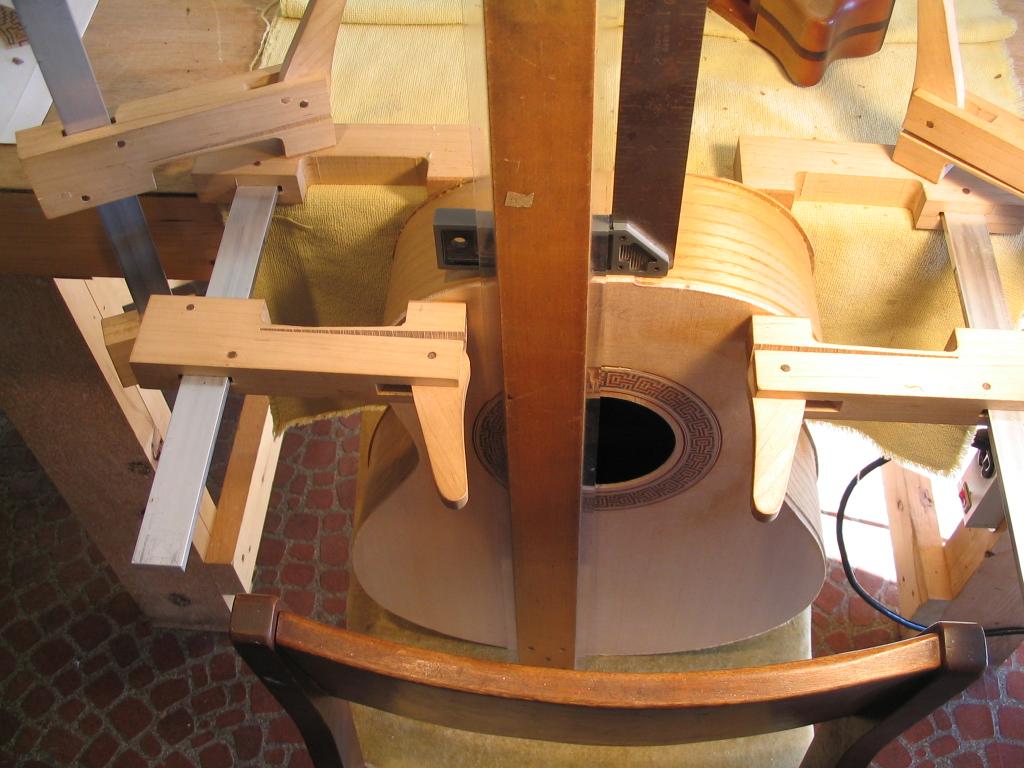
The flat is then adjusted with the plane until the edges of the straightedge and square line up perfectly.
The binding process starts by cutting stepped grooves around the edge of the body to receive the binding and purfling. Because all of the surfaces are curved – the sides, and arched top and back – it’s hard to find a way to cut the square-edged groove. Until recently, I use the jig pictured below, which mounts a router and uses the guitar sides as the guide surface. The guitar sides slide along the brass rod as the yellow router bit cuts the groove. The brass rod has spacers on each end to set the depth of the cut (which is equal to the radius of the router bit minus the radius of the rod spacers) to the appropriate depth. This type of jig is not difficult to make, but does require some adjustment to make sure that the router bit axis is aligned with the guide-bar axis. Alternatively, binding jigs of this type can be purchased from lutherie supply stores.
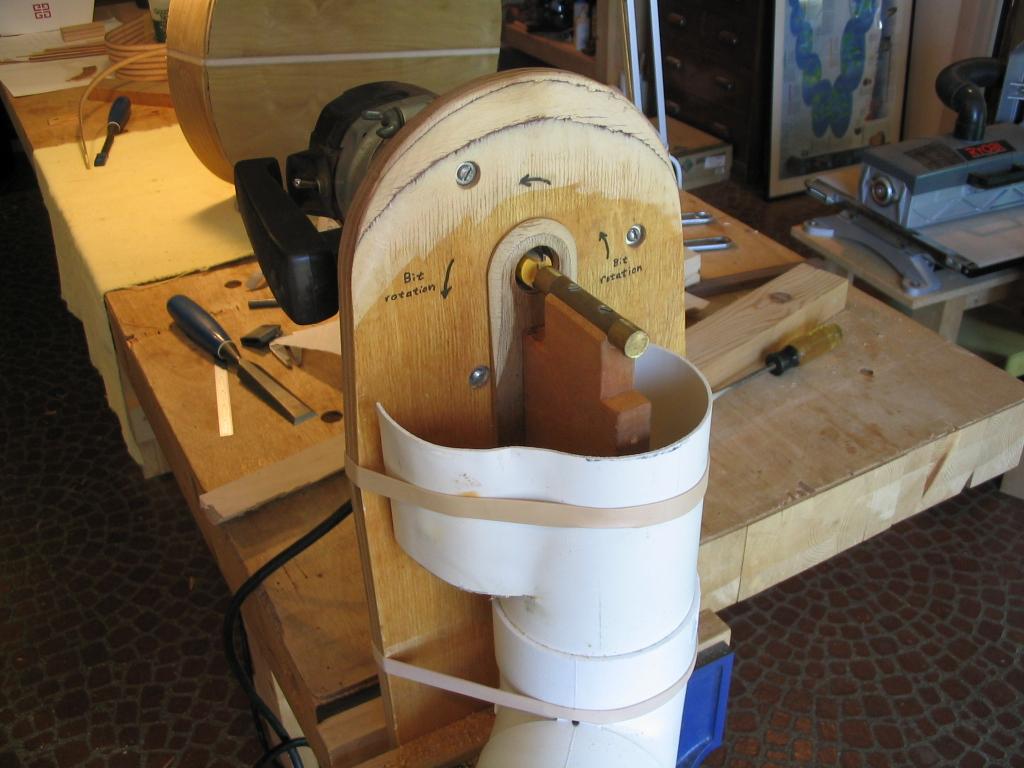
However, I’ve recently upgraded my binding jig (as discussed in this article from American Lutherie) to address an issue with the one above, that of precisely aligning the router shaft with the brass rod. Since the binding grooves are quite shallow (~0.070″), any misalignment can result in grooves with uneven depth. To address this, I replace the guide surfaces on the rod with a binding router bit with a guide bearing on the one end and an equivalent size bearing on the other, as pictured below. Amana Tool makes a couple of bits specifically for guitar binding routing (numbers 49342 and 49346) that come with multiple bearing sizes to adjust the depth of cut. The guide bearing guarantees alignment with the cutting flutes so there will be a consistent groove depth. The only caveat is that the bearings spin freely, so the guitar side slides quite easily over them, necessitating a firm grip. Climb cutting is also not an option due to the bit’s tendency to grab into the body. Also, since the router bit itself is supporting one edge of the body, it’s important not to press down too hard so as not to overstress the shaft of the bit.
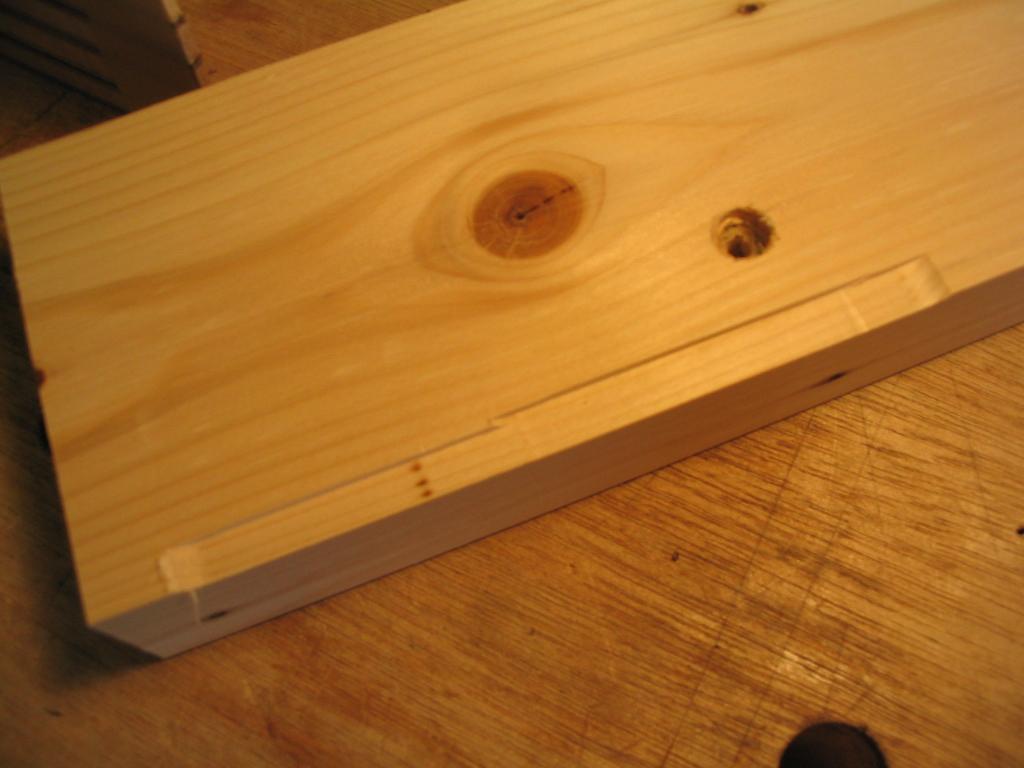
The routing jig is first set to cut the binding groove. A piece of scrap wood is used to test the groove depth and width to ensure they are a little less than the binding height and thickness (the binding is left slightly proud, and then scraped flush).
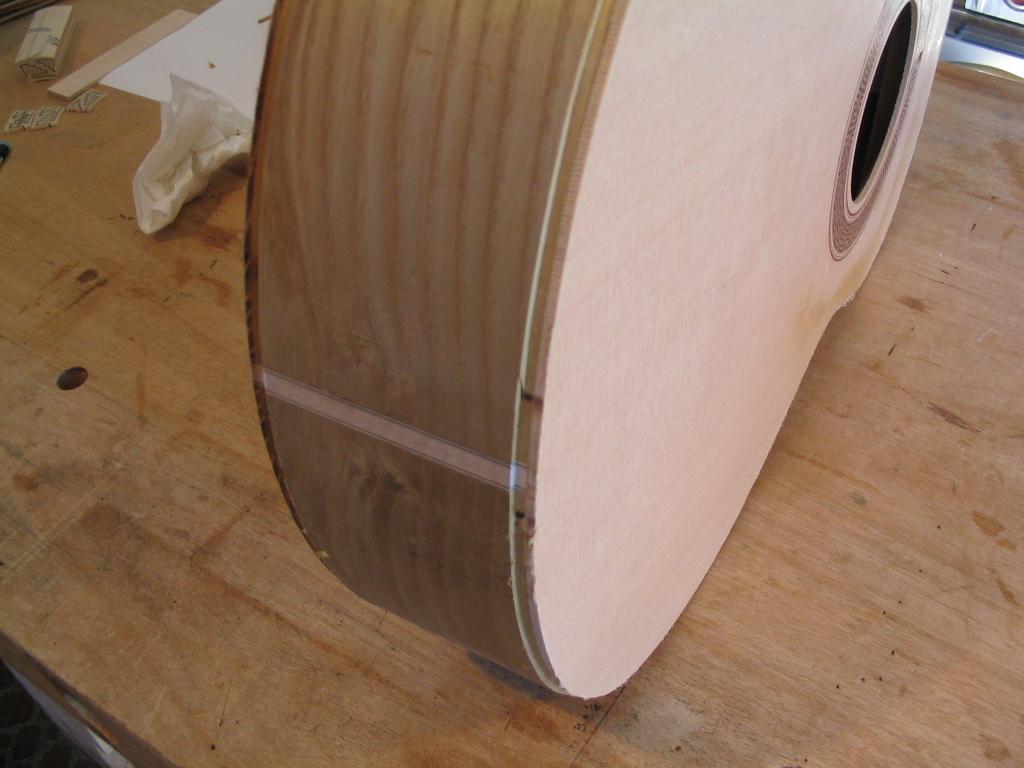
The guitar body is then slid along the brass rod on the jig, with the router bit cutting the groove. Below, the binding groove is shown routed around the perimeter of both the top and back.
If the guitar incorporates decorative purfling, the depth of the cut is now increased to the depth of the binding plus the glued-on purfling. The scrap wood from before is used to adjust and check the depth, as shown below.
The top and back perimeters are then re-routed, but stopping shy of the end binding strip that was previously glued in. The remaining part of the purfling groove will be cut by hand, with a chisel.
The top and back purfling grooves can now be routed, setting the depth of cut appropriately by selecting appropriately sized bearings (or removing spacers from the brass guide rod in the old-style jig). As before, the groove is stopped shy of the back inlay strip.
The purfling grooves can now be chiselled up to the back and end binding strips.
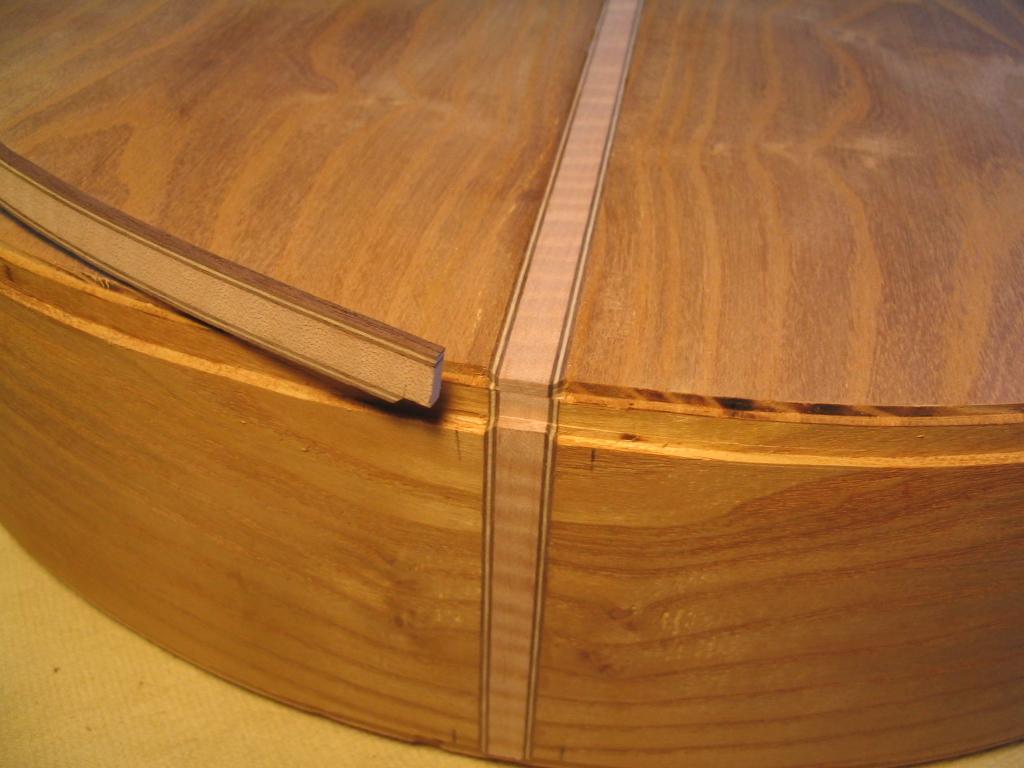
The purfling is now mitered at the ends of the grooves. This is easily done with a sharp chisel, using the back of the chisel as a mirror – when the angle is exactly 45 degrees, the reflection of the purfling on the back of the chisel will form a right angle with the purfling.
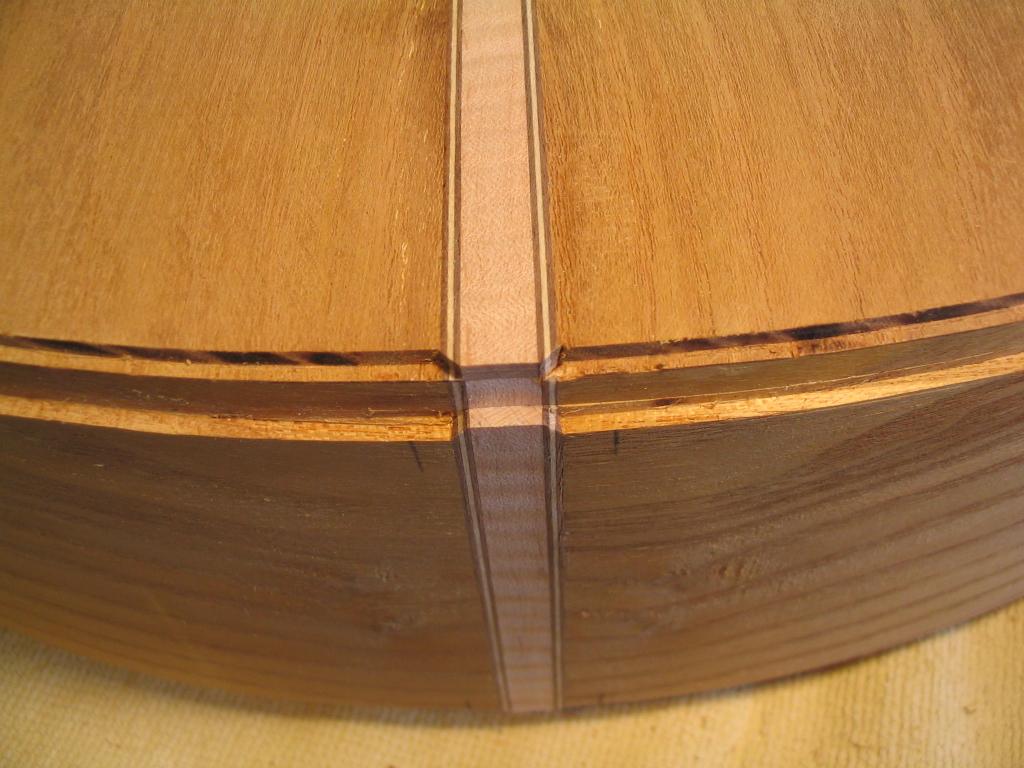
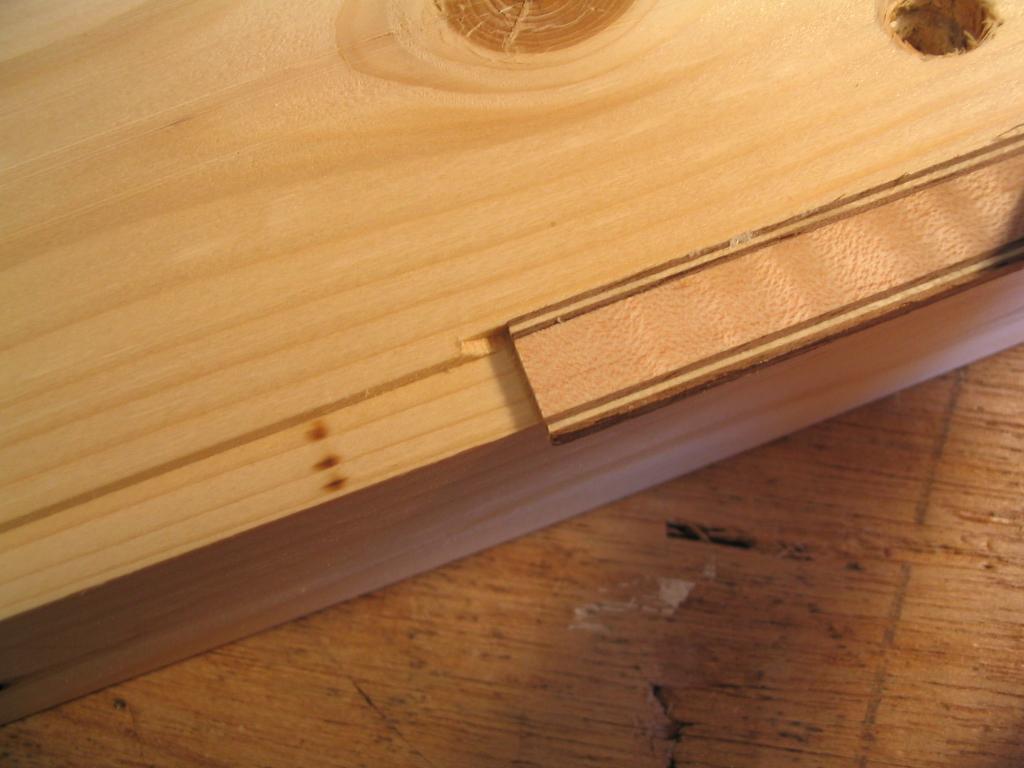
The first pre-bent binding strip (with side purfling attached) is marked at the butt of the guitar and cut to length. The attached side purfling is then cut and mitered to meet perfectly with the purfling on the end strip.
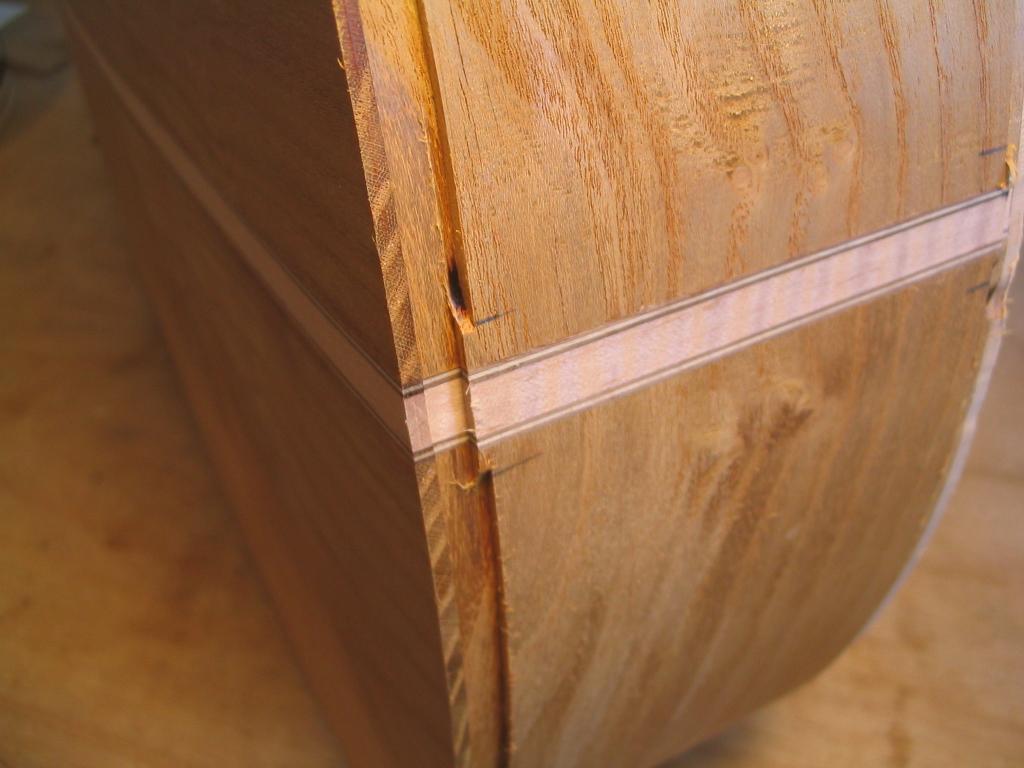
The loose back purfling strips are also mitered, and we’re ready for gluing. Glue is applied to the back purfling strips and the binding, and these are then placed into the groove and secured with fiberglass reinforced packing tape. Glue is only applied to about 6″ at a time. It’s a bit tricky at the start, getting the binding secured and the back purfling strips in the groove and both mated tight with the mitered purfling on the end and back strips. But once the first few inches are glued and taped, the rest goes pretty easily. Make sure to press tightly when taping so as not to leave any gaps.
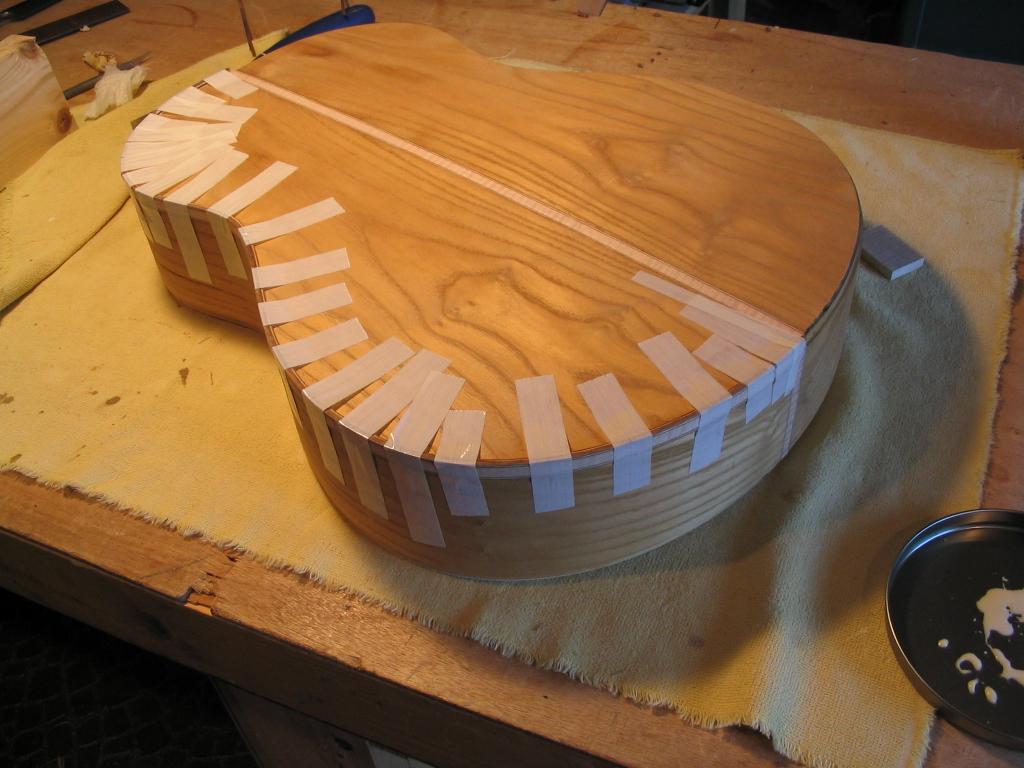
Though the fiberglass reinforced tape provides good holding power, it’s sometime not quite enough to pull the binding tightly into the groove, which can leave gaps in the joint. To address this, clamps can be carefully used to pull the binding strip in where there are gaps. I’ve also begun using a jig that can provide additional pressure using elastic cord wrapped around the body as shown.

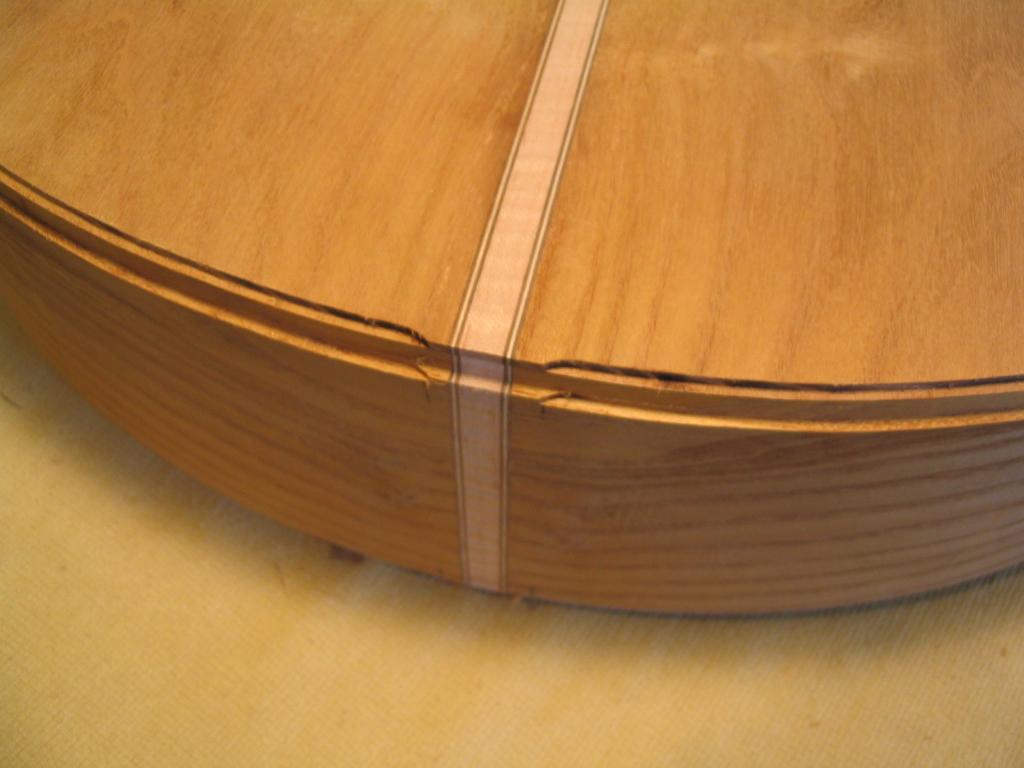
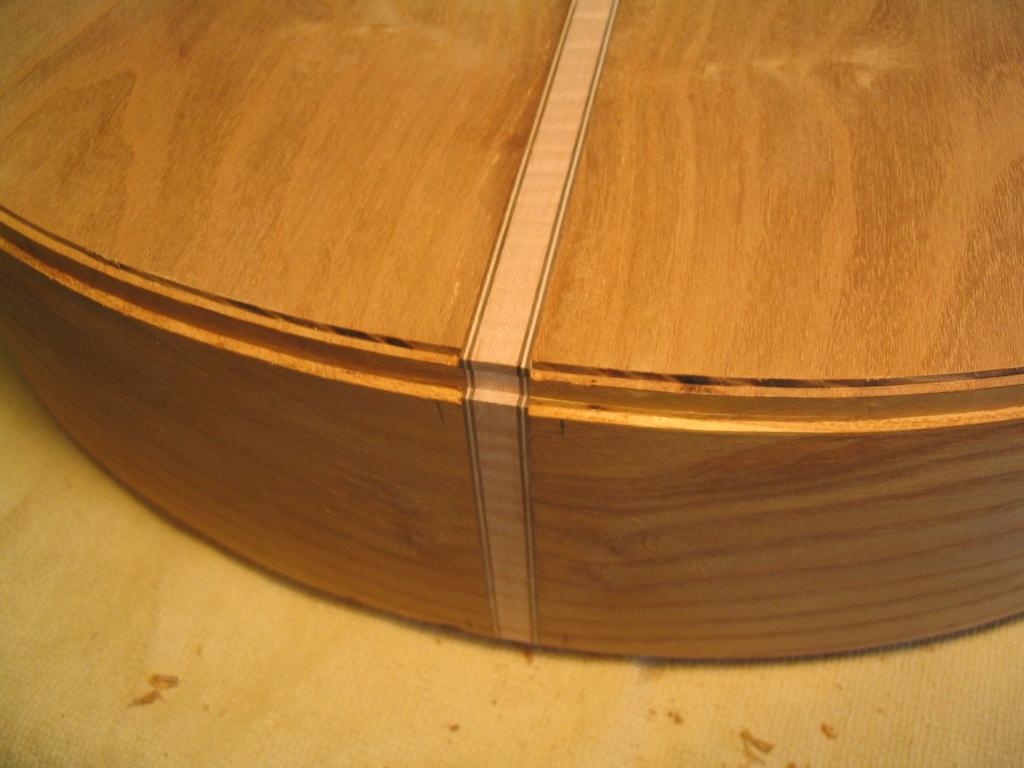
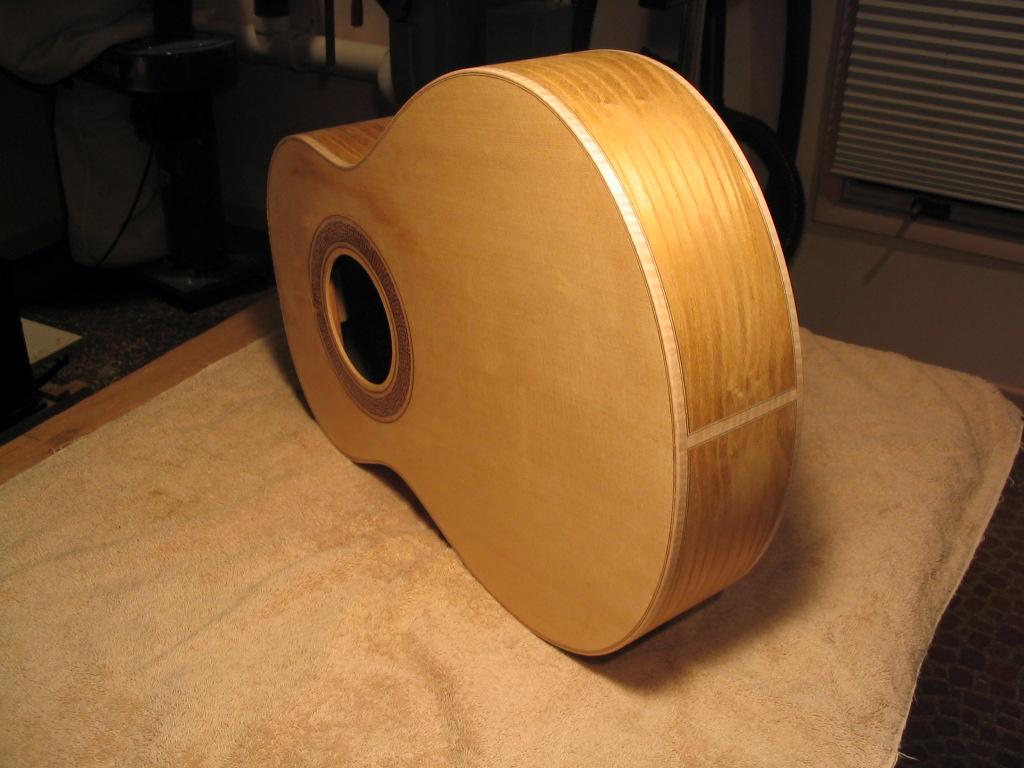
The edge of the binding strip is then rounded slightly with 150 grit sandpaper. The bound guitar body is shown below.
Addendum
It’s worth noting that there are other a number of other approaches to cutting the binding and purfling grooves. The original technique involved using a marking gauge to define the edges of the groove, and then a chisel to cut away the material. Needless to say, this involves quite a bit of skill. A number of jigs have been developed to make this operation simpler and faster; several such approaches are discussed below, and in this article from American Lutherie.
Many luthiers today use a jig such as the one pictured below, available from Elmer Guitar, which mounts a router vertically in a carriage that is free to slide up and down on a post bolted to the workbench. The router has a rabbet bit installed with a guide bearing that allows it to cut a groove of specified depth, which should be equal to the thickness of the binding. One such bit is the Amana Tool 49342, which provides a series of bearings allowing for cut depths in increments of 1/32″, but there are bits available from lutherie supply houses that allow finer gradations in depth. You can also wrap tape around the guide bearings to adjust the depth. The guitar is mounted in a carriage with brackets whose height can be adjusted so that the guitar sides are vertical. The guitar is then slid on the carriage so that the router bit cuts the desired groove.
While these jigs are easy to use and relatively inexpensive (and not too difficult to build from scratch), they have a disadvantage: unless the sides are perfectly vertical when the guitar is in the carriage, they will not align perfectly with the router bit axis, and the groove will differ in thickness from top to bottom. This can result in the binding being of different thickness around the edge of the body when it is scraped flush with the sides. Because I build without a fully supporting side mold, it’s hard to guarantee that the sides will be perfectly vertical all around the body, and thus the binding will have an undesirable variable-thickness appearance. The jig that I use doesn’t have this drawback, since the router bit axis is aligned with the guide bar which slides along the sides. Though it requires a bit more skill to use, I’ve returned to the original technique described above after trying the carriage-based jig. It just didn’t provide the results I was looking for.
Previous: Joining the back and the top-side assembly |
Next: Constructing the neck blank |